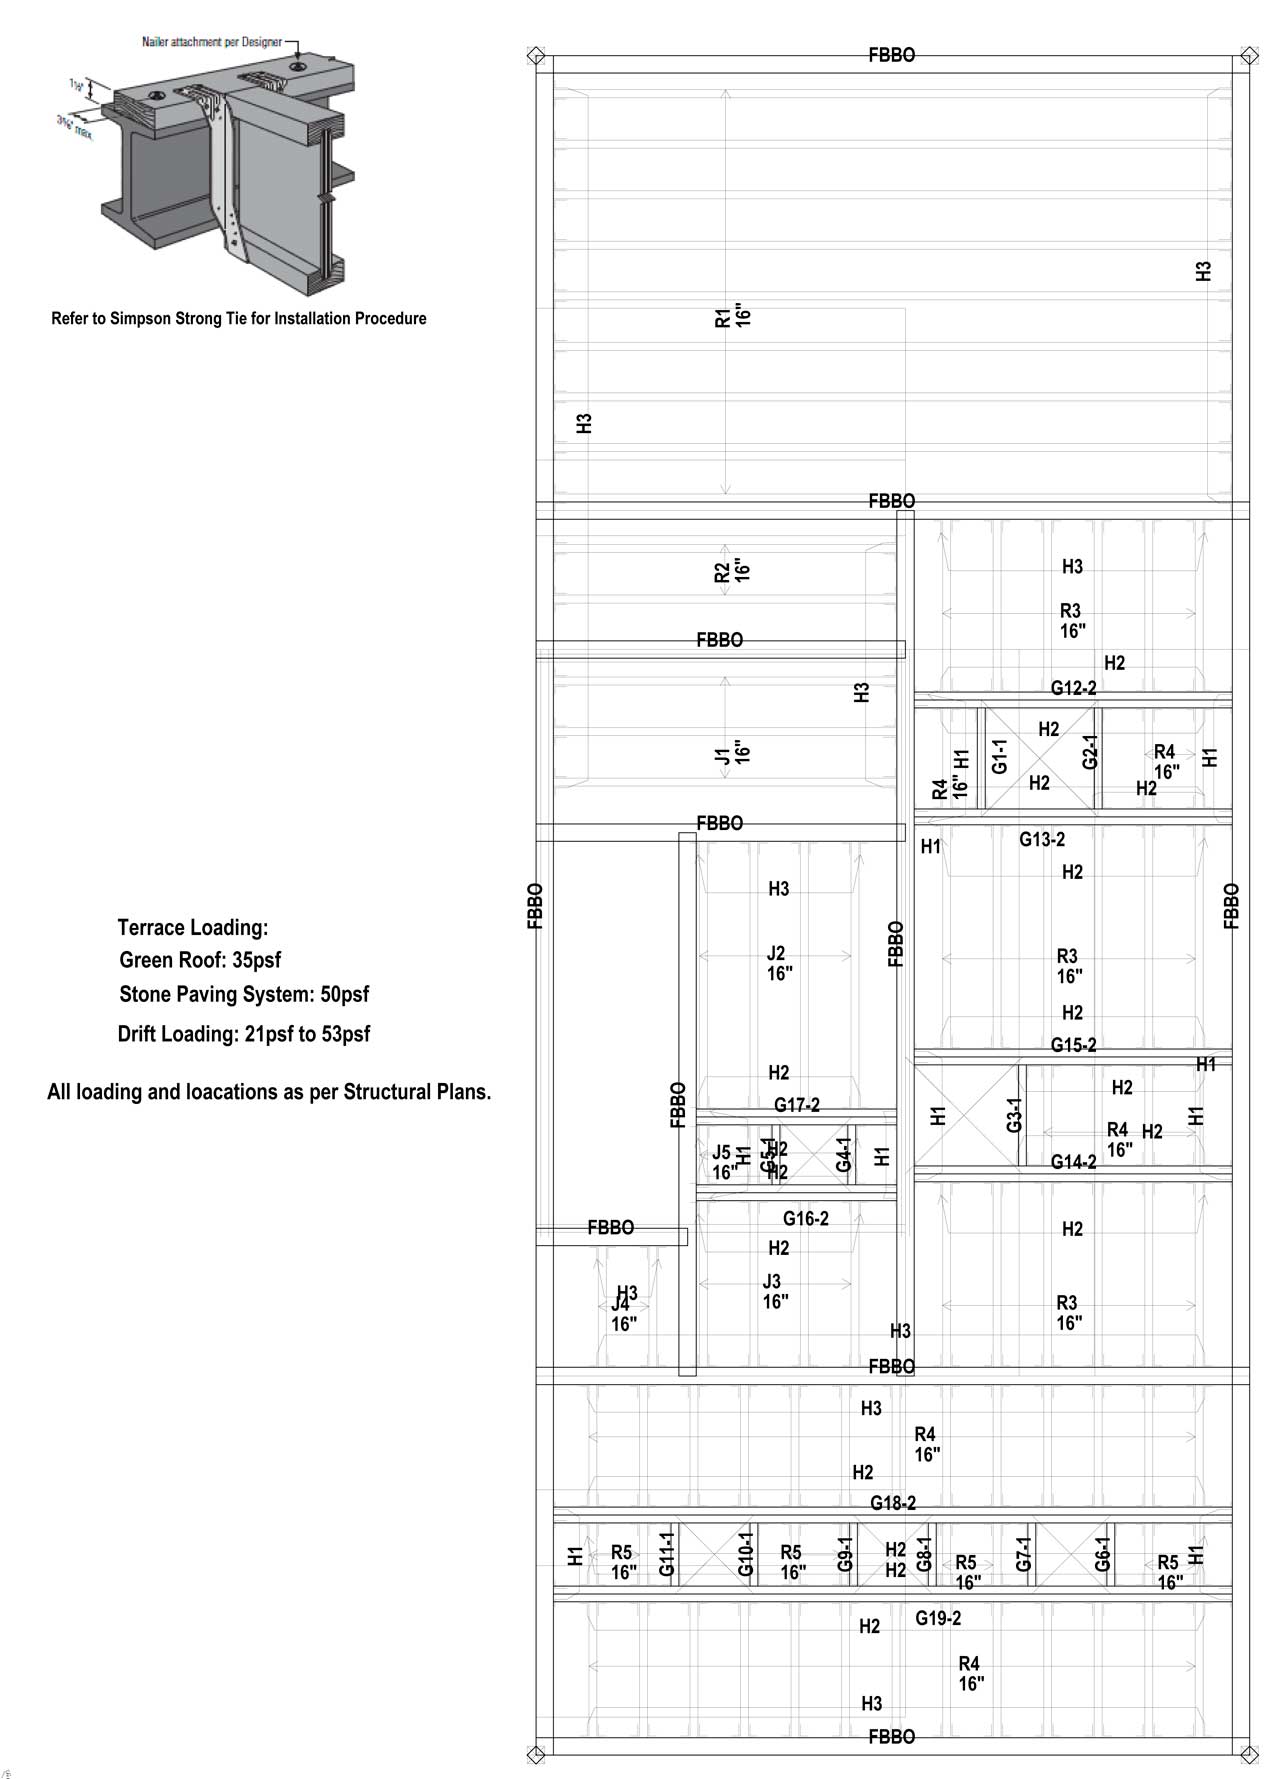
We are now approaching the last week of July. Finally after a few rounds of back and forth between the joist designer and the structural engineer, we finally come to an acceptable design for the joist layout. There is a few things that’s very specific for this house. First of all, because of the heat pump outlet, there are a few 2′ x 2′ cutouts in the ceiling of the first and second floor to accommodate the heat pump outlet. Then there’s the sky lights on the roof, I have two 3′ x 3′ skylights and three 2′ x 2′ skylight scattered around the roof. And finally there’s the problem of how to secure the engineered I-joist to my steel beams. For a wood framed house, hanging engineered I-joists is simple, just nail your typical joist hanger to the headers and slide the I-joists onto the hangers. However, my house has a steel frame, so it requires a different approach.
There are a few ways to hang joists with steel beams. One method that a lot of us are familiar with is the way typical house today uses for the ground floor on top of a steel beam in the basement. What you do is you put a sill plate on top of the steel beam. Then you would just place joist right on top of the steel beam and put blocking in between to prevent lateral movement. Something that looks like this:

I cannot place the joist on top of the beam. I have steel beams that runs right across the house, which mean if I place the joist on top of the beam, I will end up having the beam right in the middle of the house. My design calls for a flat ceiling.
Here’s another popular way of hanging joist with steel beams. Here the joist is cut to fit so that the joist sits right on the lower flange of the steel beam. Then you can add blocking again to prevent lateral movement. Something like:
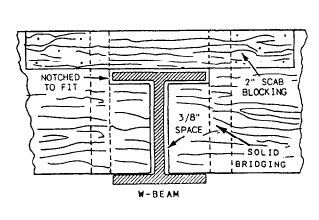
I don’t like this approach. Because for one the joist is notched, which despite the engineering claims, it definitely weakens the joist. Then there’s a lost of work involved to install all that filler blocking in the web of the steel beam. Then there’s the load on the steel beam. For your typical steel wide flange beam, the load really should be placed right onto the web and not only on the flange. So here’s the better solution in my opinion.
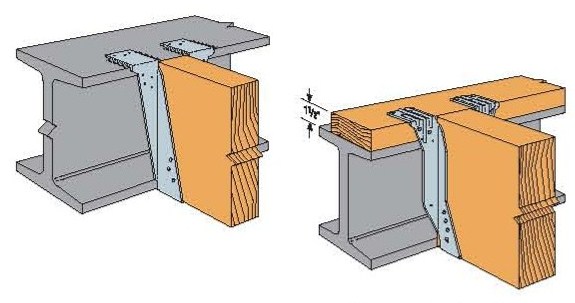
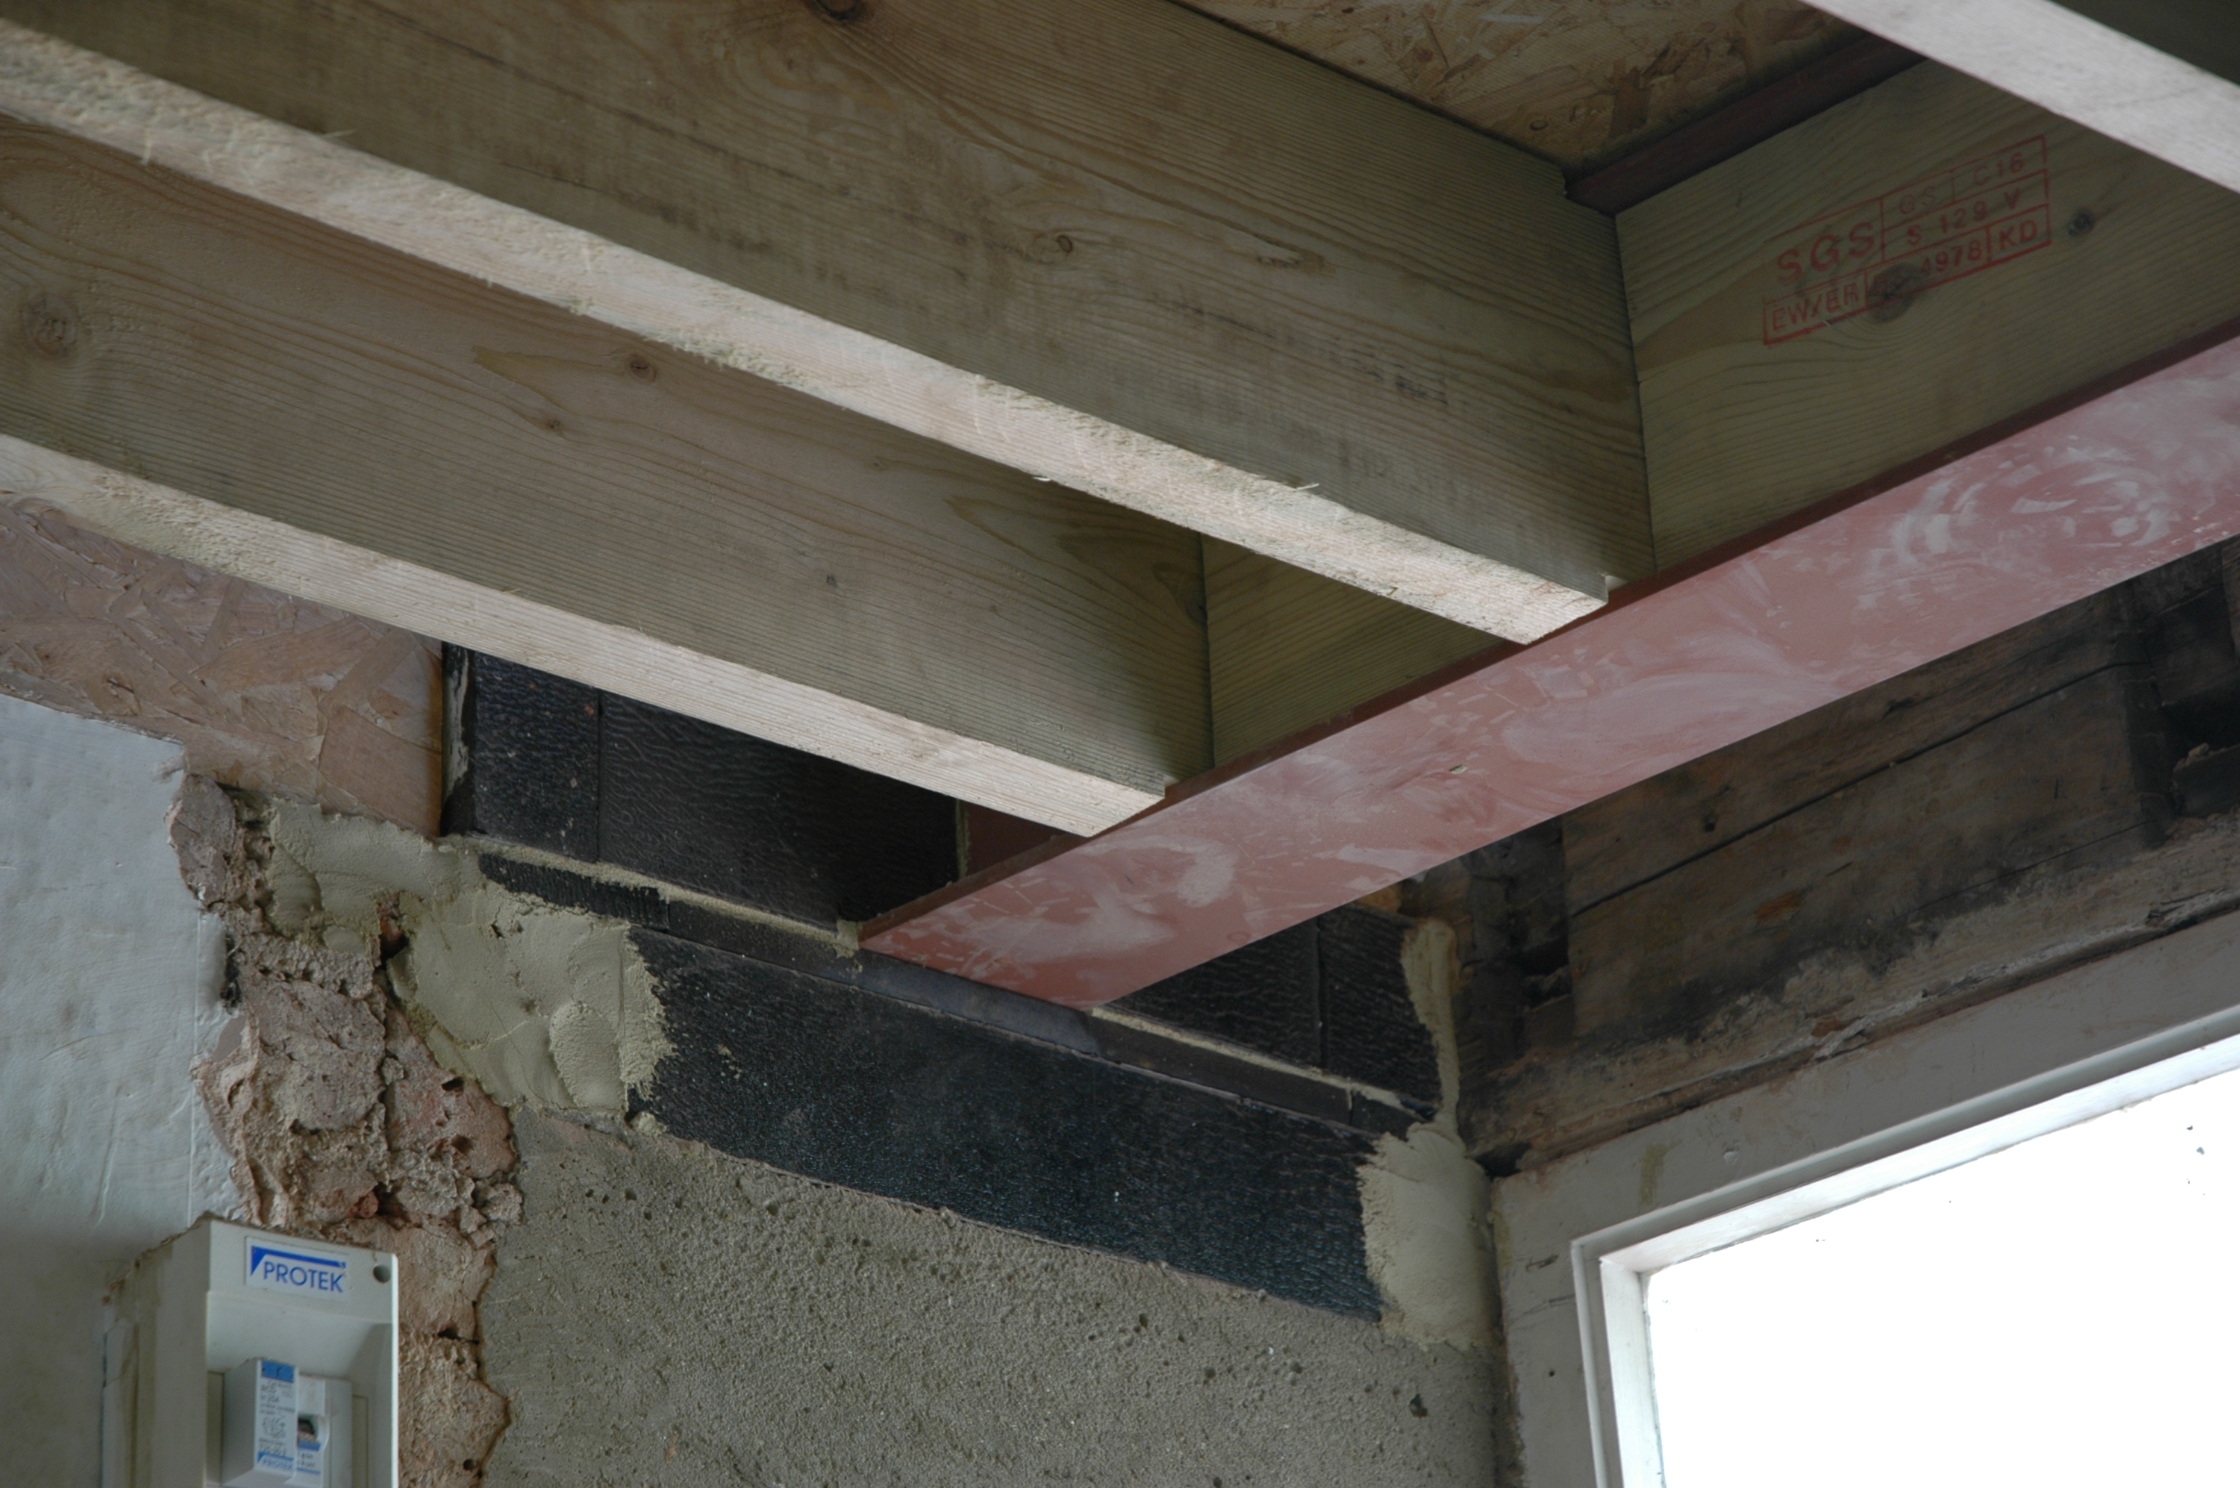
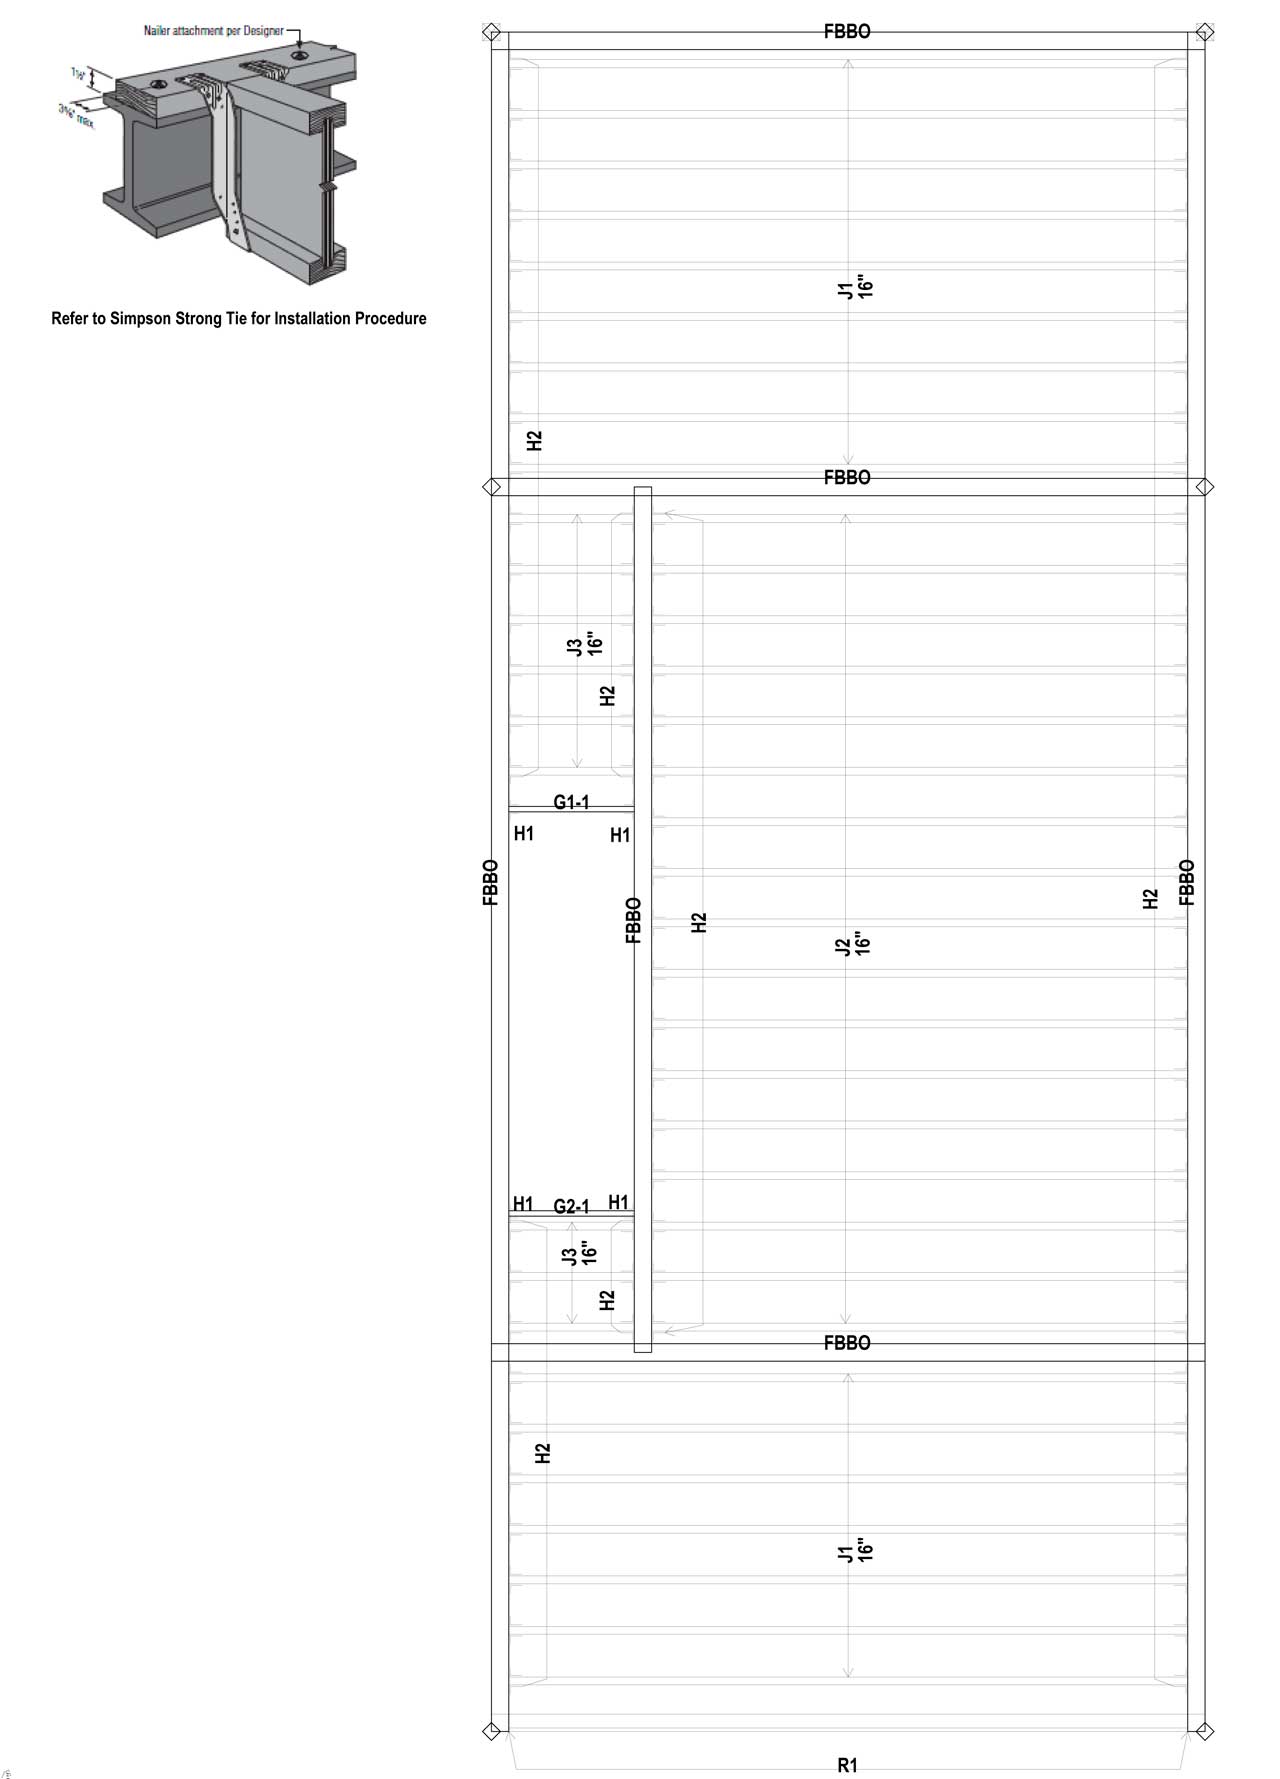
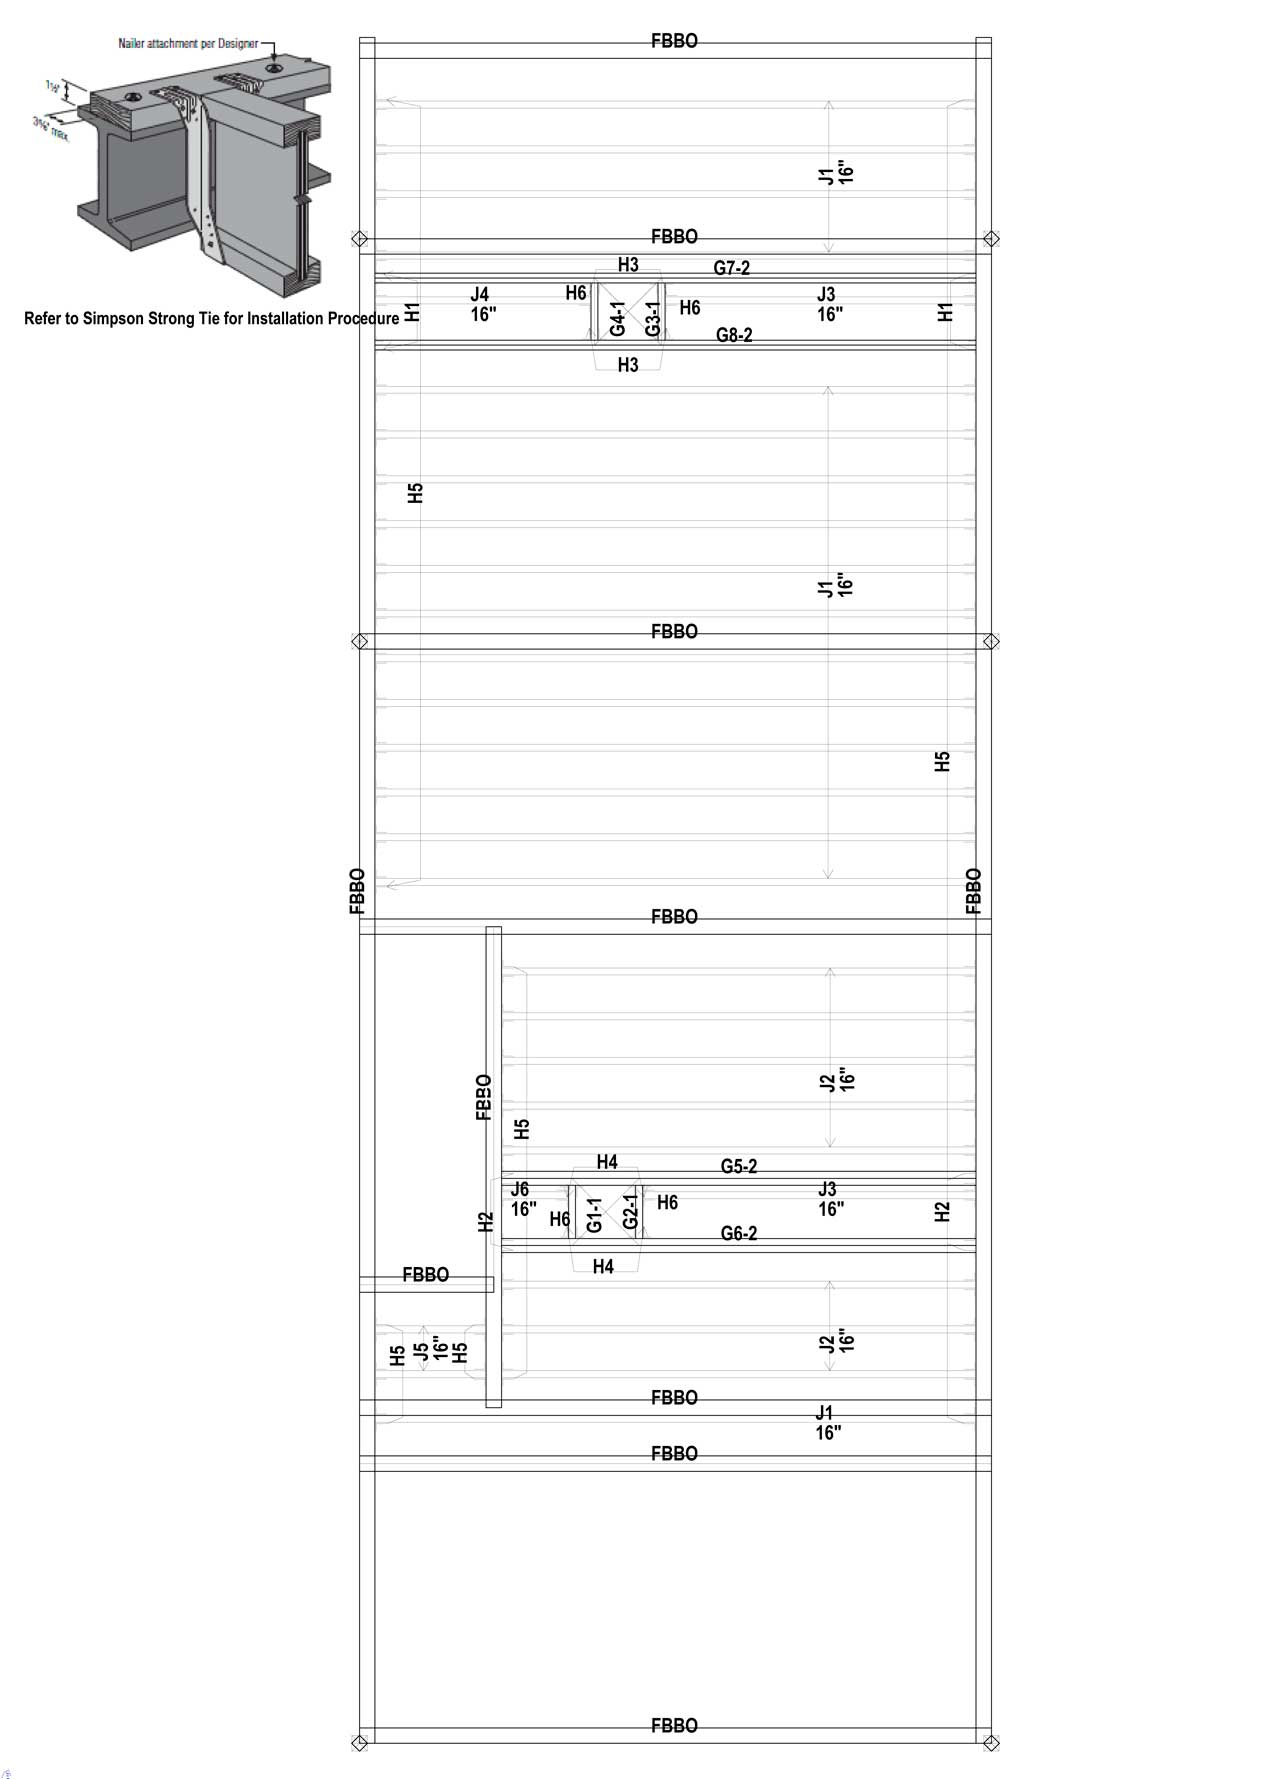
As shown in the illustration to the right, first you secure a piece of 1 1/2″ wood on the top of the steel beam. Then by using a top flange hanger, you secure the joist hanger to this top nailer. This way, you no longer need to have complicate work to install all that filler blocking to prevent lateral movement of the joist. You are no longer notching the joist and so no weakening of the joist. And best of all, you placed more of the load onto the web of the steel beam rather than loading all of that on the flange.
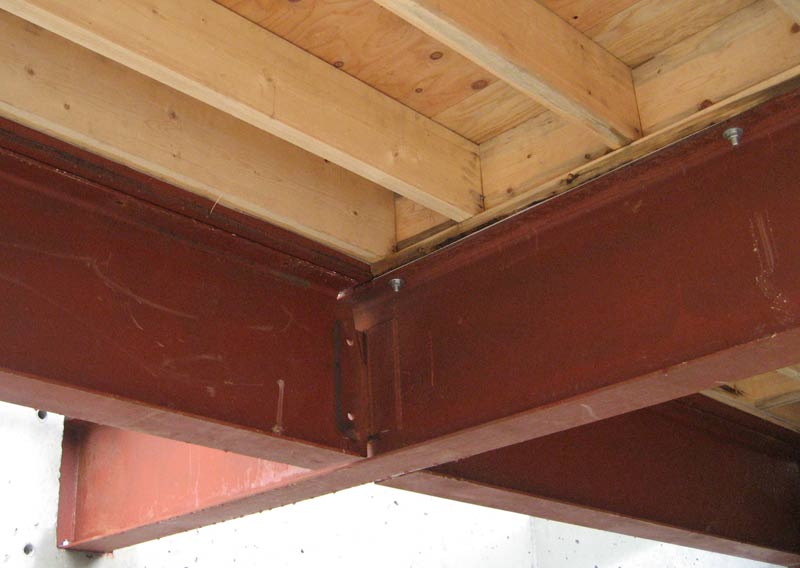
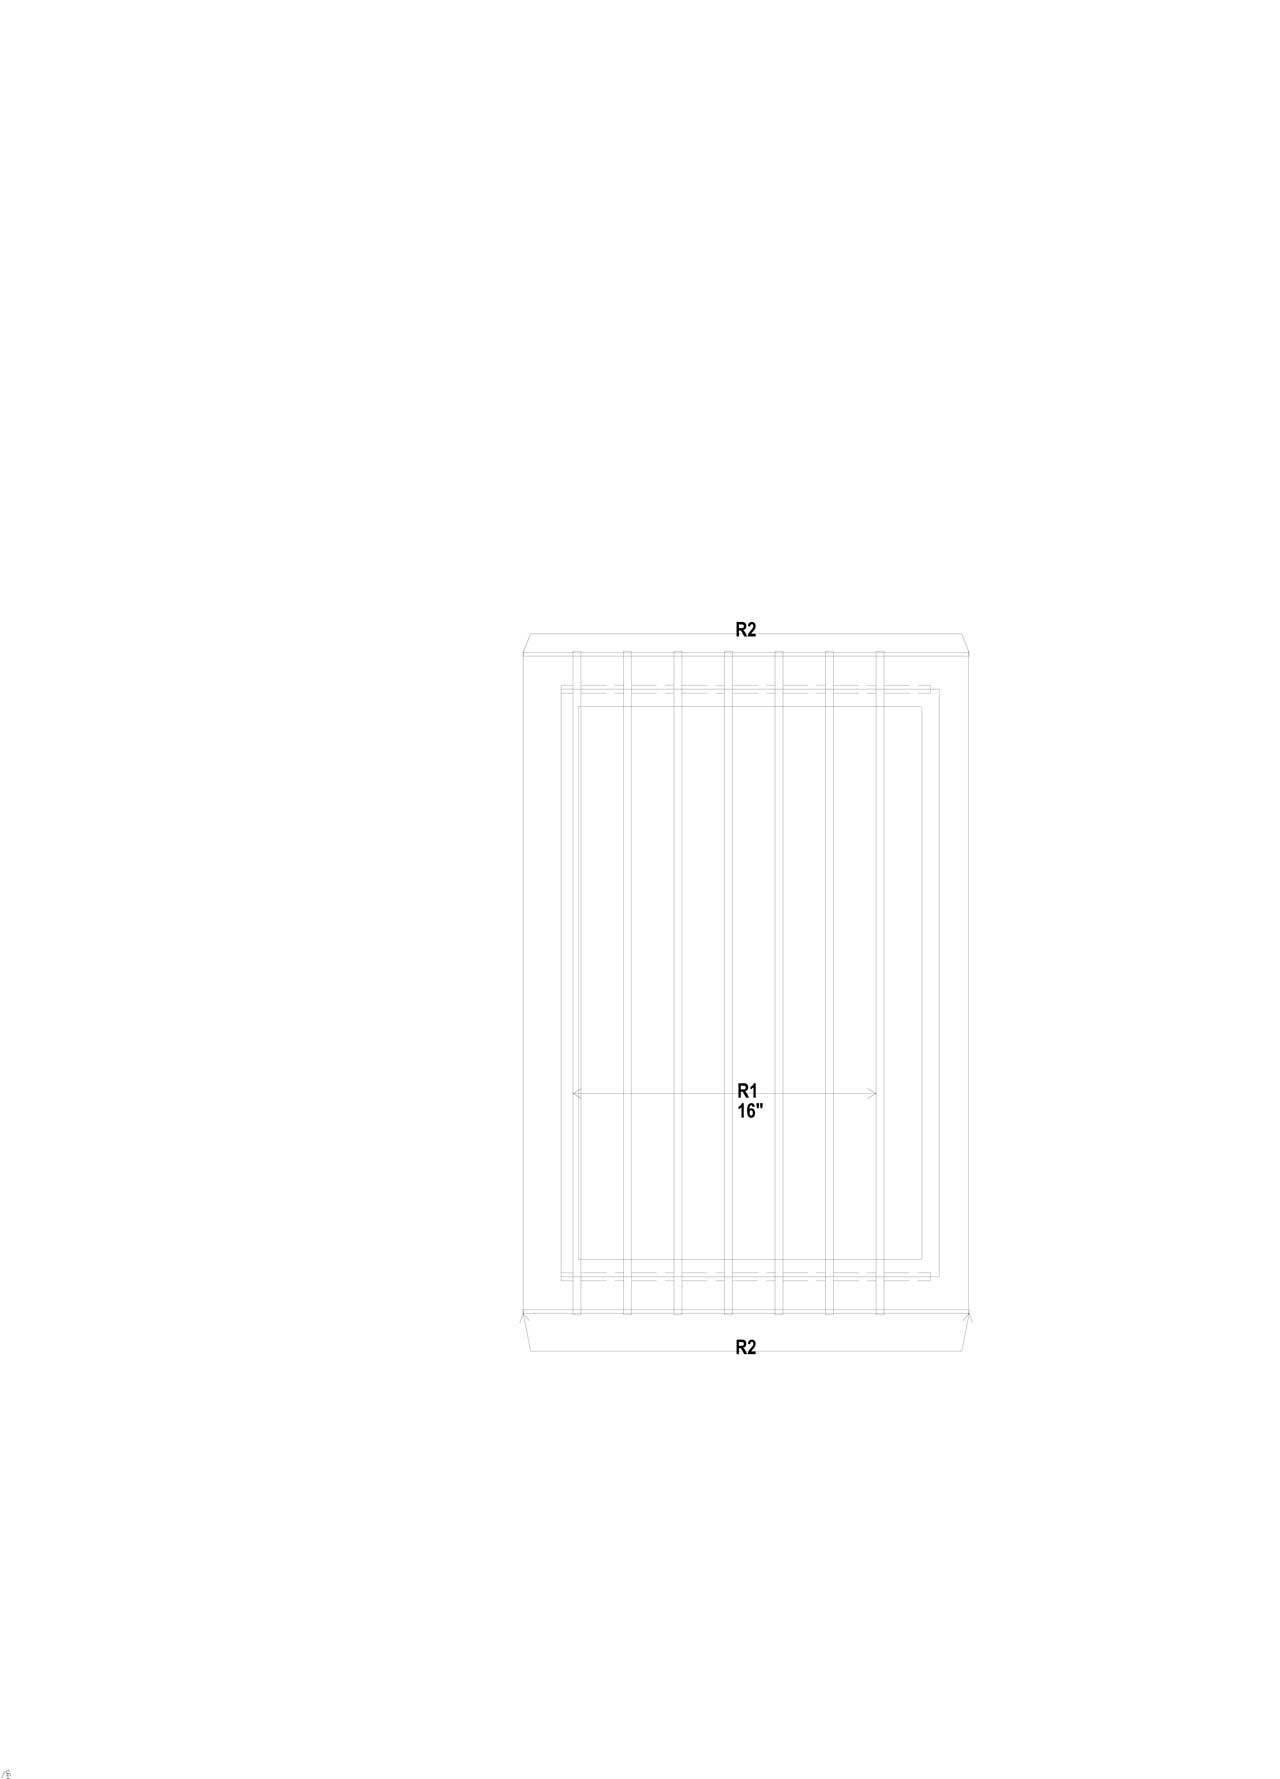
Here’s the resulting joist layout. Most of the joist are hung using Simpson Strong-Tire top flange hangers.
Leave a Reply
You must be logged in to post a comment.