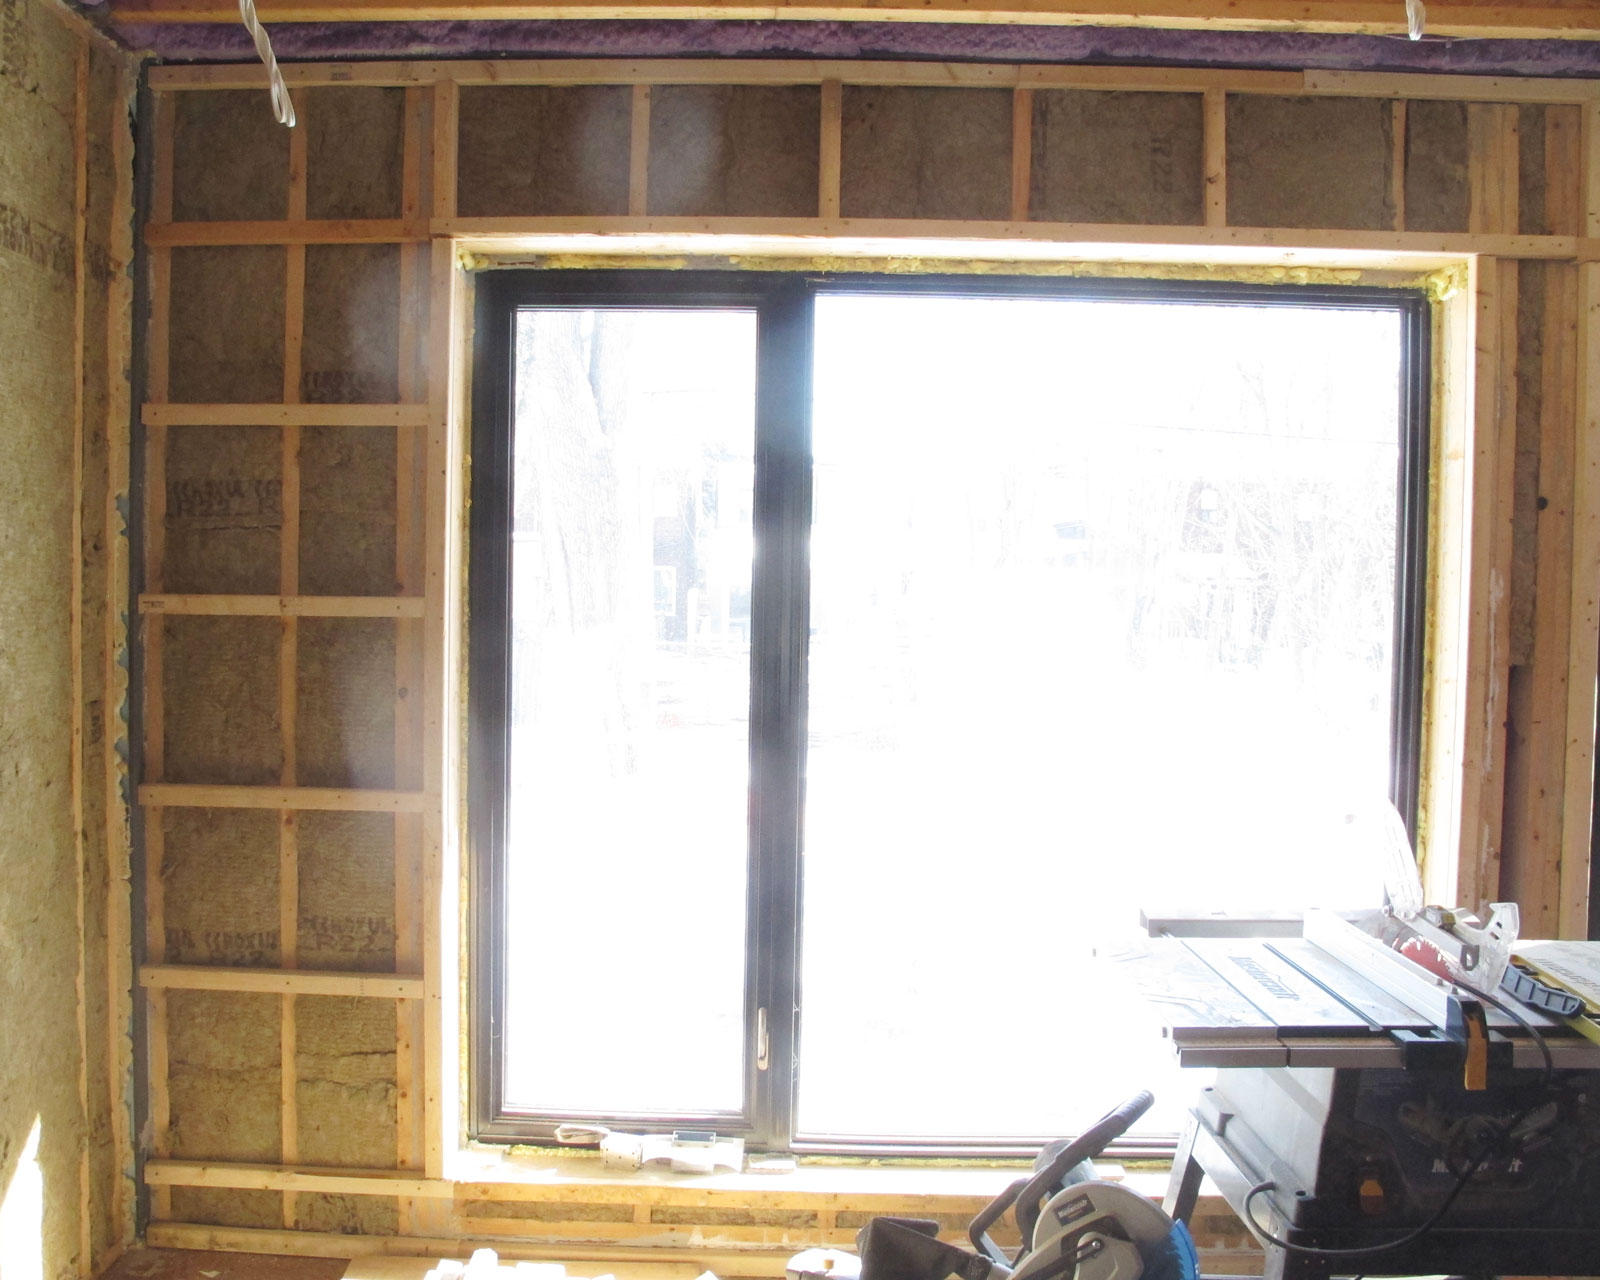
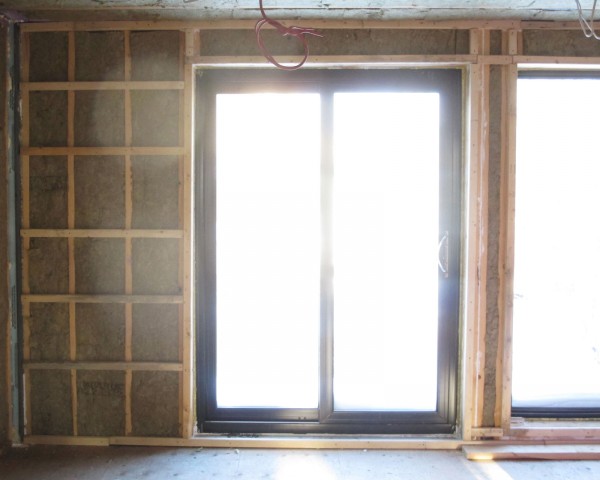
May 29th, 2015 The basement will have some really big sliding doors installed. And we discovered some issue so that we had to frame a few areas so that the sliding doors can be installed properly. Here in front of the duct, we had to frame another set of walls in front for the sliding doors to come to the right distance from the wall.

Continue reading ‘Framing for the basemen sliding doors’ »
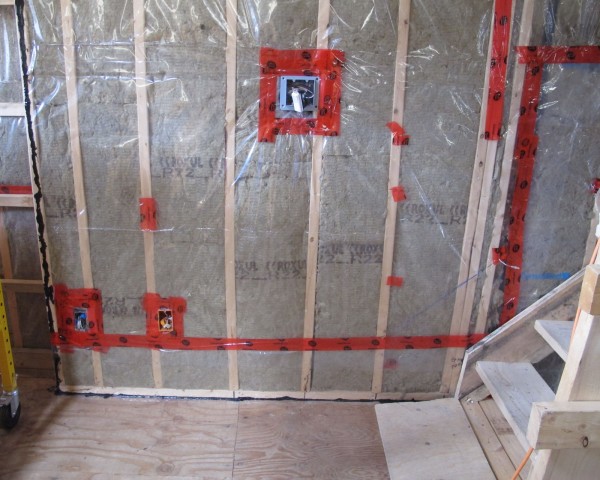
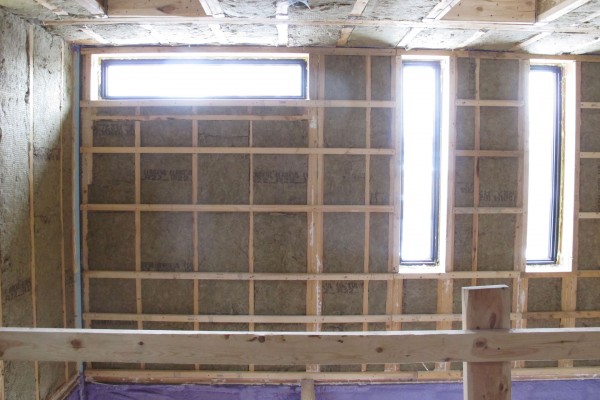
April 8th, 2015 Finishing up the vapour barriers. Here on the first floor the bottom sections are all completed.
Continue reading ‘Vapour barrier day 2’ »
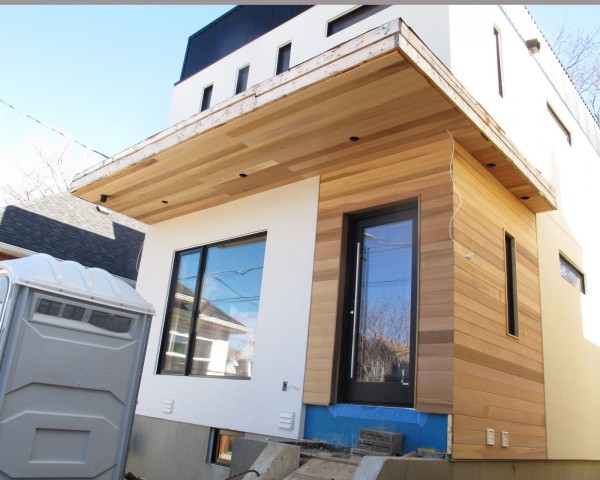
March 18th, 2015 The cedar siding is now finally finished toda
Continue reading ‘Cedar day 3’ »
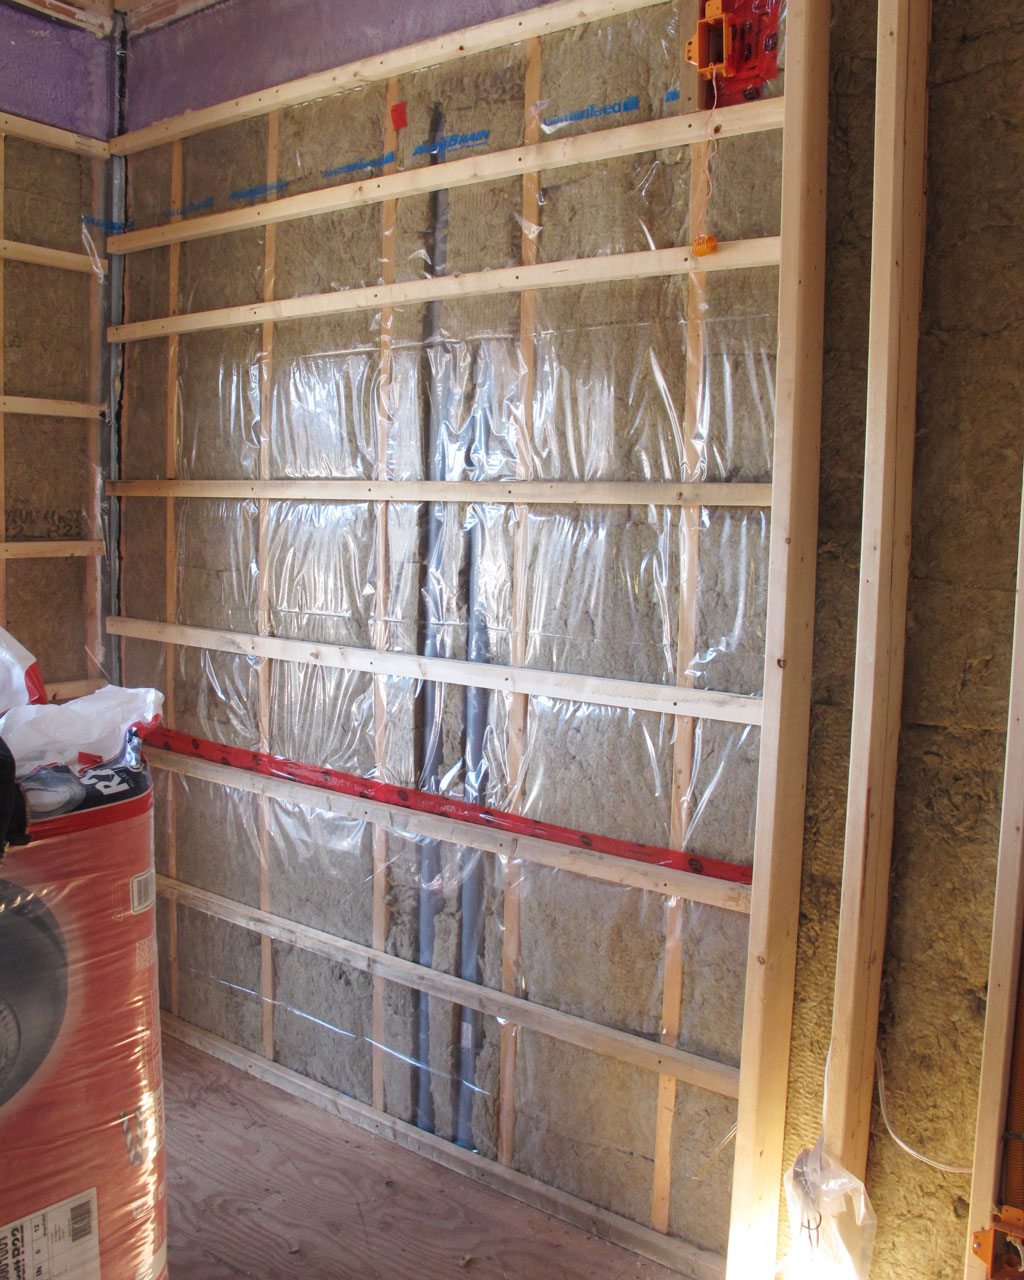
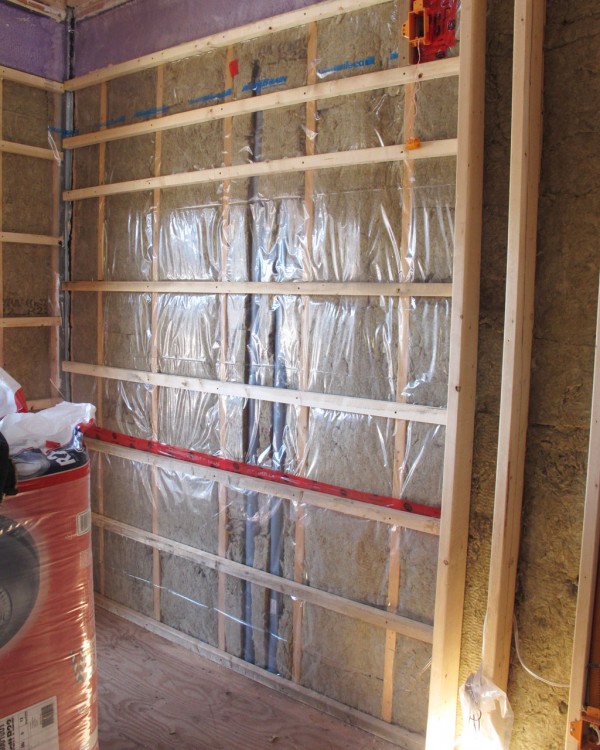
March 12th, 2015 More strapping on the wall. For the north wall, we put the vapour barrier behind the strapping so that there are less chances that the vapour got punctured. This way when you hung a wall or otherwise make a hole on the wall, you are not going to make a hole on the vapour barrier as well.
Continue reading ‘Strapping day 5’ »
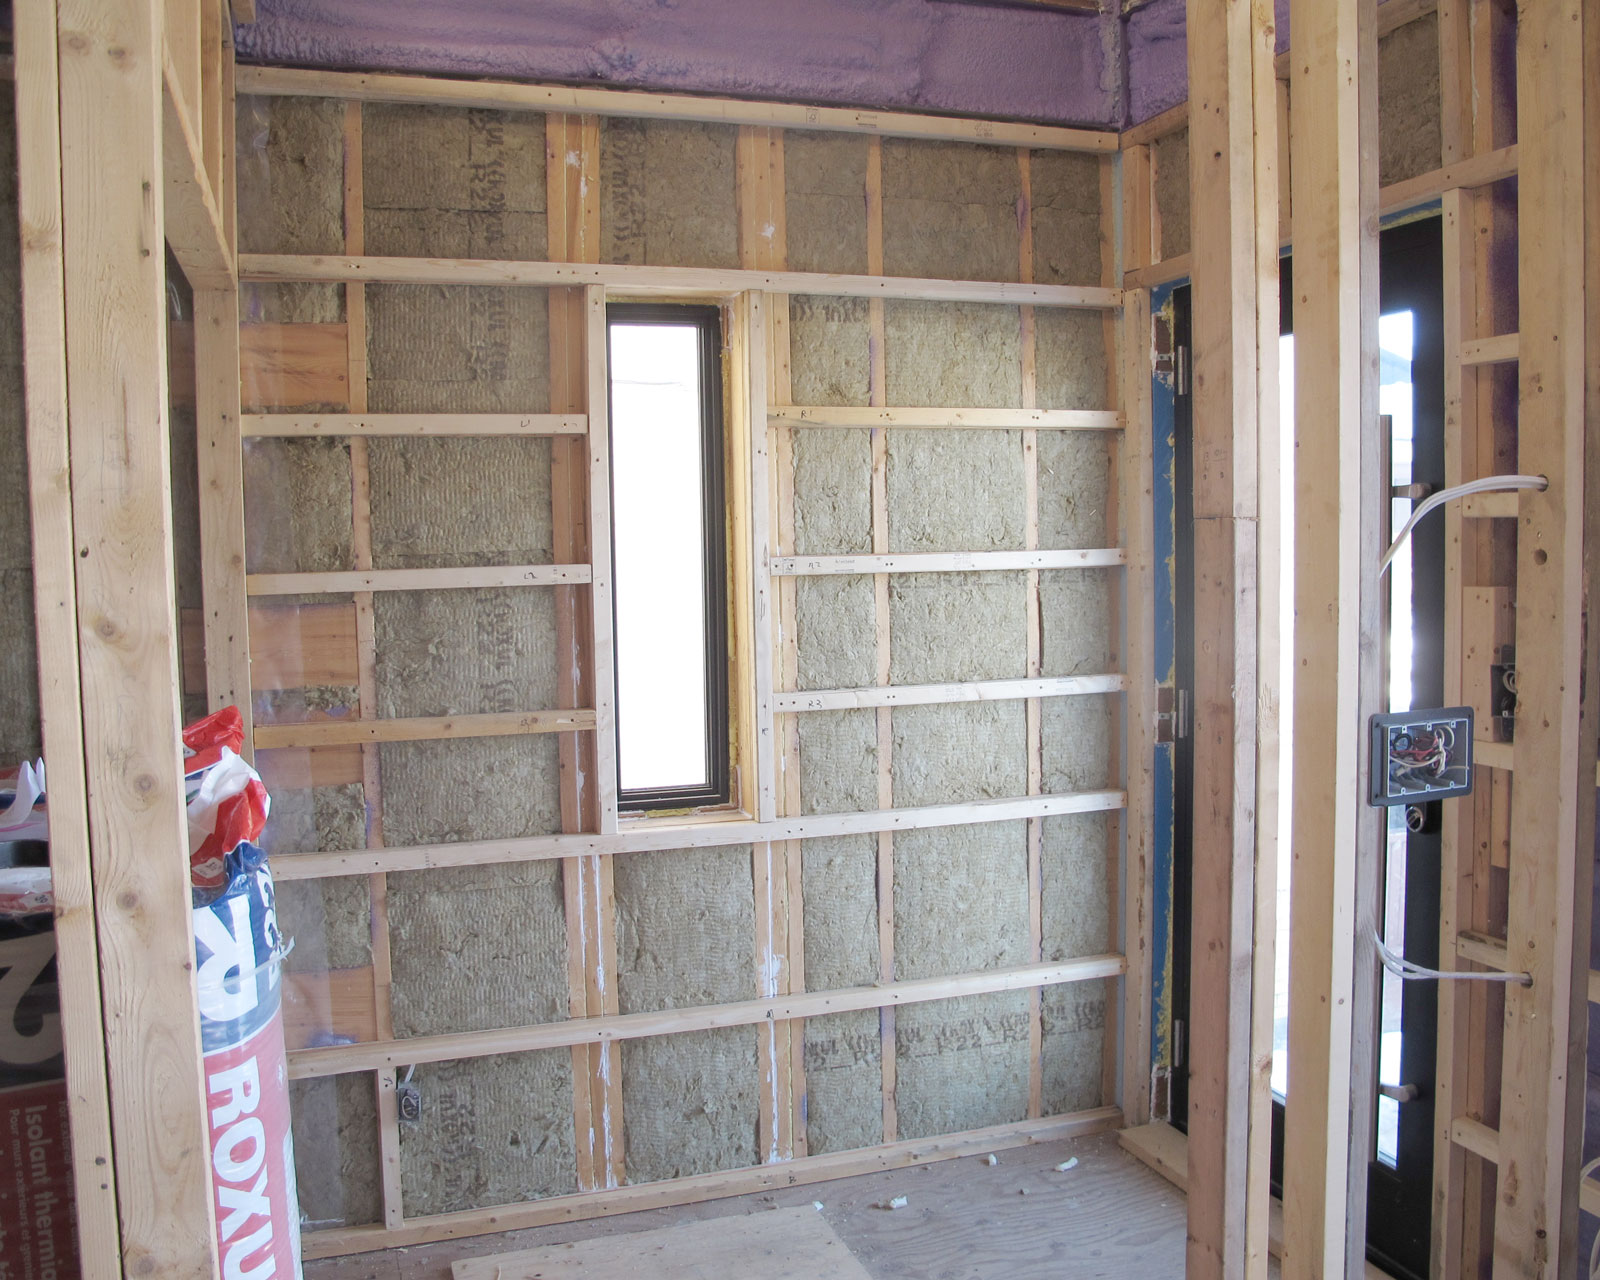
March 7th, 2015 We are doing more strapping today. First we had to remove the strapping on the south wall at the entrance area. We had to add another 1/2″ to it since it has to be strapped out 2″ rather than 1.5″. So we removed the existing ones and added a layer of 1/2″ plywood behind the wood and screw the strapping back on.

Continue reading ‘Strapping day 4’ »
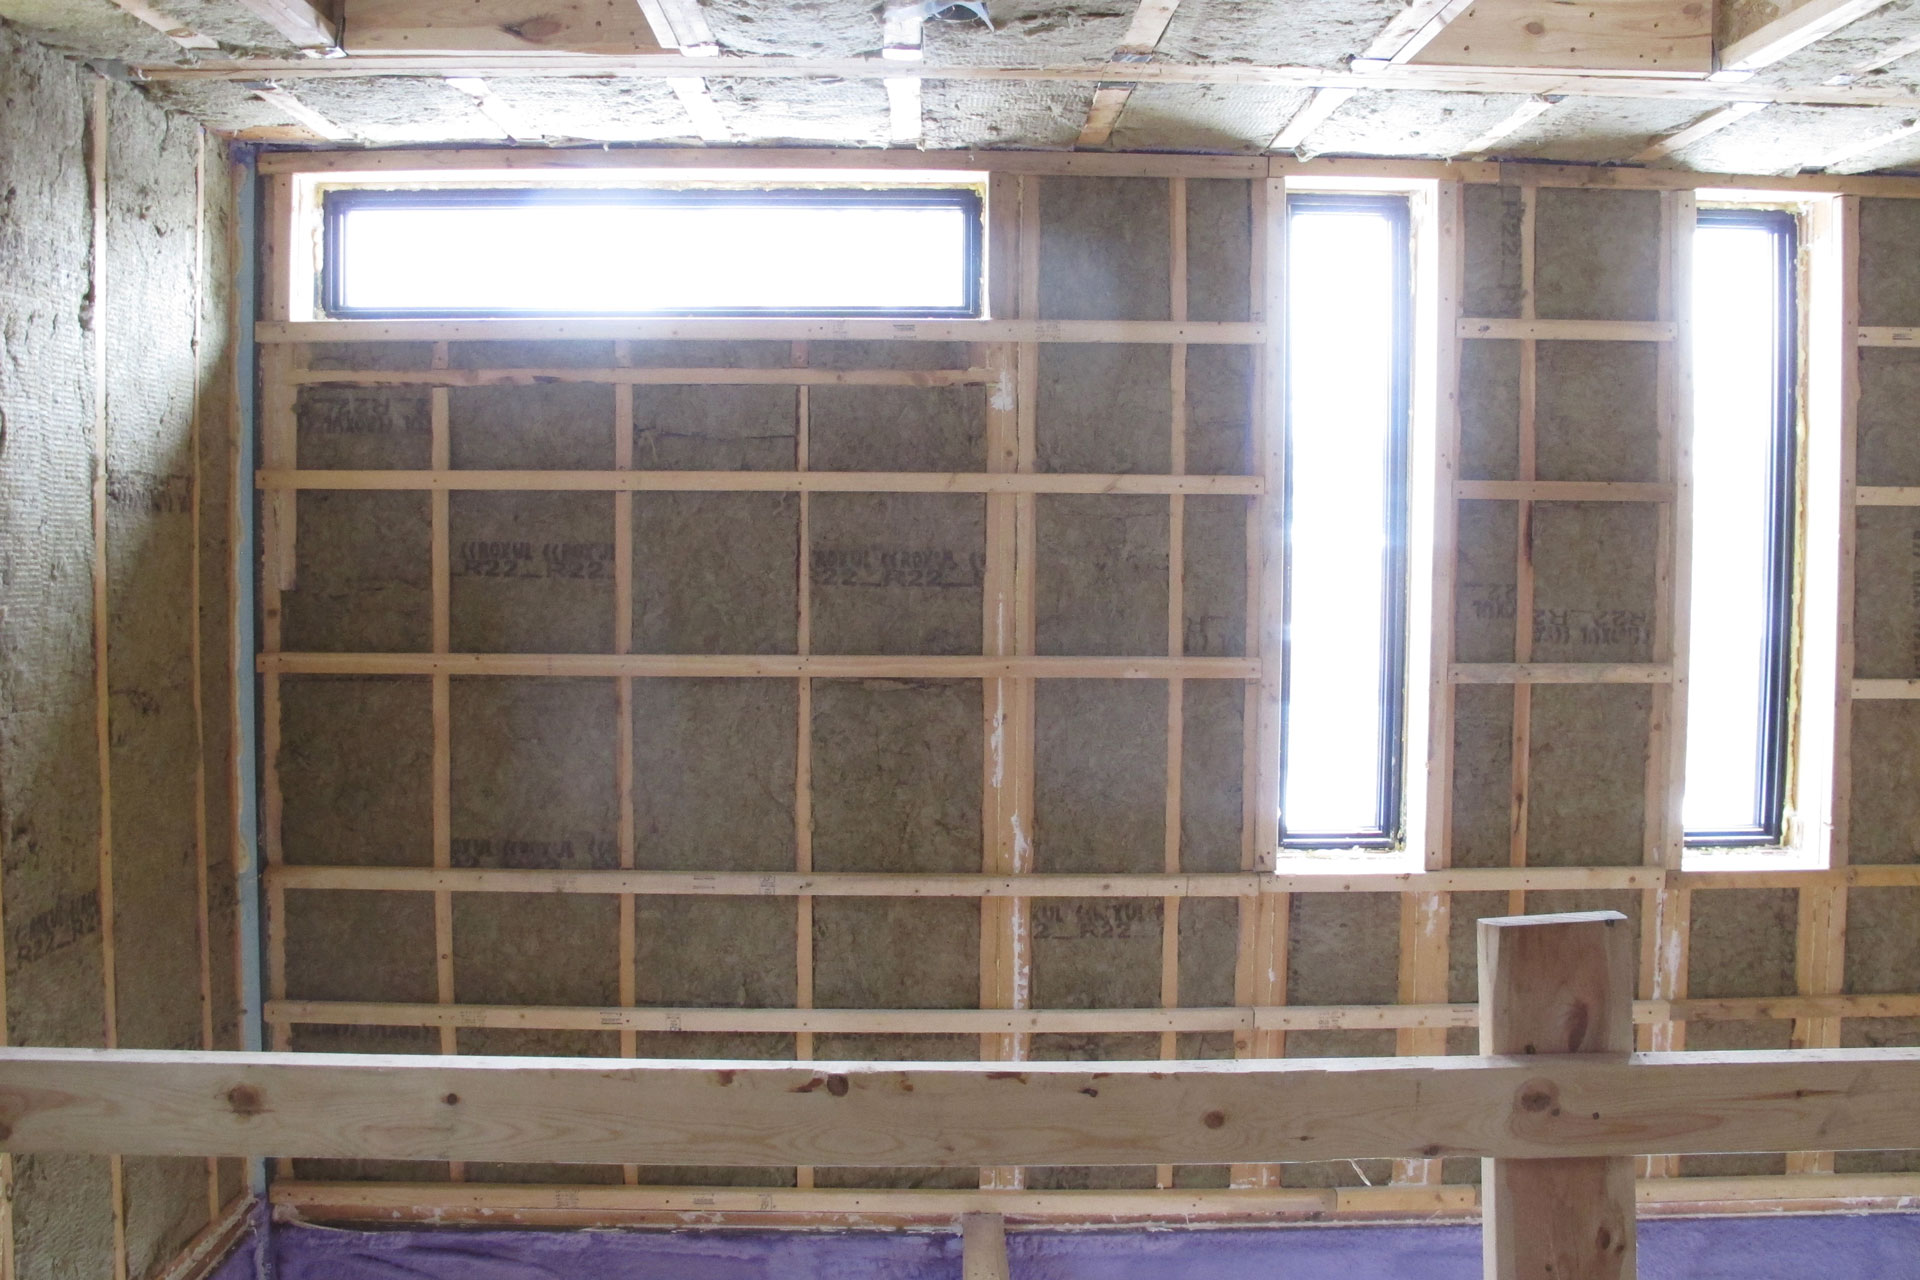
March 1st, 2015 Doing more strapping work myself. Here on the west side of the house, the wall will not be used for anything so it is fully strapped horizontally.
Continue reading ‘Strapping day 3’ »
February 25th, 2015 Tried to do some strapping work by myself. Here on the 2nd floor in the bedroom, the walls are strapped horizontally. The left part of the bedroom here is going to be filled by a wall to wall closet. So certainly we are not going to need to find those vertical studs.
Continue reading ‘Strapping day 2’ »
February 22nd, 2015 Today we started strapping the inside of the exterior wall. As mentioned on the “Exterior wall construction with Swedish roots“, the exterior wall of this house is designed so that there is a 2×2 strapping on both the outside and inside of the 2×6 stud wall.
We started with the east side of the house. Instead of using 2×2 for strapping, we split the 2×4 in the middle and use the two pieces. We then pre-drill and then secure the strapping with 8×3 construction screws.

Continue reading ‘Strapping’ »
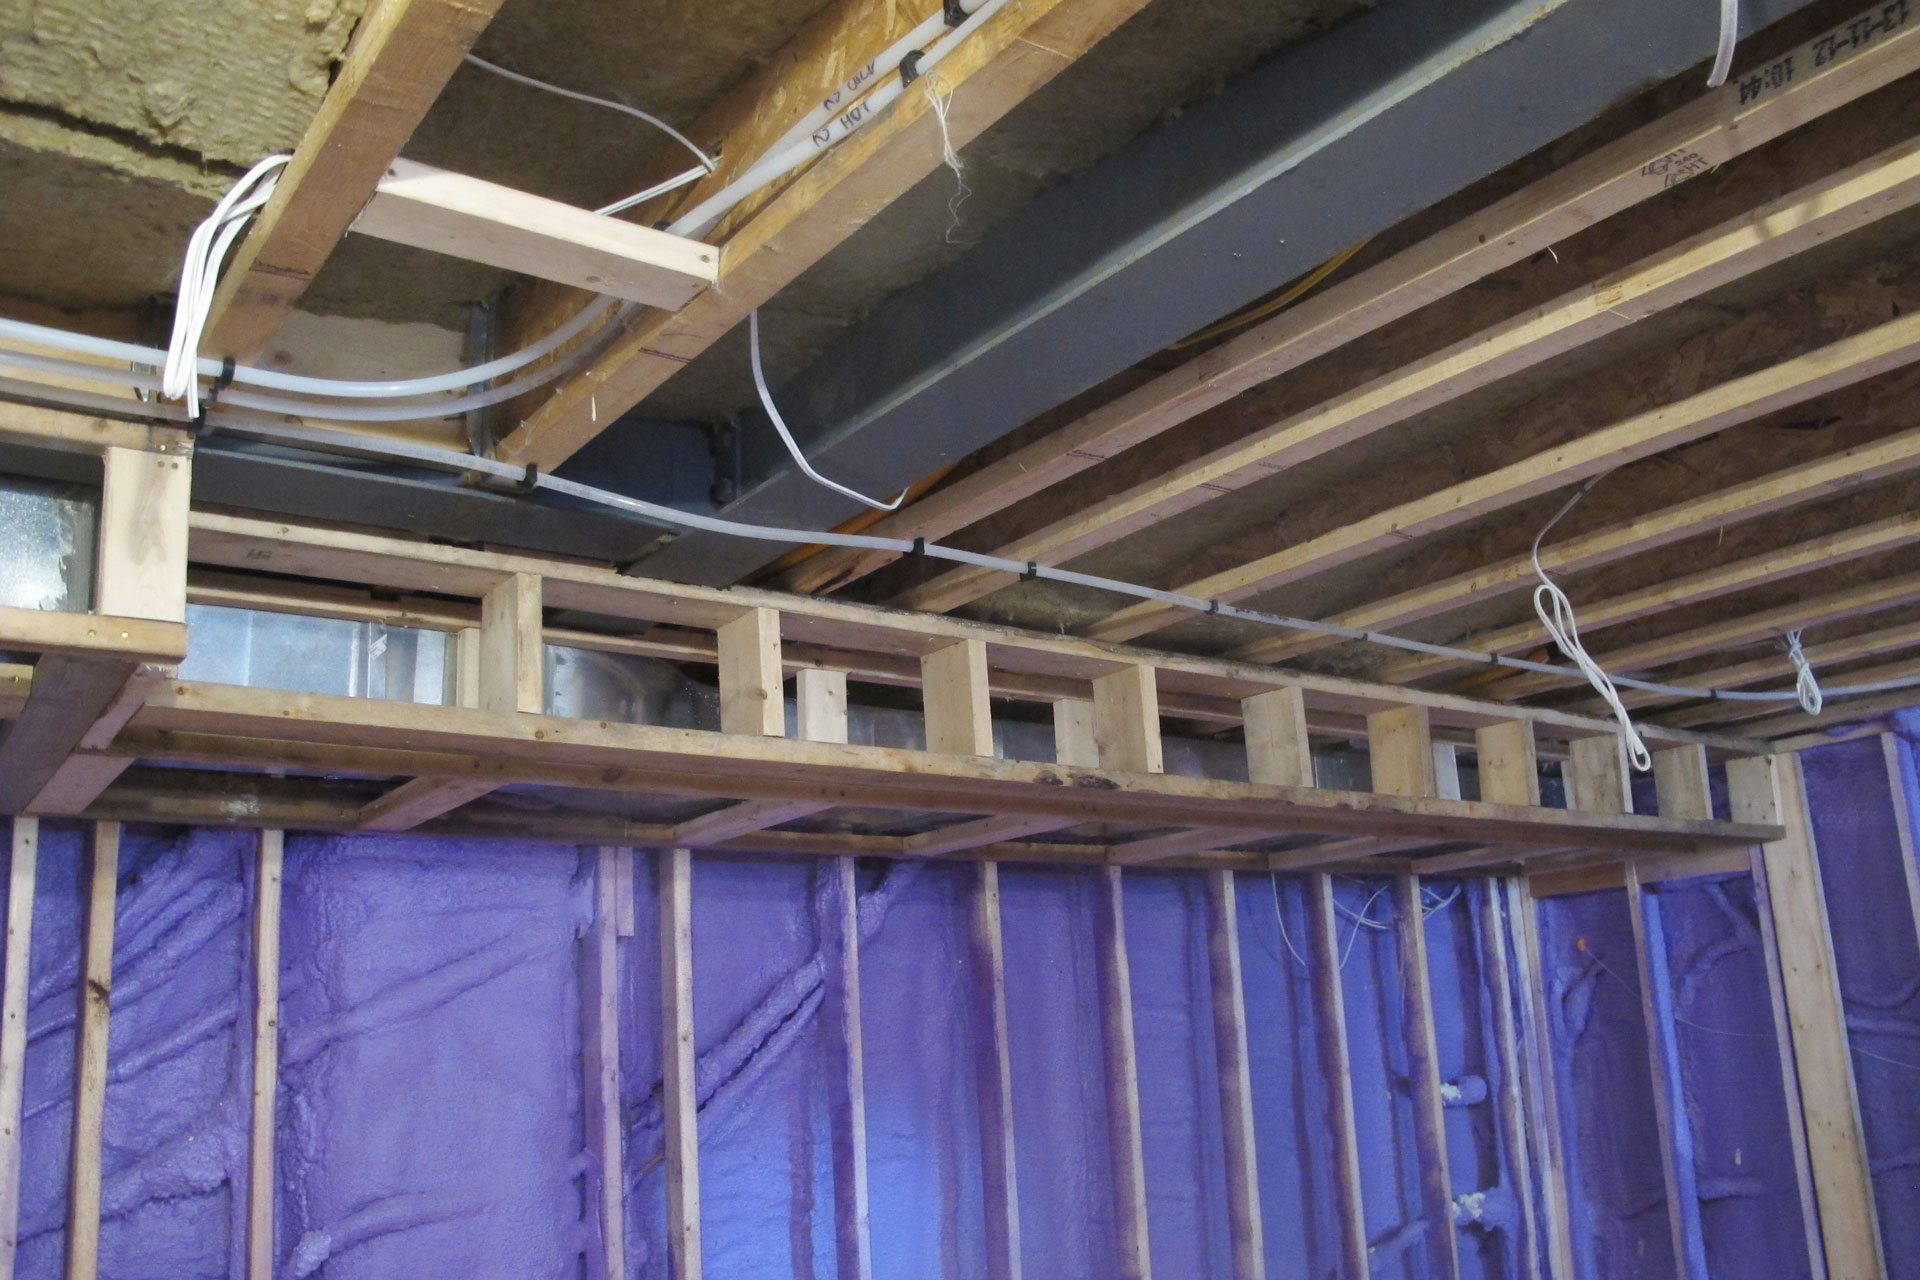
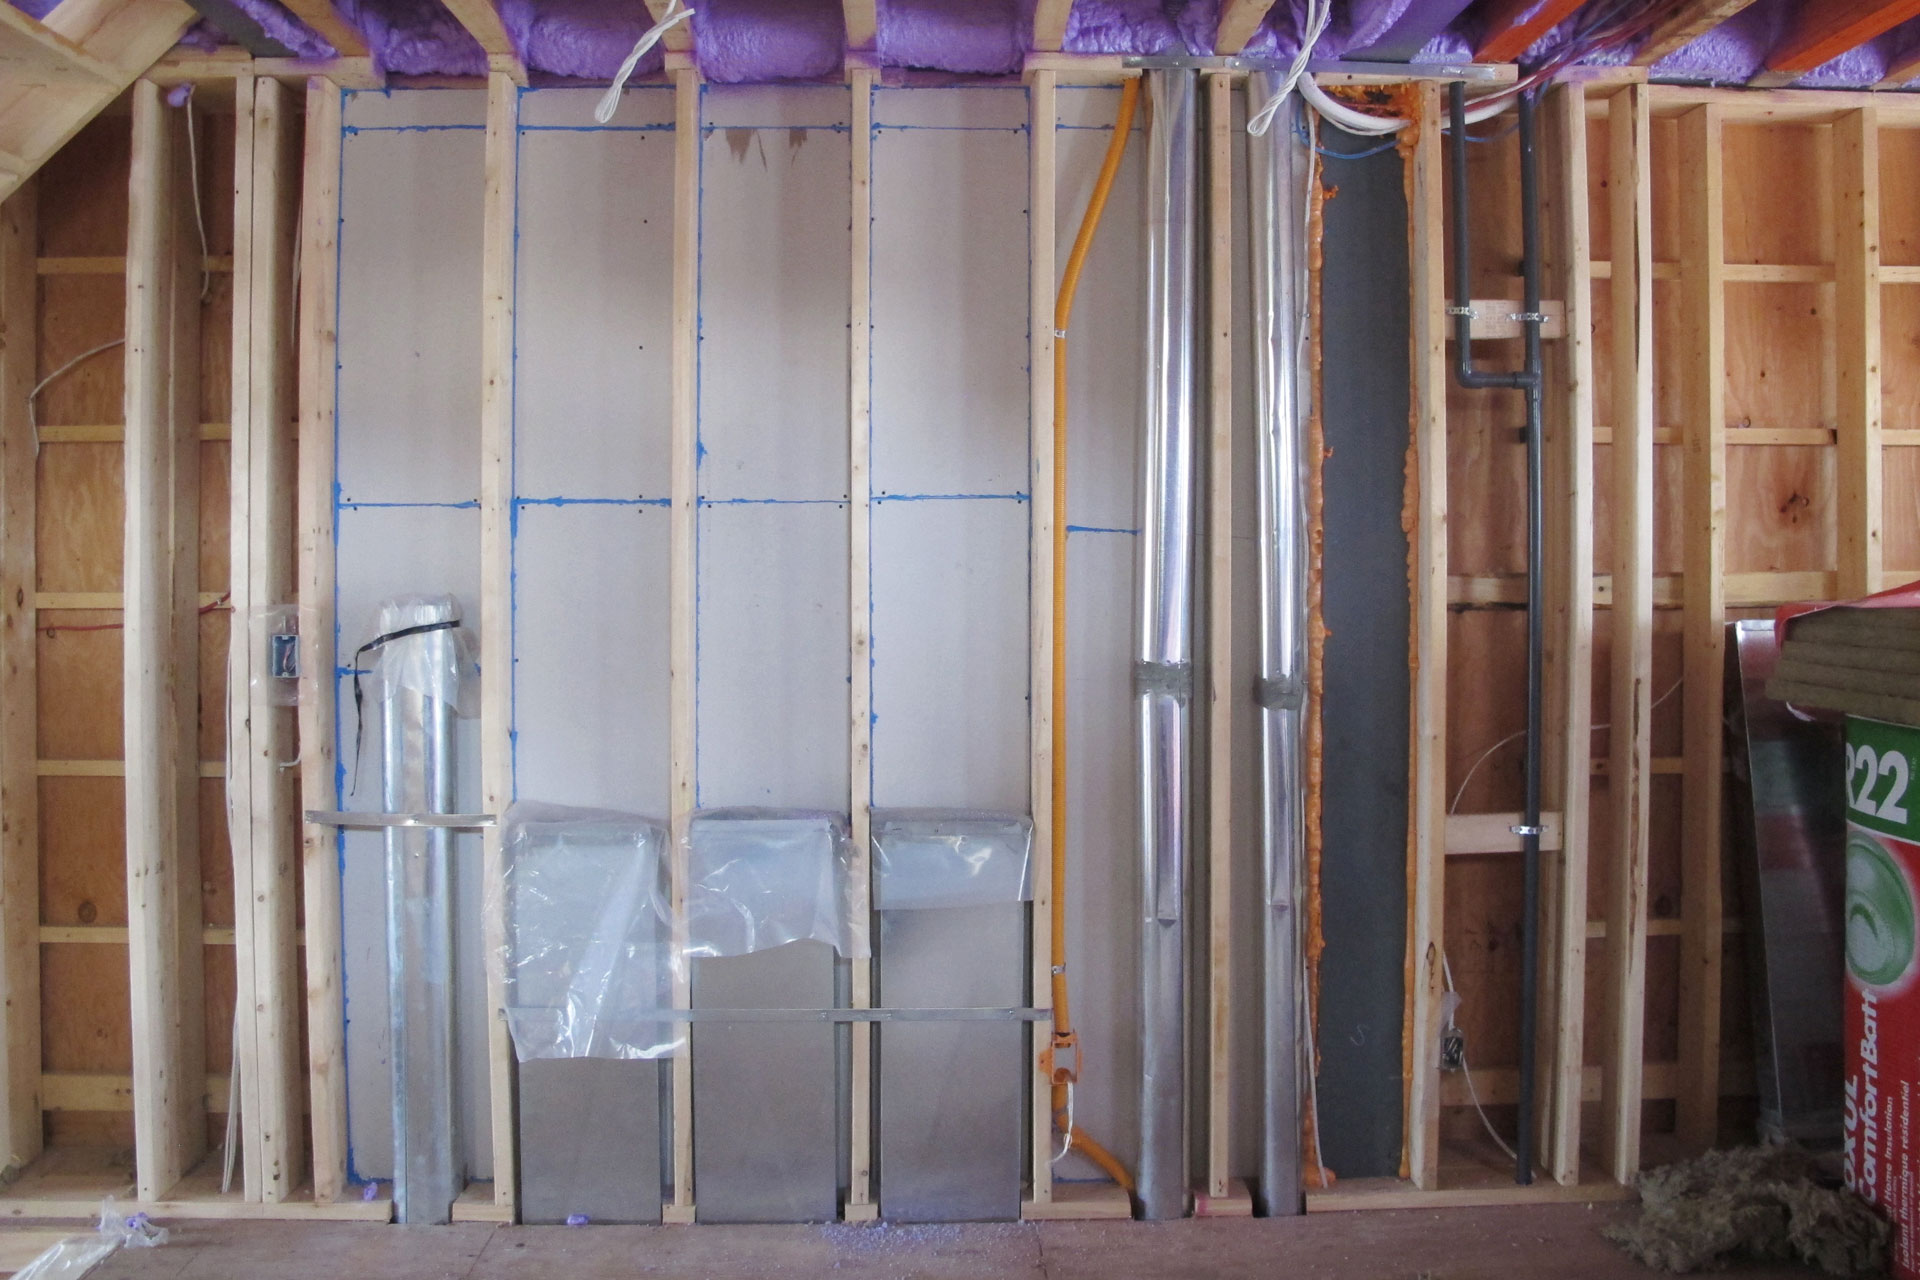
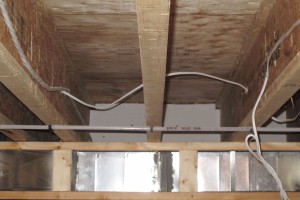
December 2nd, 2014 The building inspector has indicated that Type-X drywall must be installed behind all metal duct works. So today we removed some of the existing duct works and installed 5/8″ Type-X drywall behind the ducts.
This is the first floor, from the left, you see Type-X drywall behind one furnace supply duct, three return air ducts, and two HRV supply/return duct. We’ve sealed any opening with fire block foam.

Continue reading ‘Duct and fire rated assembly’ »
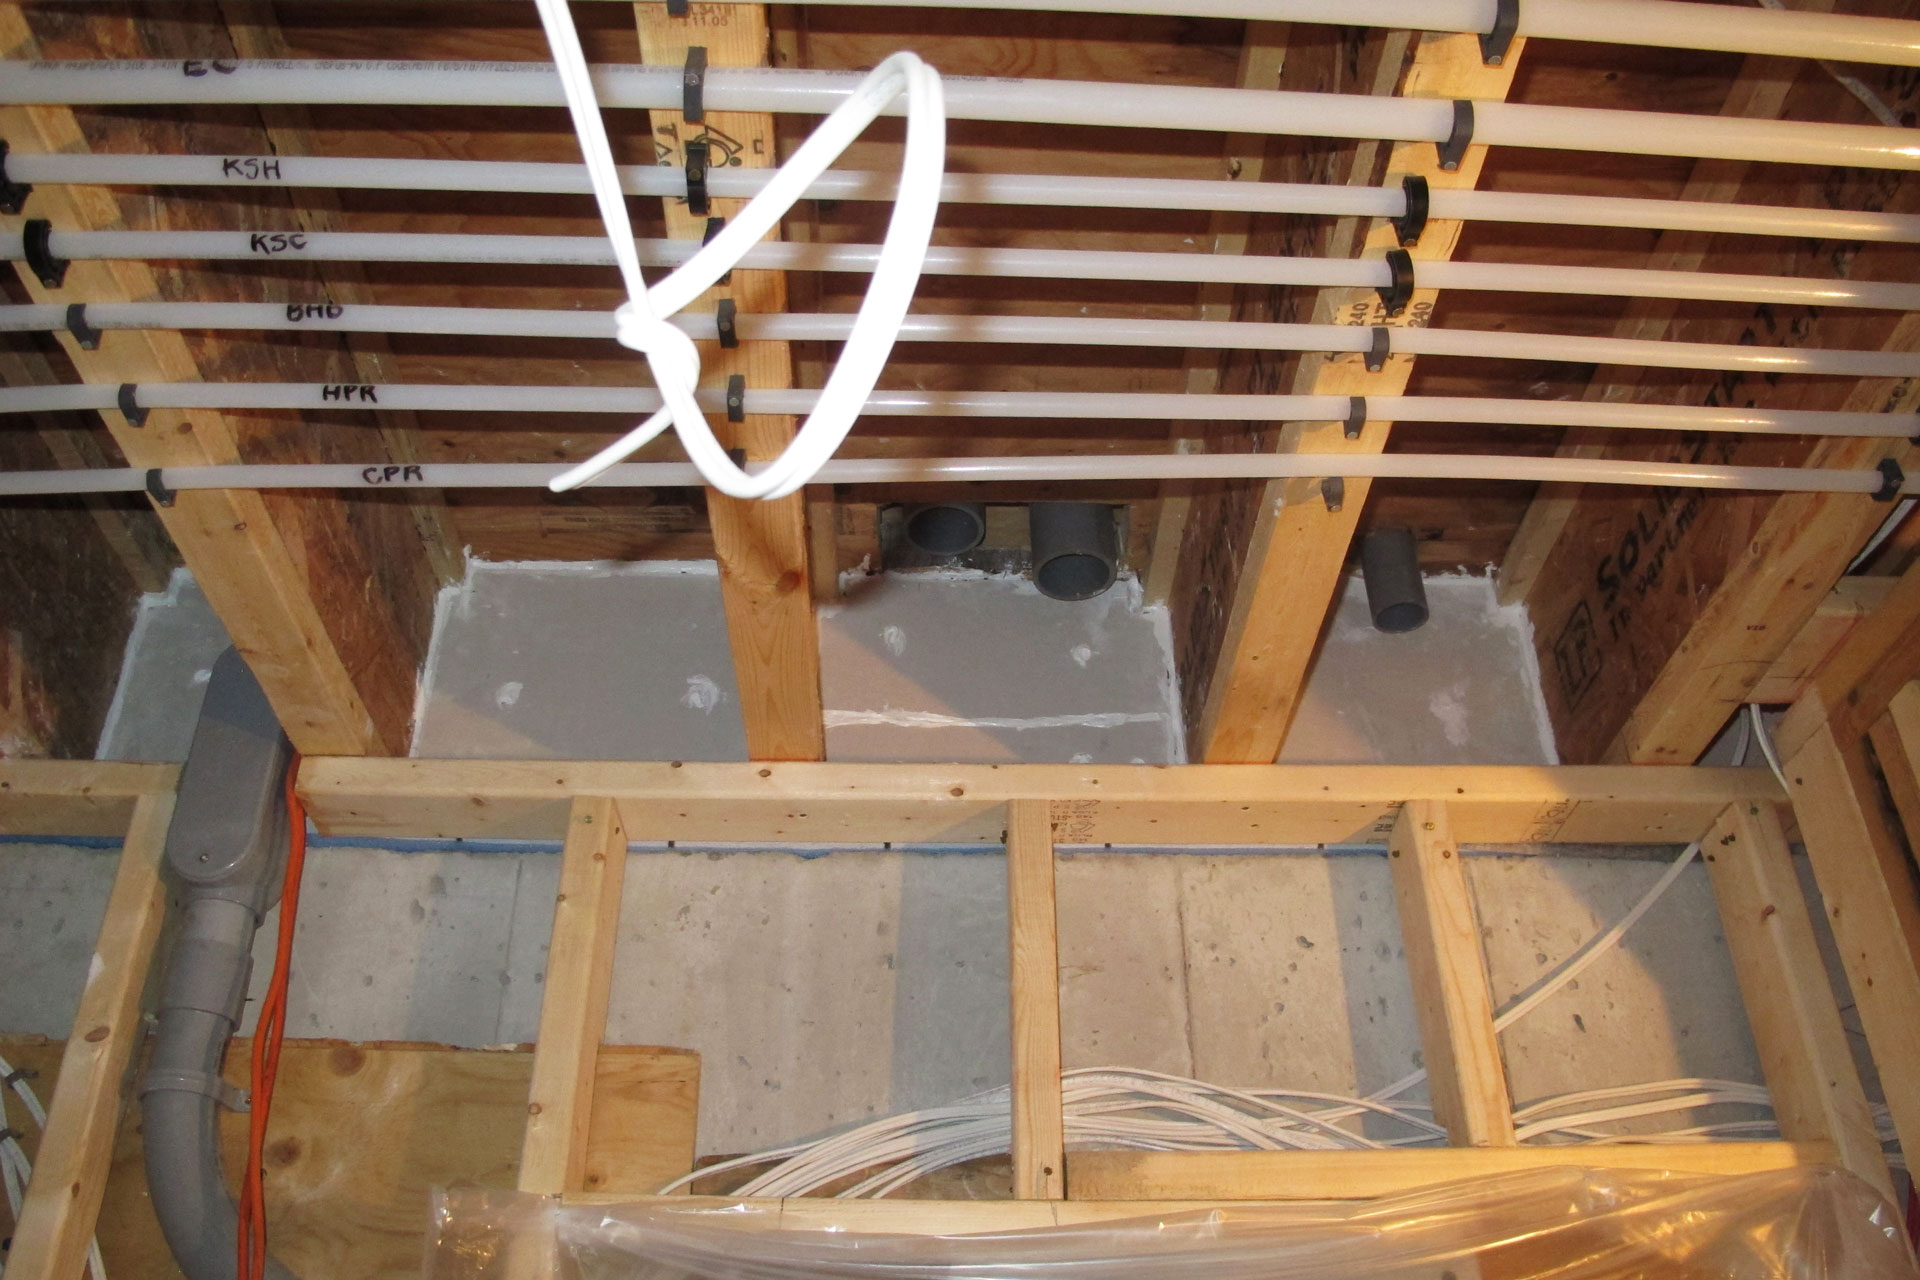
November 29th, 2014 The north wall has to be fire rated. Here in Toronto, the requirement for header in a fire rated assembly can be satisfied by having 5/8″ Type-X drywall installed next to the rim board. The 5/8″ Type-X drywall provides 40 minutes of fire-resistance ratings. Add the rim board and the plywood and we will get the required 45 minutes fire-resistance rating that’s required.
Page 1 of 612345...»Last »
|
|