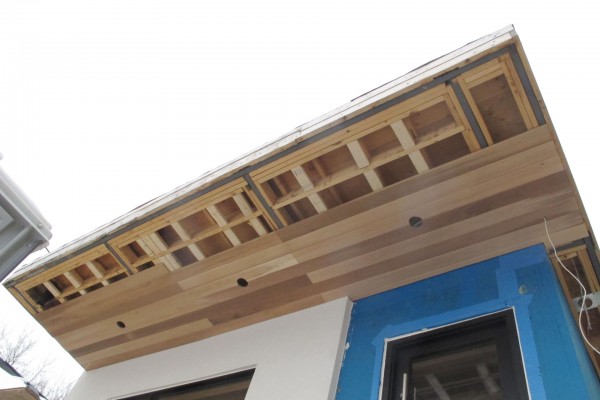
March 3rd, 2015 Carlos’s crew from Pleasant Homes Construction is here to install the cedar siding. I’m having clear cedar siding installed under the front shade, under the rear balcony and at the south-west corner.
Here’s what the have done so far on the front. There was a bit problem on the side, the recessed light was too close to the plywood that the siding cannot be installed. There’s about 1″ of space to move towards the outside, and after that move, it barely made the cut.
Continue reading ‘Cedar day 1 & 2’ »
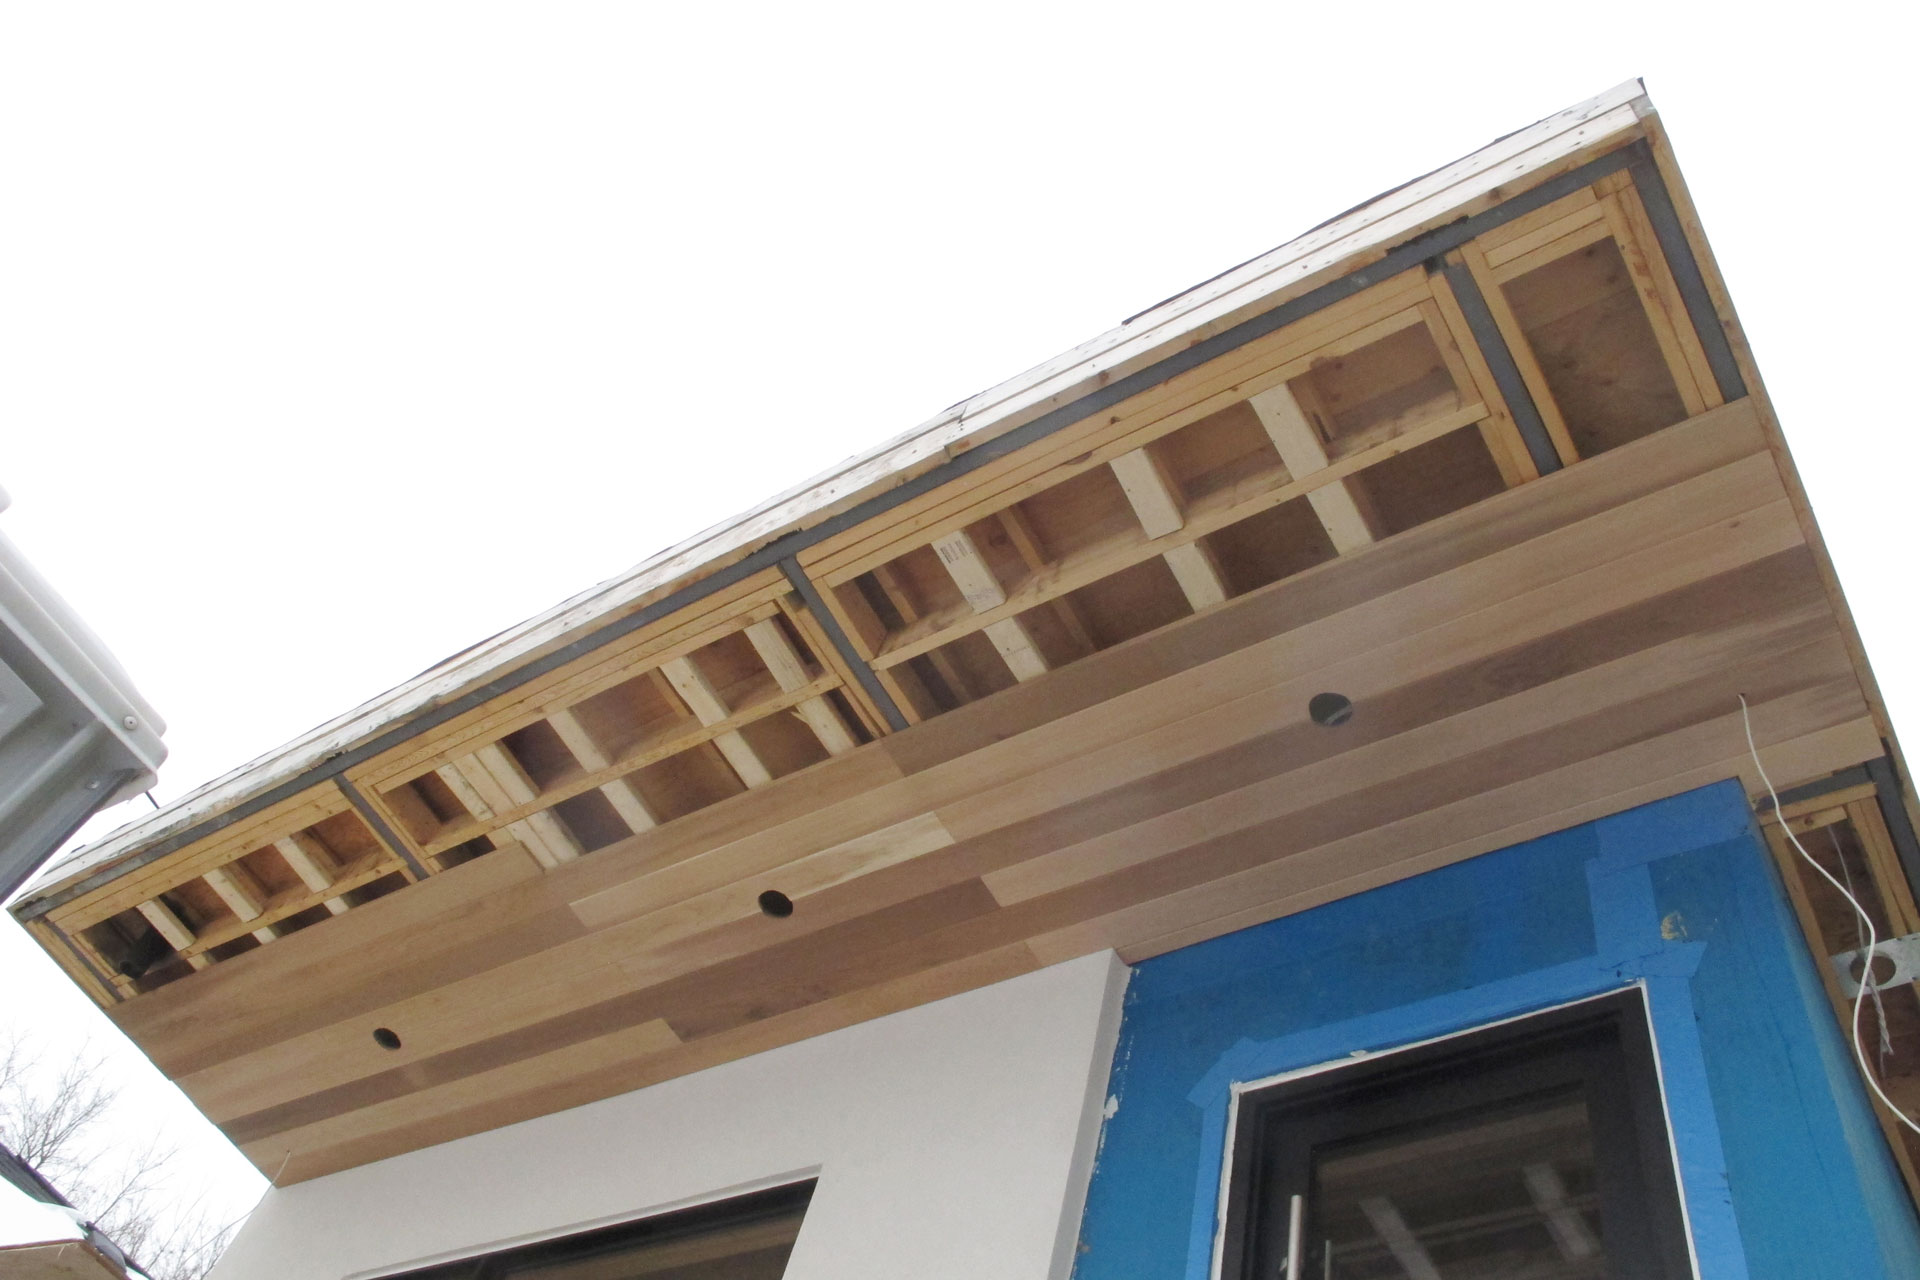
December 7th, 2014 Now that the electrical wires are run for the soffit lights on the 3rd floor, I finally found some time to get the soffit reinstalled.

Continue reading ‘Soffit reinstalled’ »
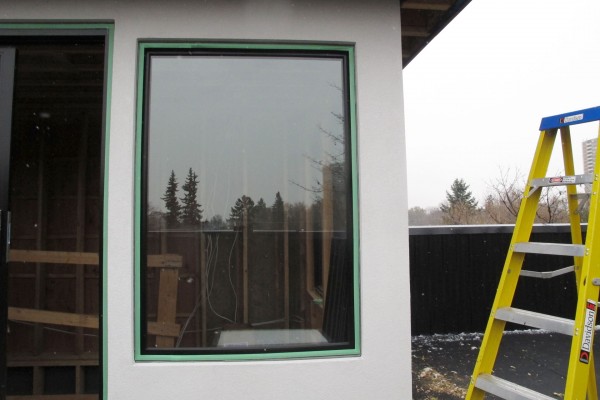
November 16th, 2014 I decided to caulk all the windows myself instead of getting some contractor to do the job. And because I choose a white exterior colour with black window frame, the caulking becomes a slightly more complicate job because you want to make sure the caulking lines are crisp. I am using LePage QUAD White Sealant to caulk my windows. So first, I use painter’s tape and tape up all the window frames.
Continue reading ‘Caulking windows’ »
November 9th, 2014 There are quiet some big gaps between the foundation wall and the basement windows, so when I found some time, I decide to foam up the basement window myself. Just like the rest of the house, I used Great Stuff Window & Door Insulating Foam from Home Depot and filled up all the gaps.
Continue reading ‘Basement window’ »
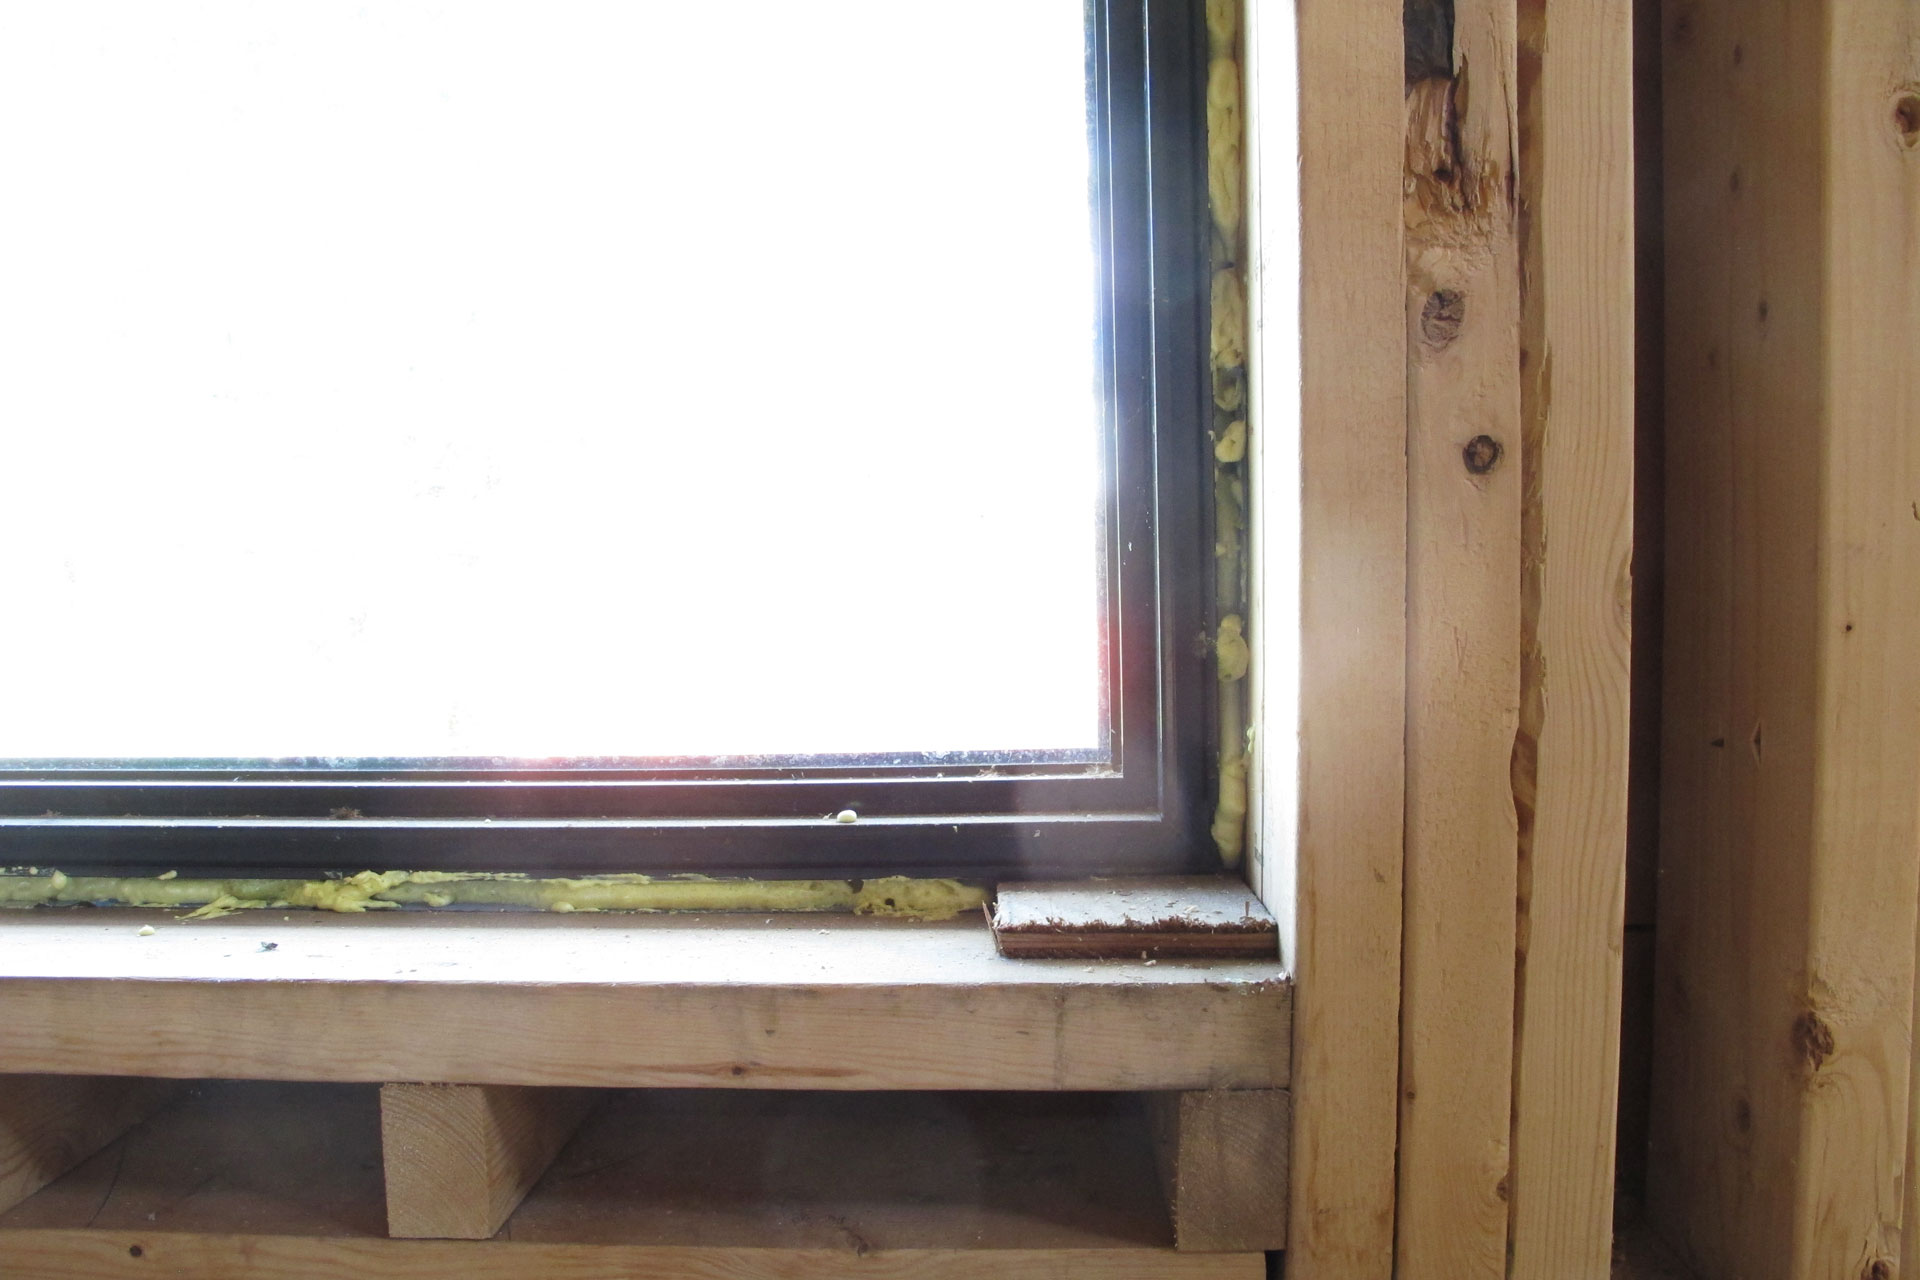
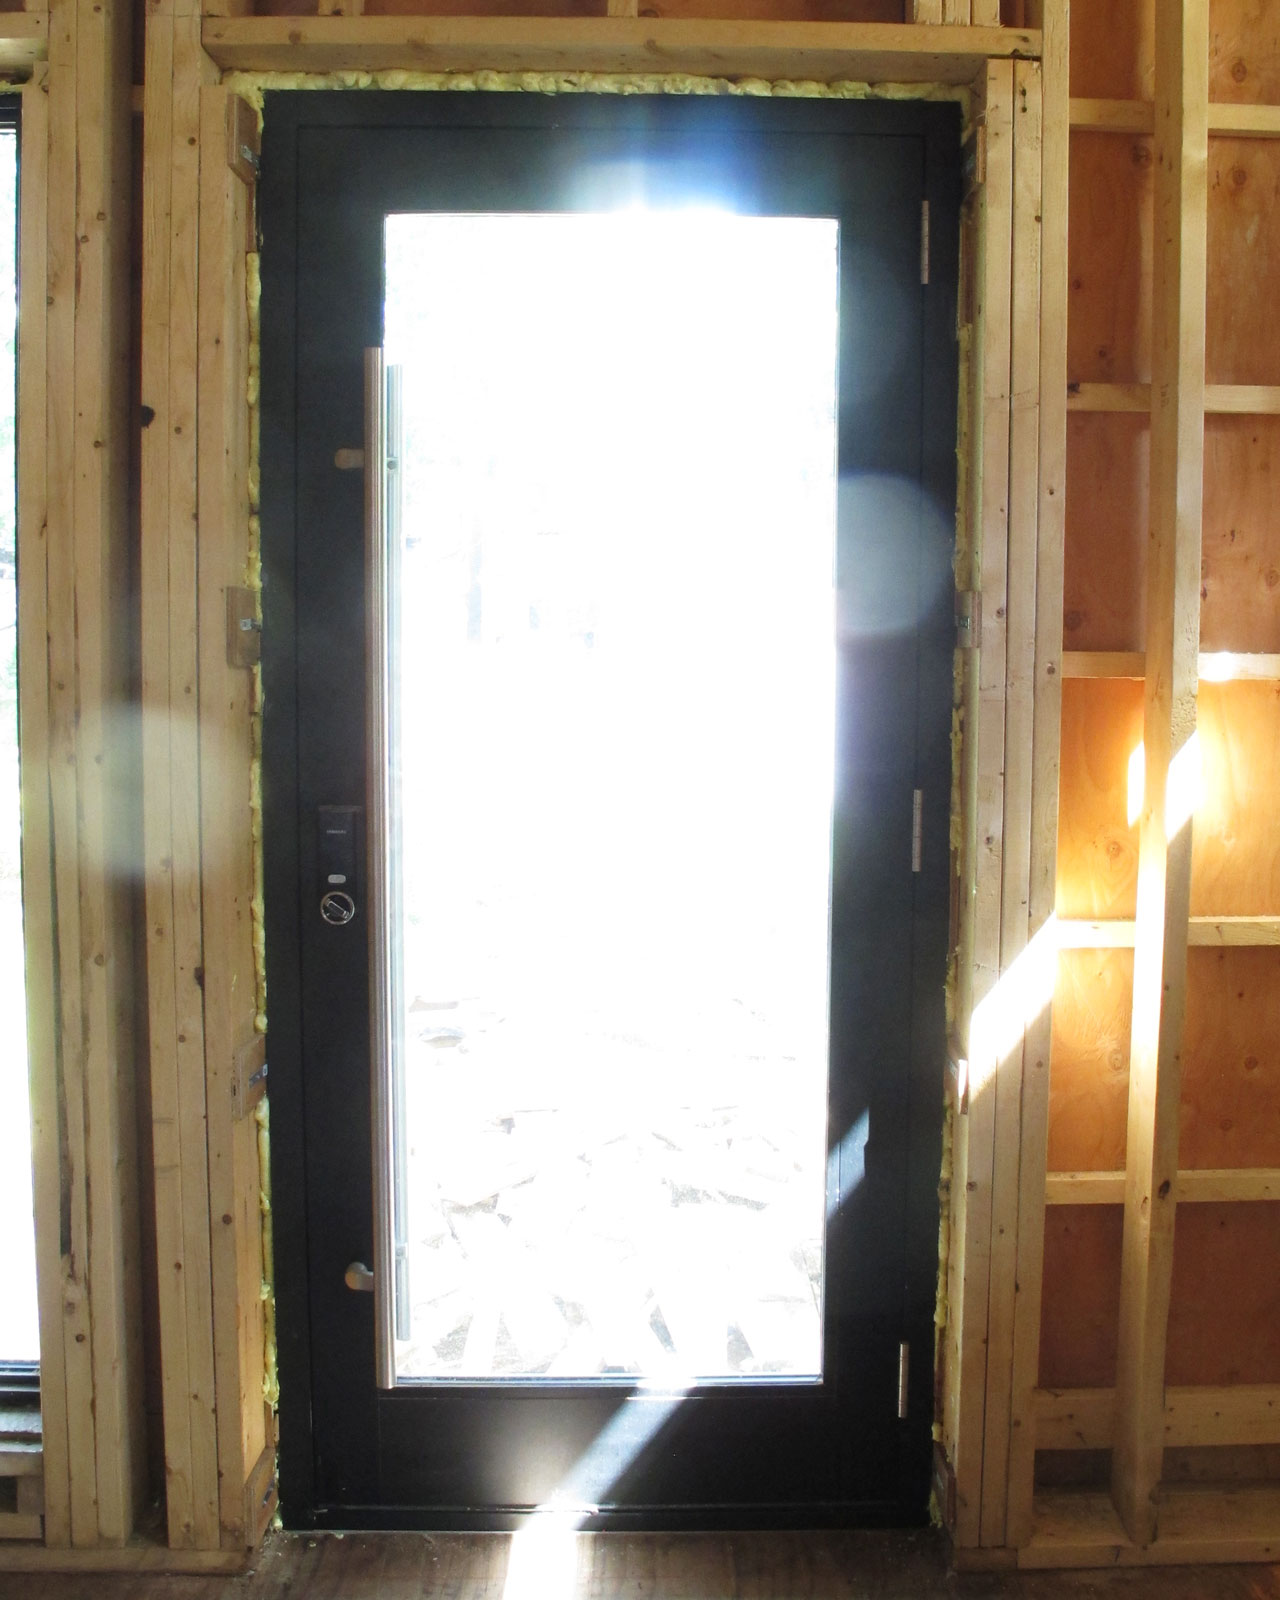
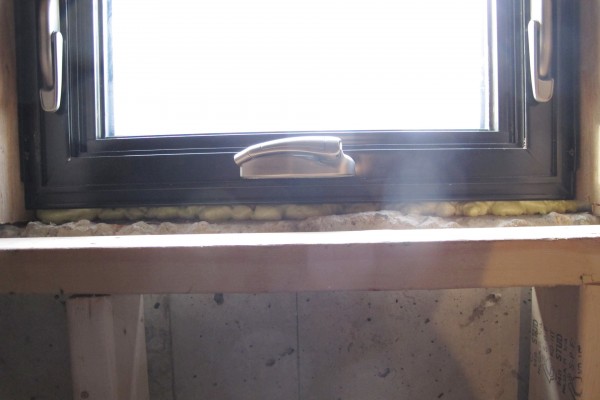
September 14th, 2014 Decided to seal the window and the door with some insulating foam today. Bought a couple of cans of Great Stuff Window & Door Insulating Foam from Home Depot. And just go up and down everywhere and put foams in between all the openings between the window and door frame and the rough opening.

A few rough opening is way bigger. So in total I used 11 cans of the sealant. A few places probably can use a bit more foam. If I get time, I will add some more. But in general it should be all good now. Later I can try find some foam backing rod and caulk the windows and doors on the outside.

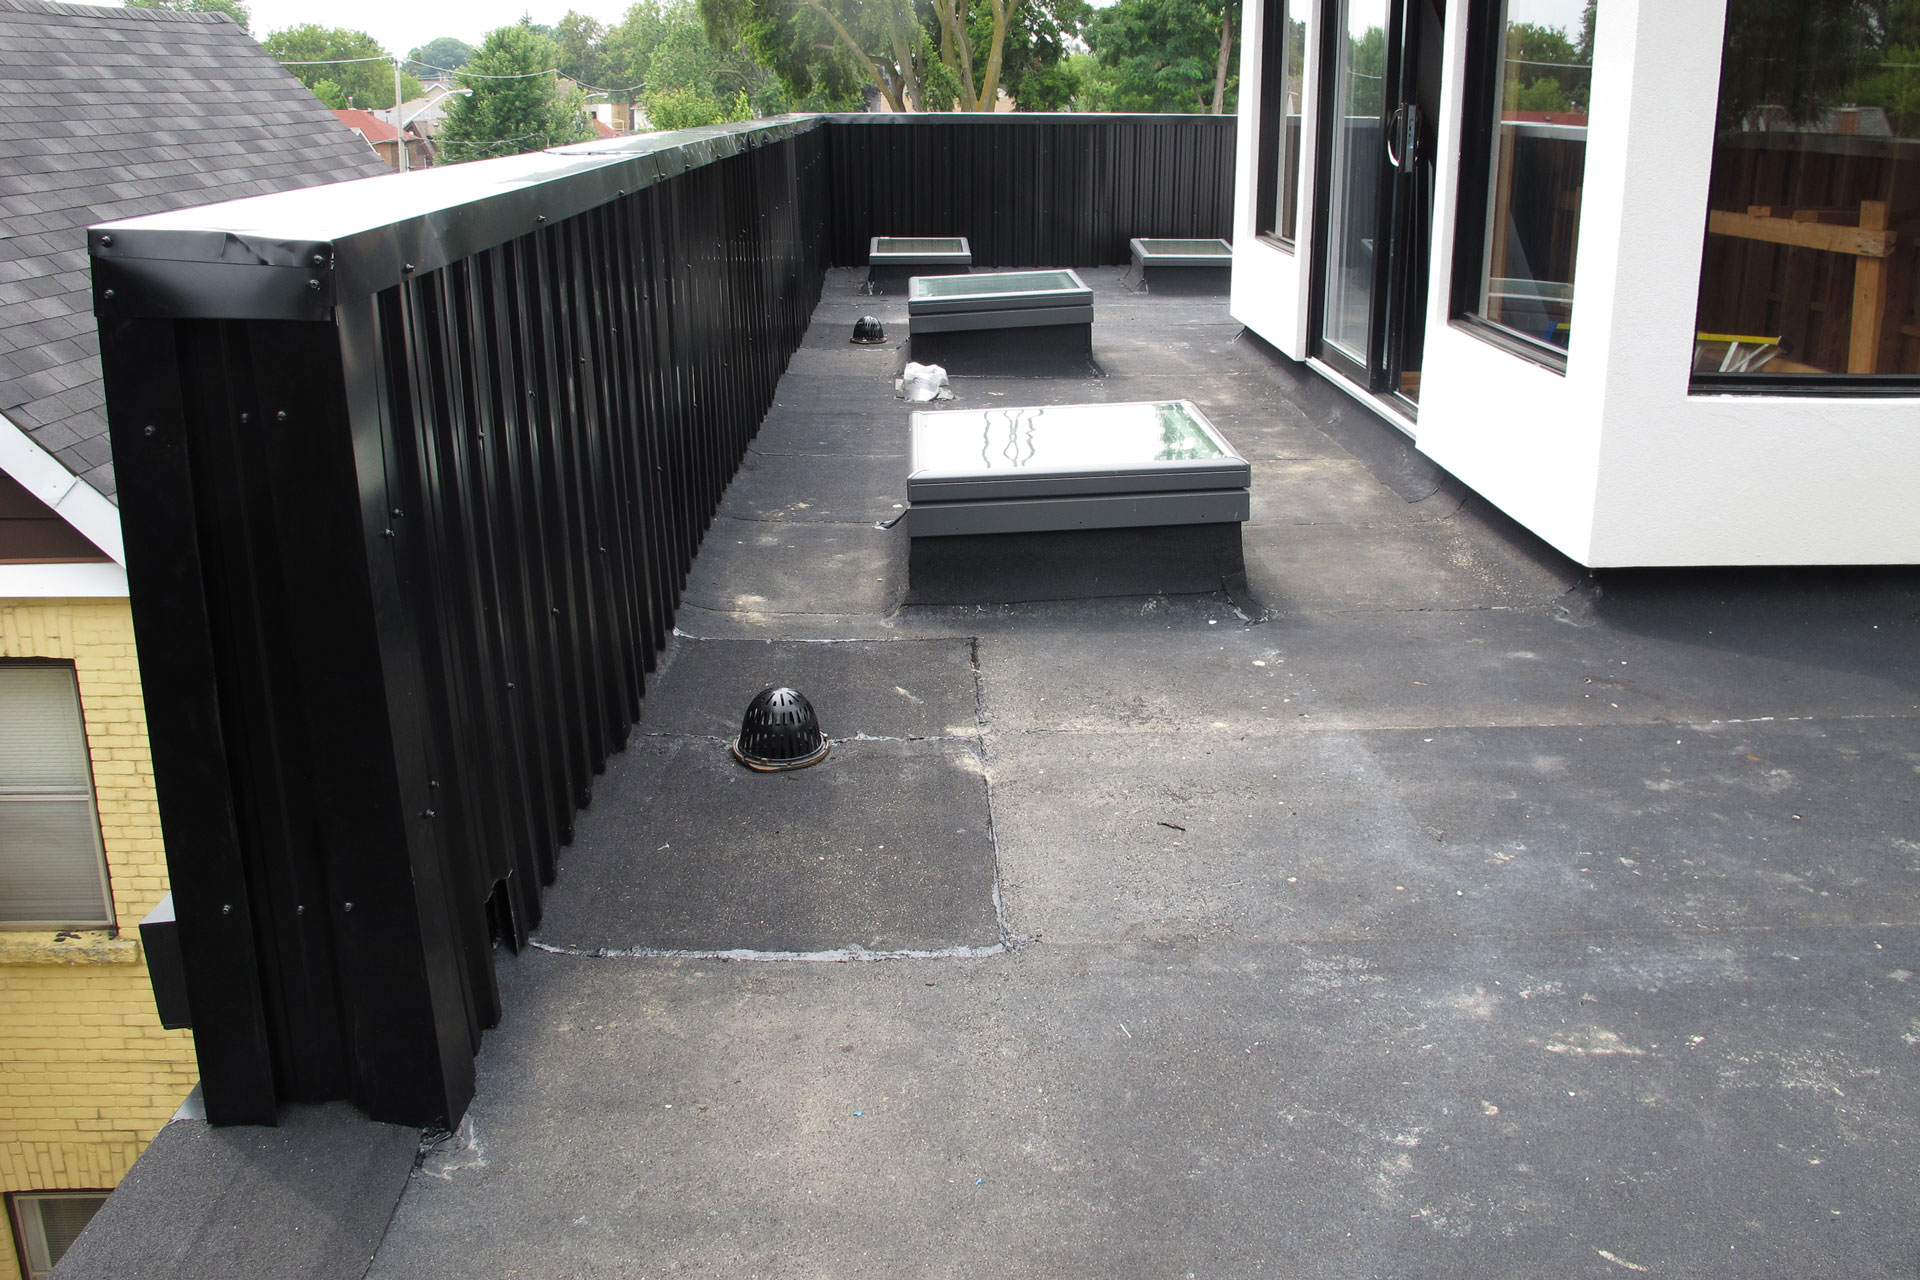
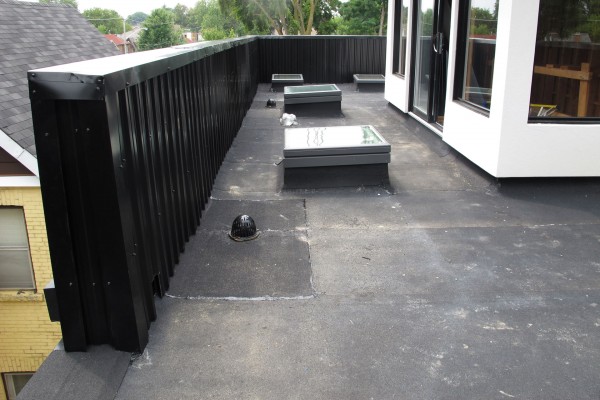
August 3rd, 2014 Just over a day and a half since that thunderstorm passed through, it hasn’t rained since, I went up the roof to check if there’s any more standing water left.
This is a view from the east side. The water around the skylight curbs are all gone. The entire roof looked dry.
Continue reading ‘Flat roof drainage follow up’ »
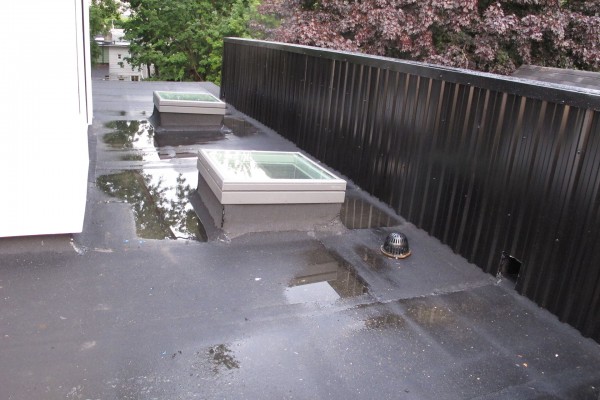
August 1st, 2014 Flat roofs are not very good on water drainage, especially if you want to have a roof top terrace which is what my design is. If you don’t have a roof top terrace, you can have a consistent pitch on your flat roof and drain the water to one side. That’s proven to be pretty effective. You can always have a higher pitch if you don’t have a roof top terrace, since no one will be walking on it. But in my case because of the roof top terrace and the accompanied parapet wall, the roof has to be designed to drain into interior points. This creates the necessity of creating complex low pitches on the roof to drive water towards where you wanted. And sometimes these pitches might not work the way you wanted.
No that the roof top is pretty much completed, I need to make sure that any standing water on the flat roof is within an acceptable range. And just so happens that today right after the metal sidings are installed, a quick thunderstorm passed through. A good time to check to see if the drainage is working the way it should be.
So here’s what I have immediately after the storm. The south side is the low side and that’s where the roof drains are. The south side mostly drained well. But the two skylight curb created a bit of a high point and is preventing some of the water from flowing towards the low points. This is a view from the west side. As you can see there’s a small body of water right around the skylight curb.
Continue reading ‘Flat roof drainage’ »
August 1st, 2014 Tom and Kevin from Resco Roofing is here today to finish the metal sidings and some other left over sheet metal works.
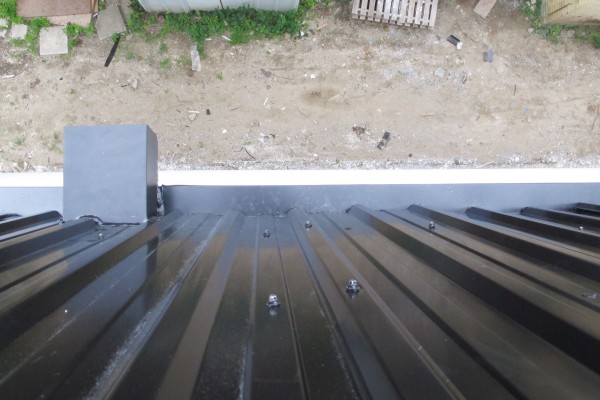
For the metal siding, a Z flashing / drip edge is installed right on top of the EIFS overhang. Then the metal siding goes on top of it.
Continue reading ‘Metal siding day 3’ »
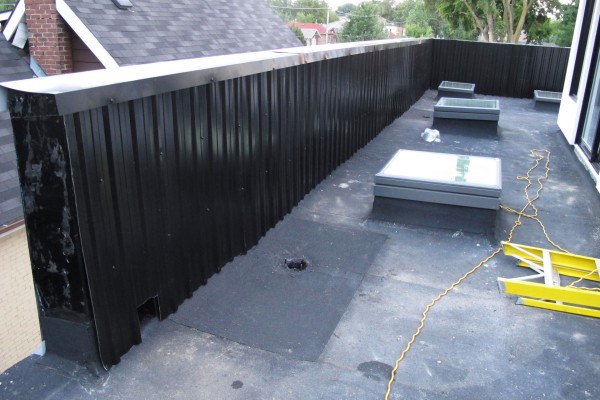
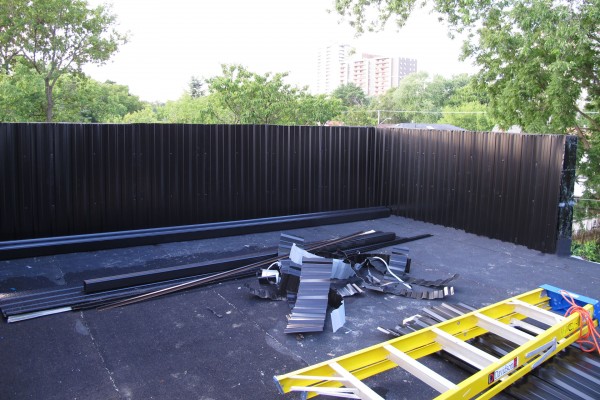
July 31st, 2014 The work on the metal siding continues today. On top of the sheet metal work, I’ve also asked the roofer to lower the roof drain properly to the plywood level so that the roof drain doesn’t protrude above the roof line. Here is all the metal siding installed on the inside of the parapet wall on the south and west side. Most of the capping on the south side is done.
Continue reading ‘Metal siding day 2’ »
July 31st, 2014 While the city contractor is working on the new water / sewer connection, Tom Resco of Resco Roofing is here to install my metal sidings. These corrugated steel panels will be installed on both the inside and outside of the parapet wall. Here’s some installed on the inside of the parapet wall.
Continue reading ‘Metal siding day 1’ »
|
|