Day 3 of EIFS installation. Today the real work begins. For the blue shield installation, they used the left over typar and covered my front shade and rear balcony surface first so that the deck won’t be blue afterwards.

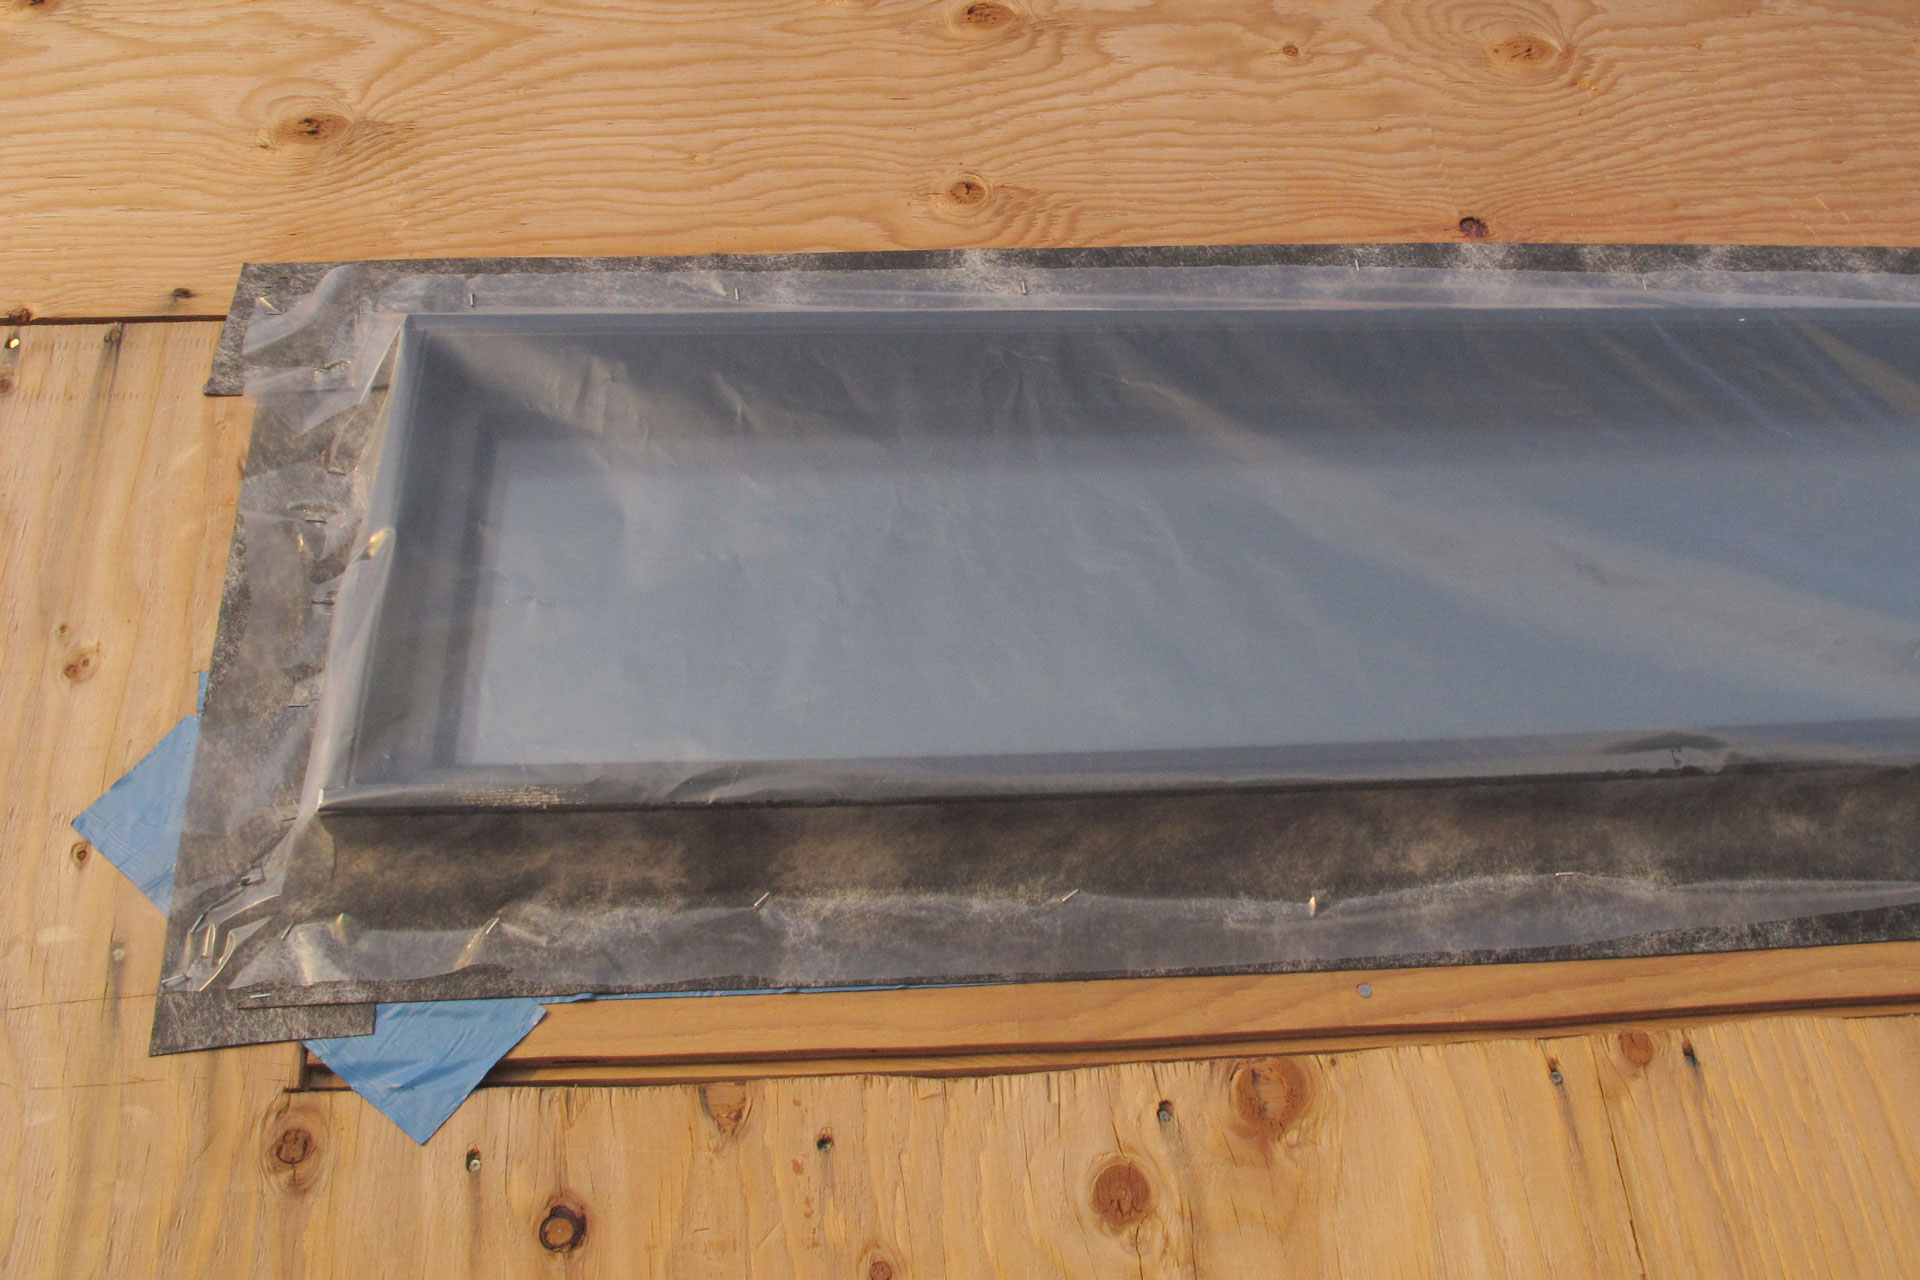
Then used EIFS tapes to flash all window and door openings. And then secured plastic sheet over all the window and doors.

Here’s a closeup of the EIFS tape flashing around the window and the plastic covers on it.
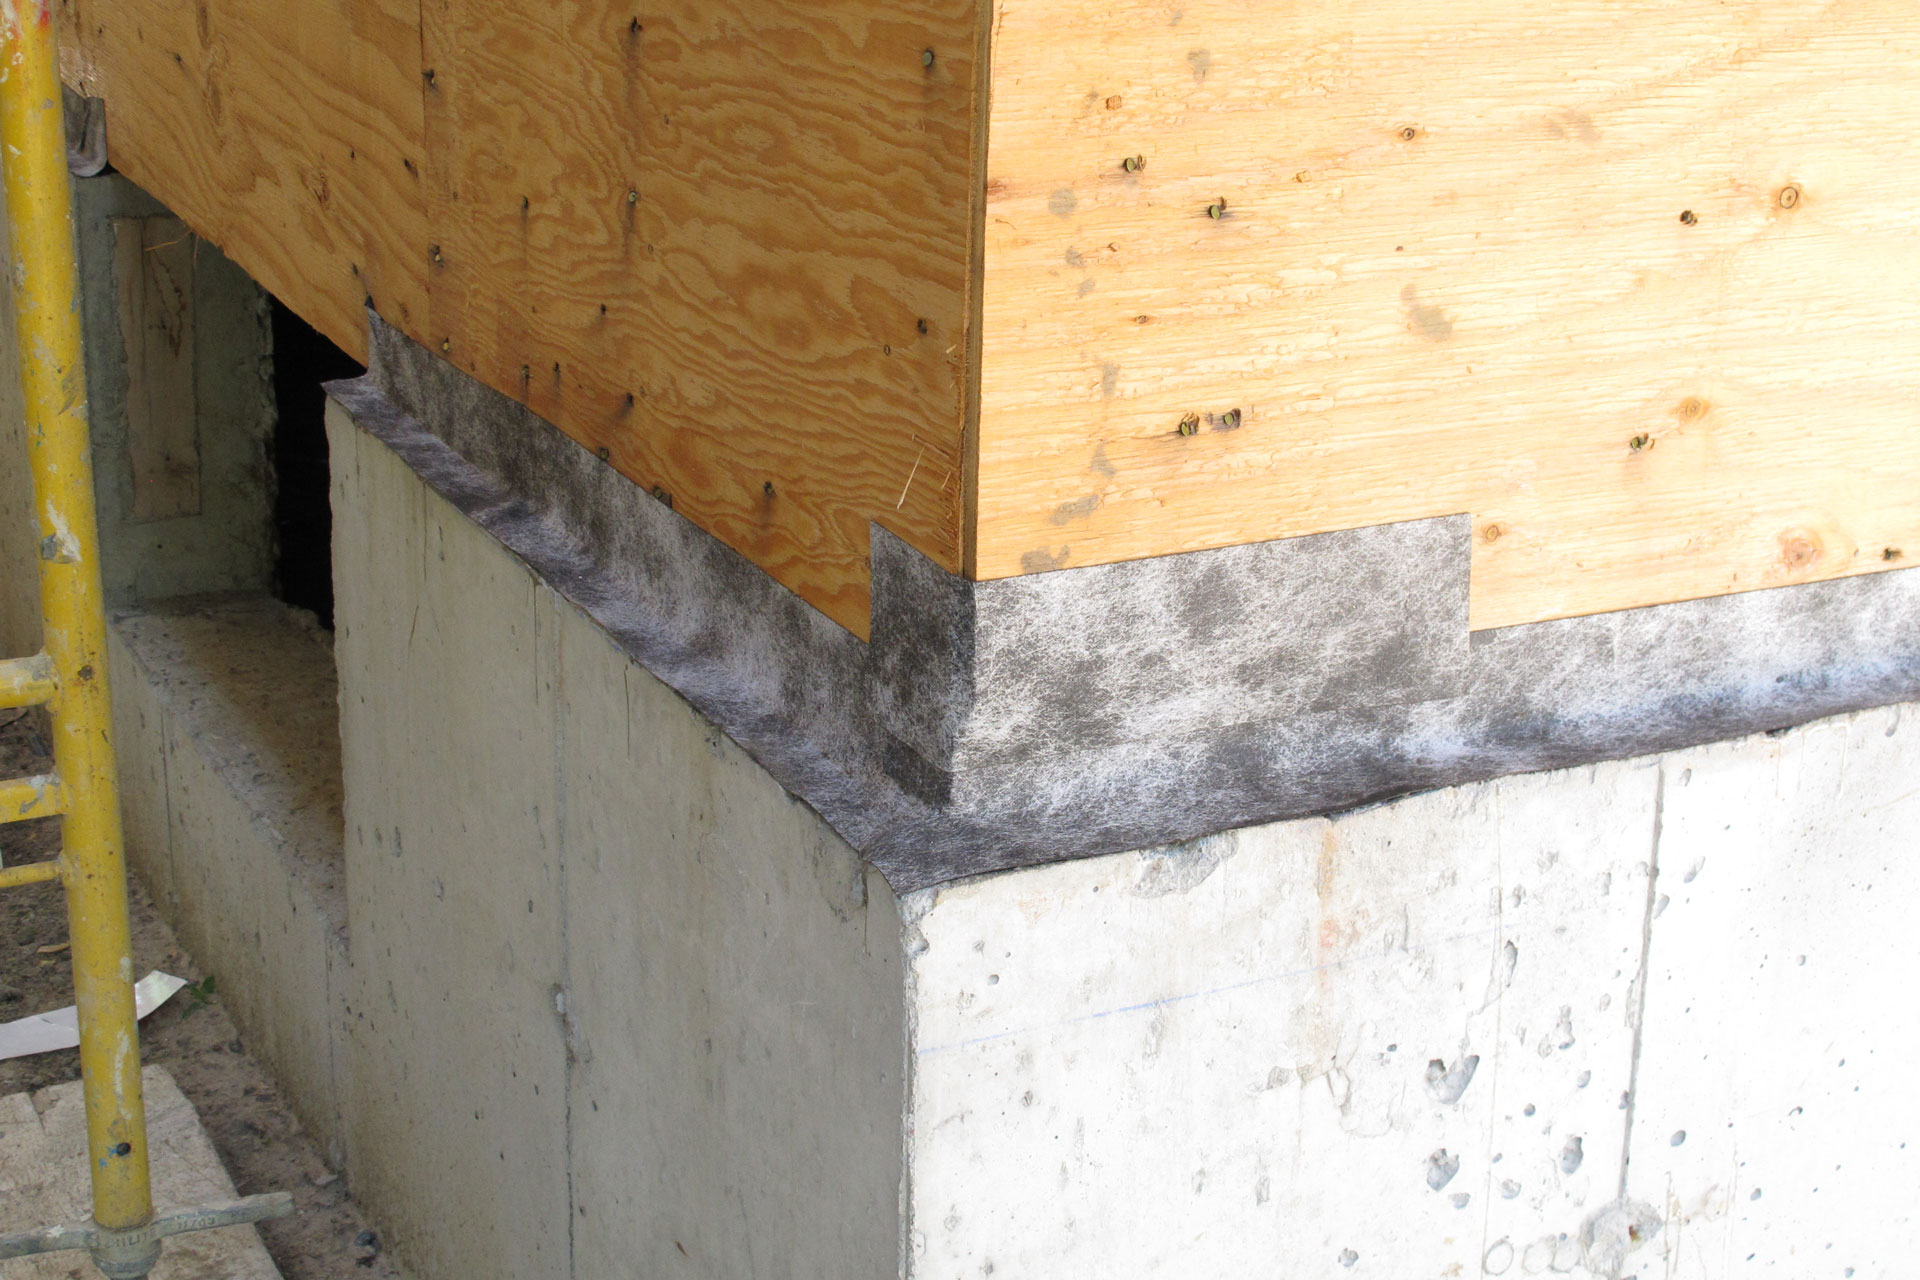
EIFS tapes are also used right on top of the foundation wall so that moisture that’s traveling behind the foam will drip out.
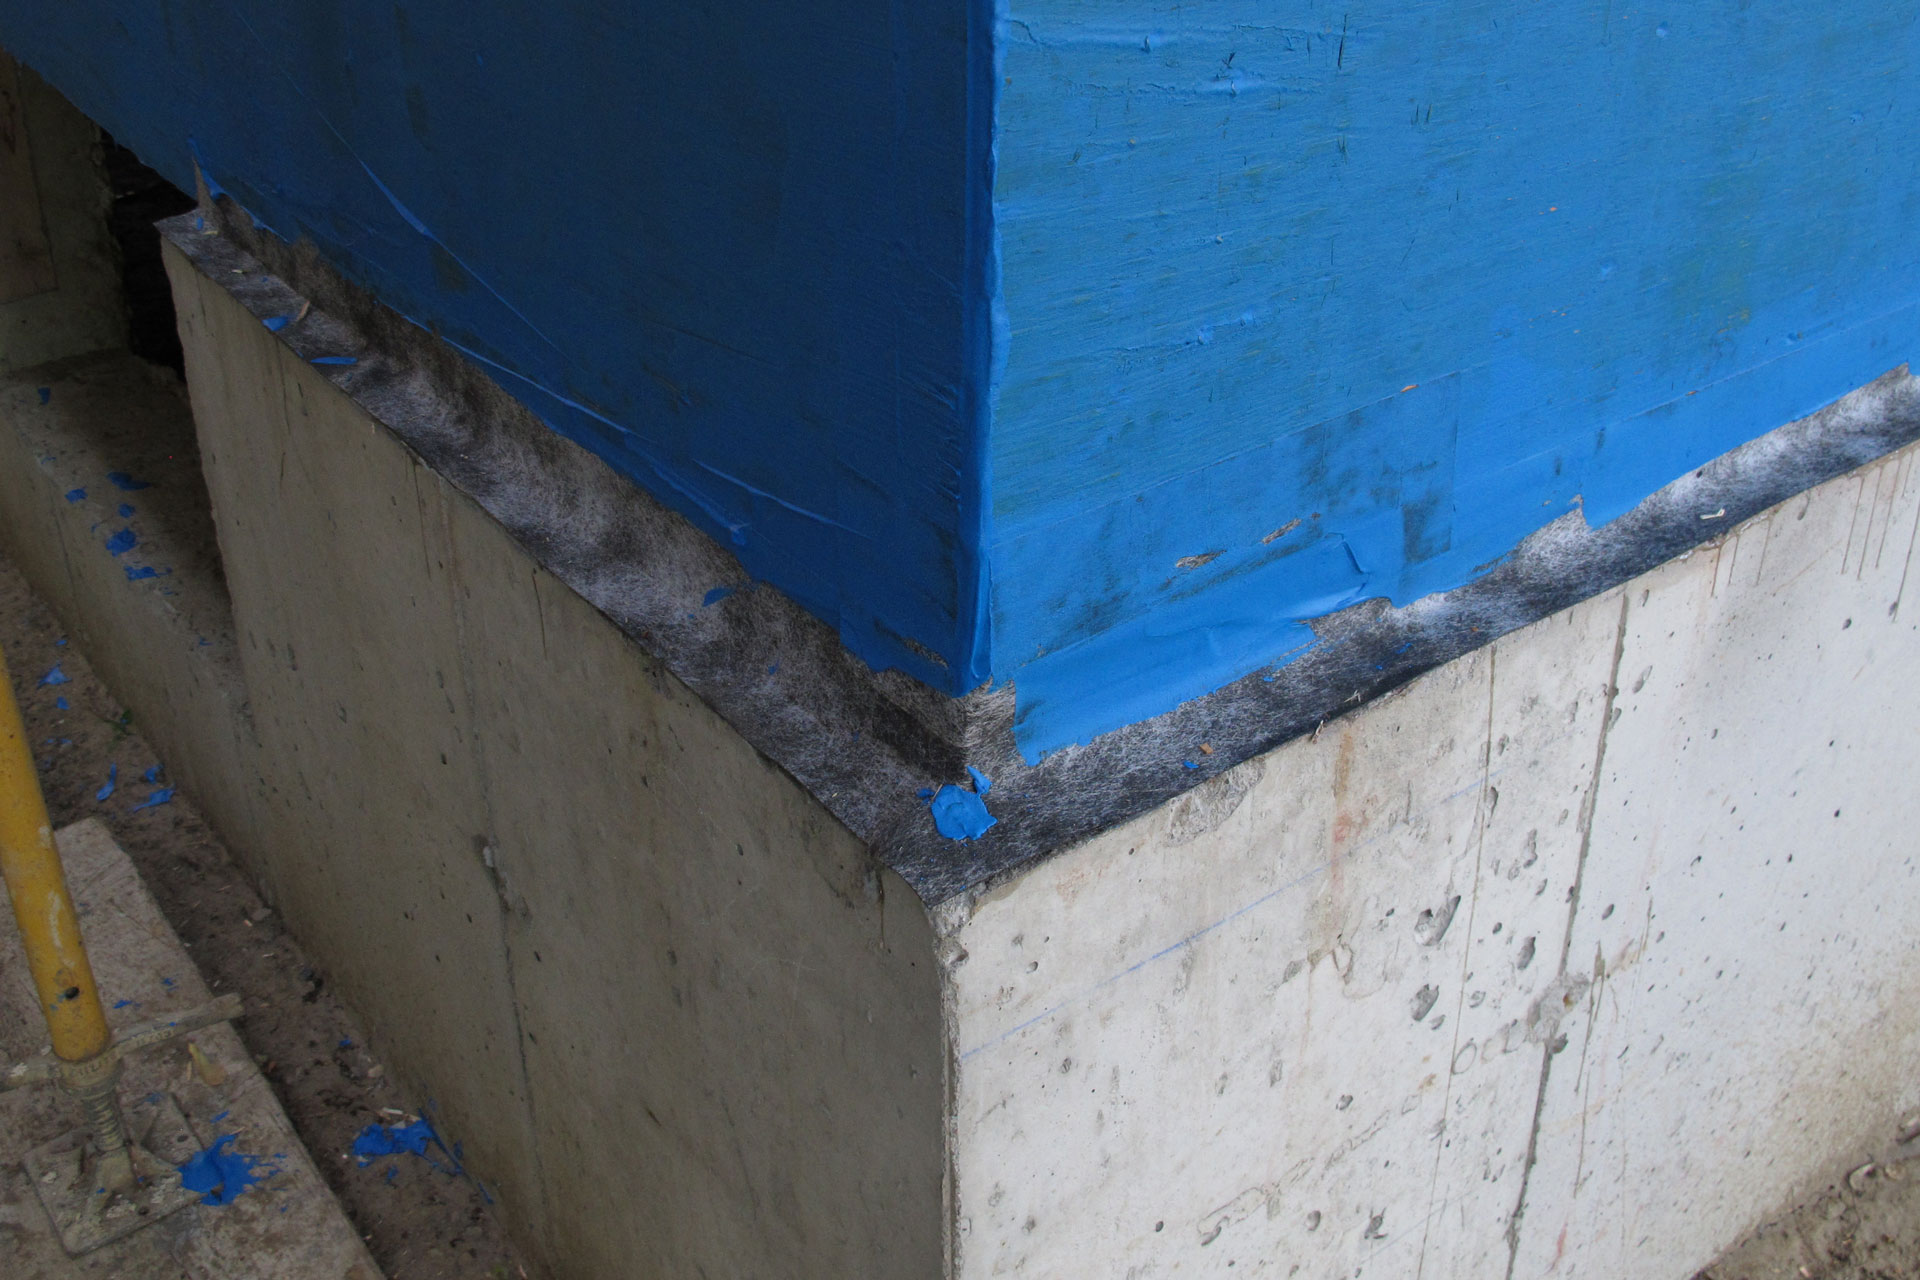
Once that’s done, they started to apply blue shield over the entire house’s sheathing. Blue Shield is a water based copolymer rubber airbarrier and waterproofing membrane. It is applied by trowel and you spread it evenly over the entire surface. This what what the same corner looks like after blue shield is applied. Now we have a continuous rubber membrane over the entire surface so that any moisture inside the exterior cladding will most likely to move down alone the wall, over the EIFS tape, and out.
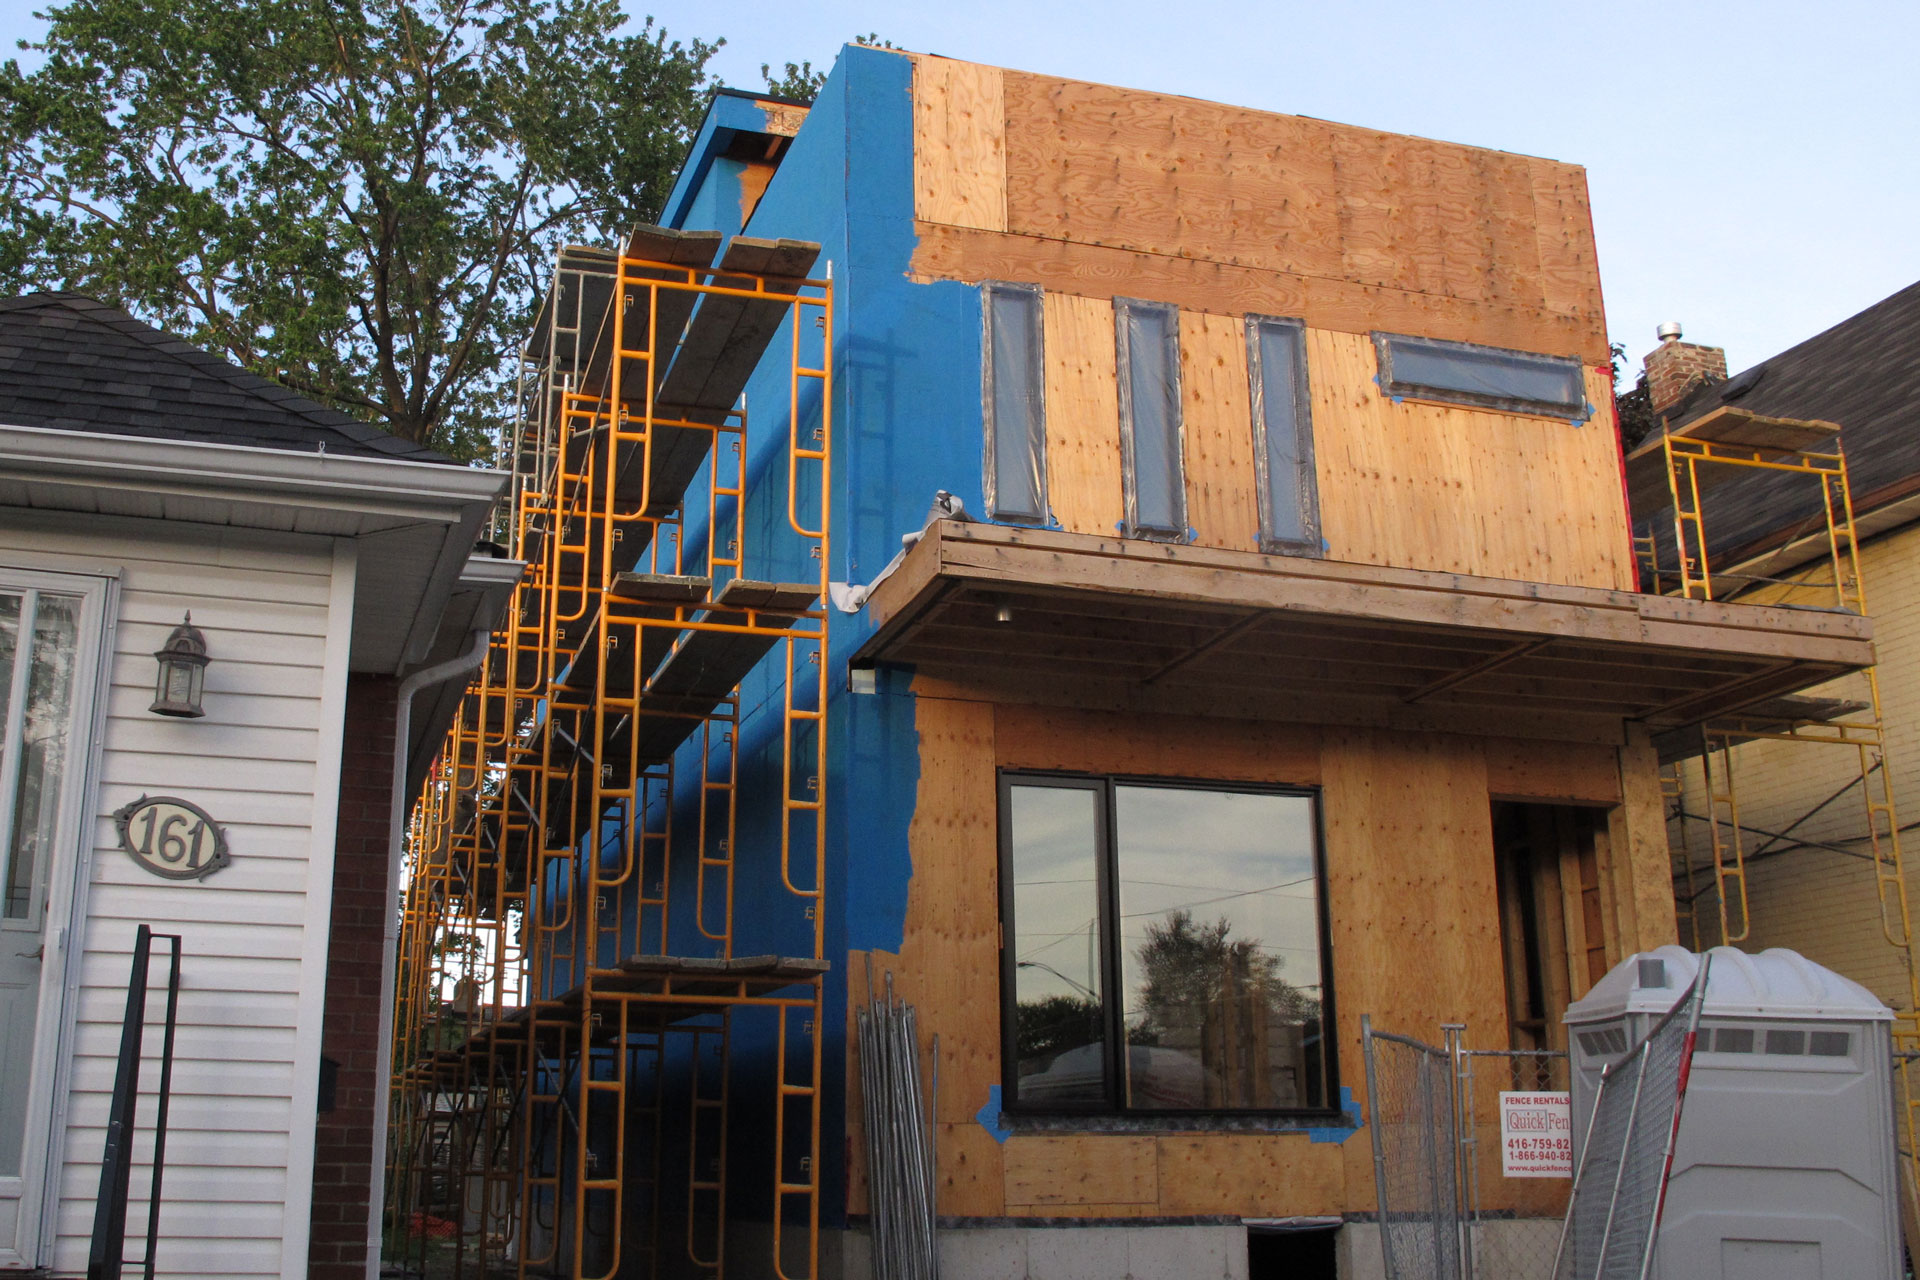
Here’s what the rest of the house looks like. They finished applying blue shield to most of the house.
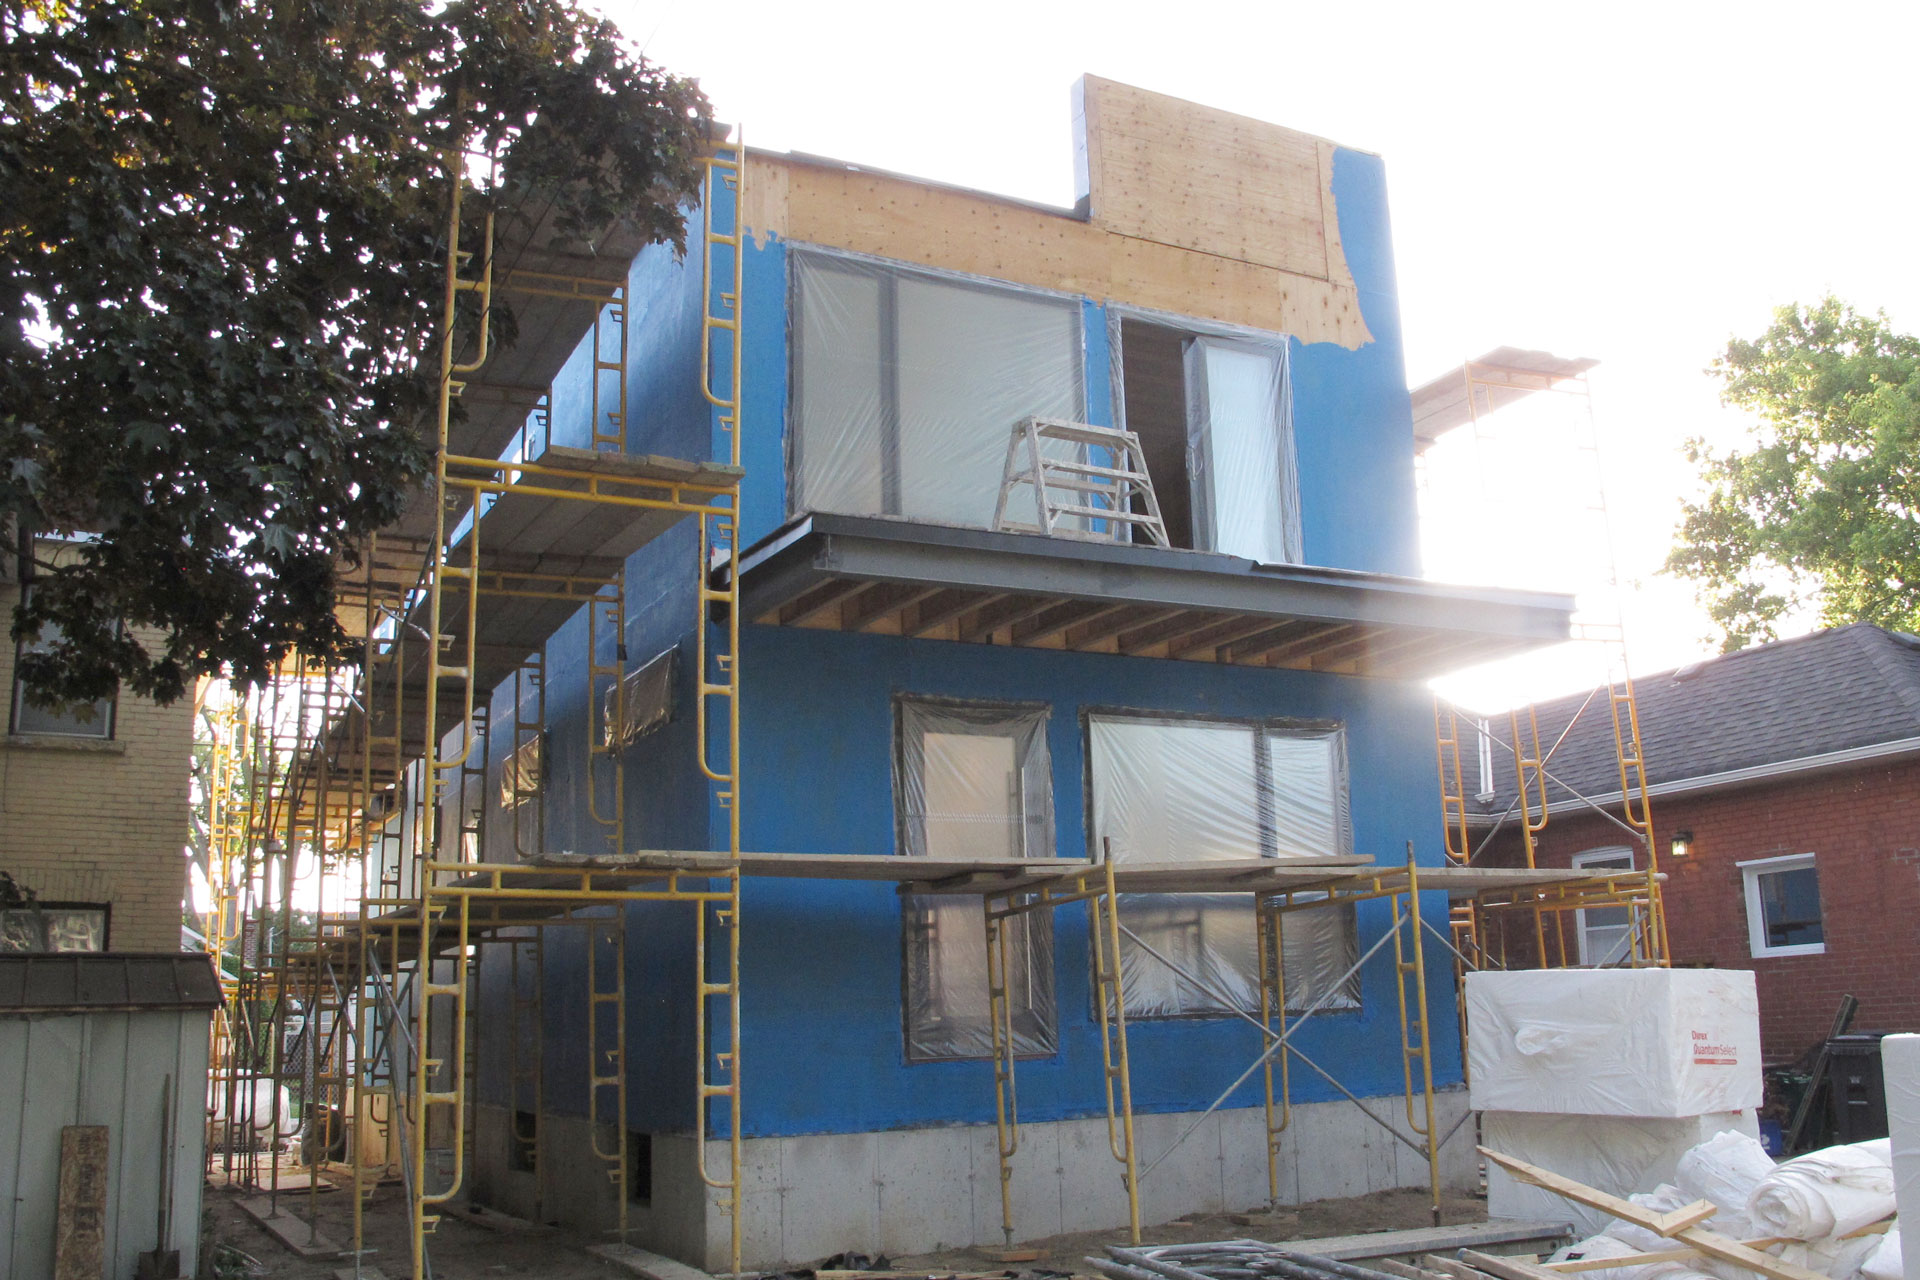
Only a small portion on the front and the 3rd floor is not covered by blue shield.
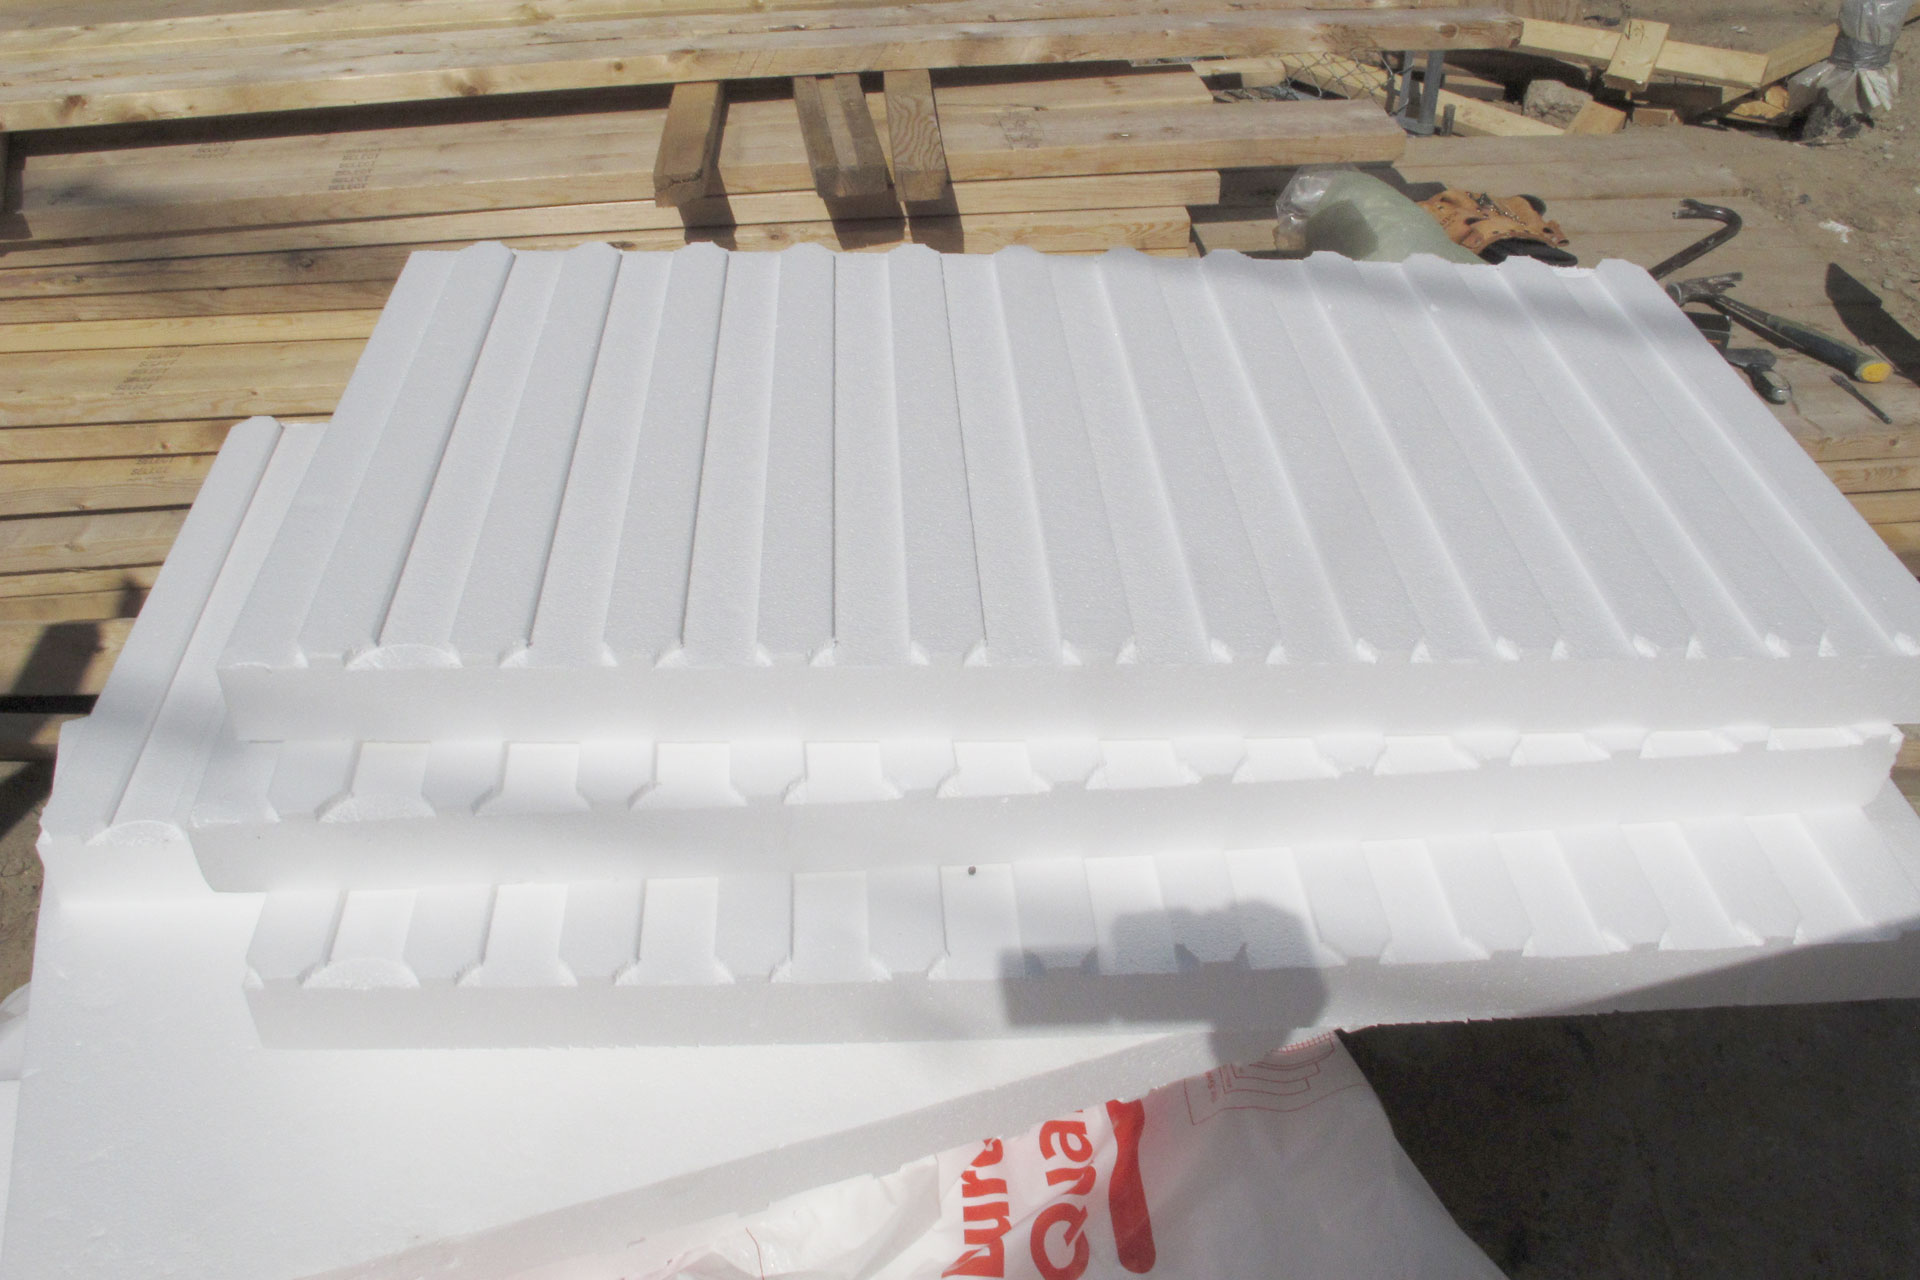
Tomorrow, they are going to finish applying blue shield to the remaining areas and start to put the foam boards up. The foam boards used are 3″ thick Durex Quantum Select with a 10mm GDDC. (Geometrically Defined Drainage Cavity) A long time ago, the EIFS foam boards are attached directly to the substrate, which caused moisture and mould problem behind the boards. Then people started to install EIFS using vertical adhesive ribbons to create a vertical drainage channel. But then it is found that many contractor pushed on the boards too hard which pushed the board towards the substrate so much that drainage channel collapsed. The new industry standard is these 10mm geometrically defined drainage cavity which as you can see has these grooves as part of the foam board. So that once fastened, it essentially creates a rain screen and therefore will ensure proper drainage behind the boards.
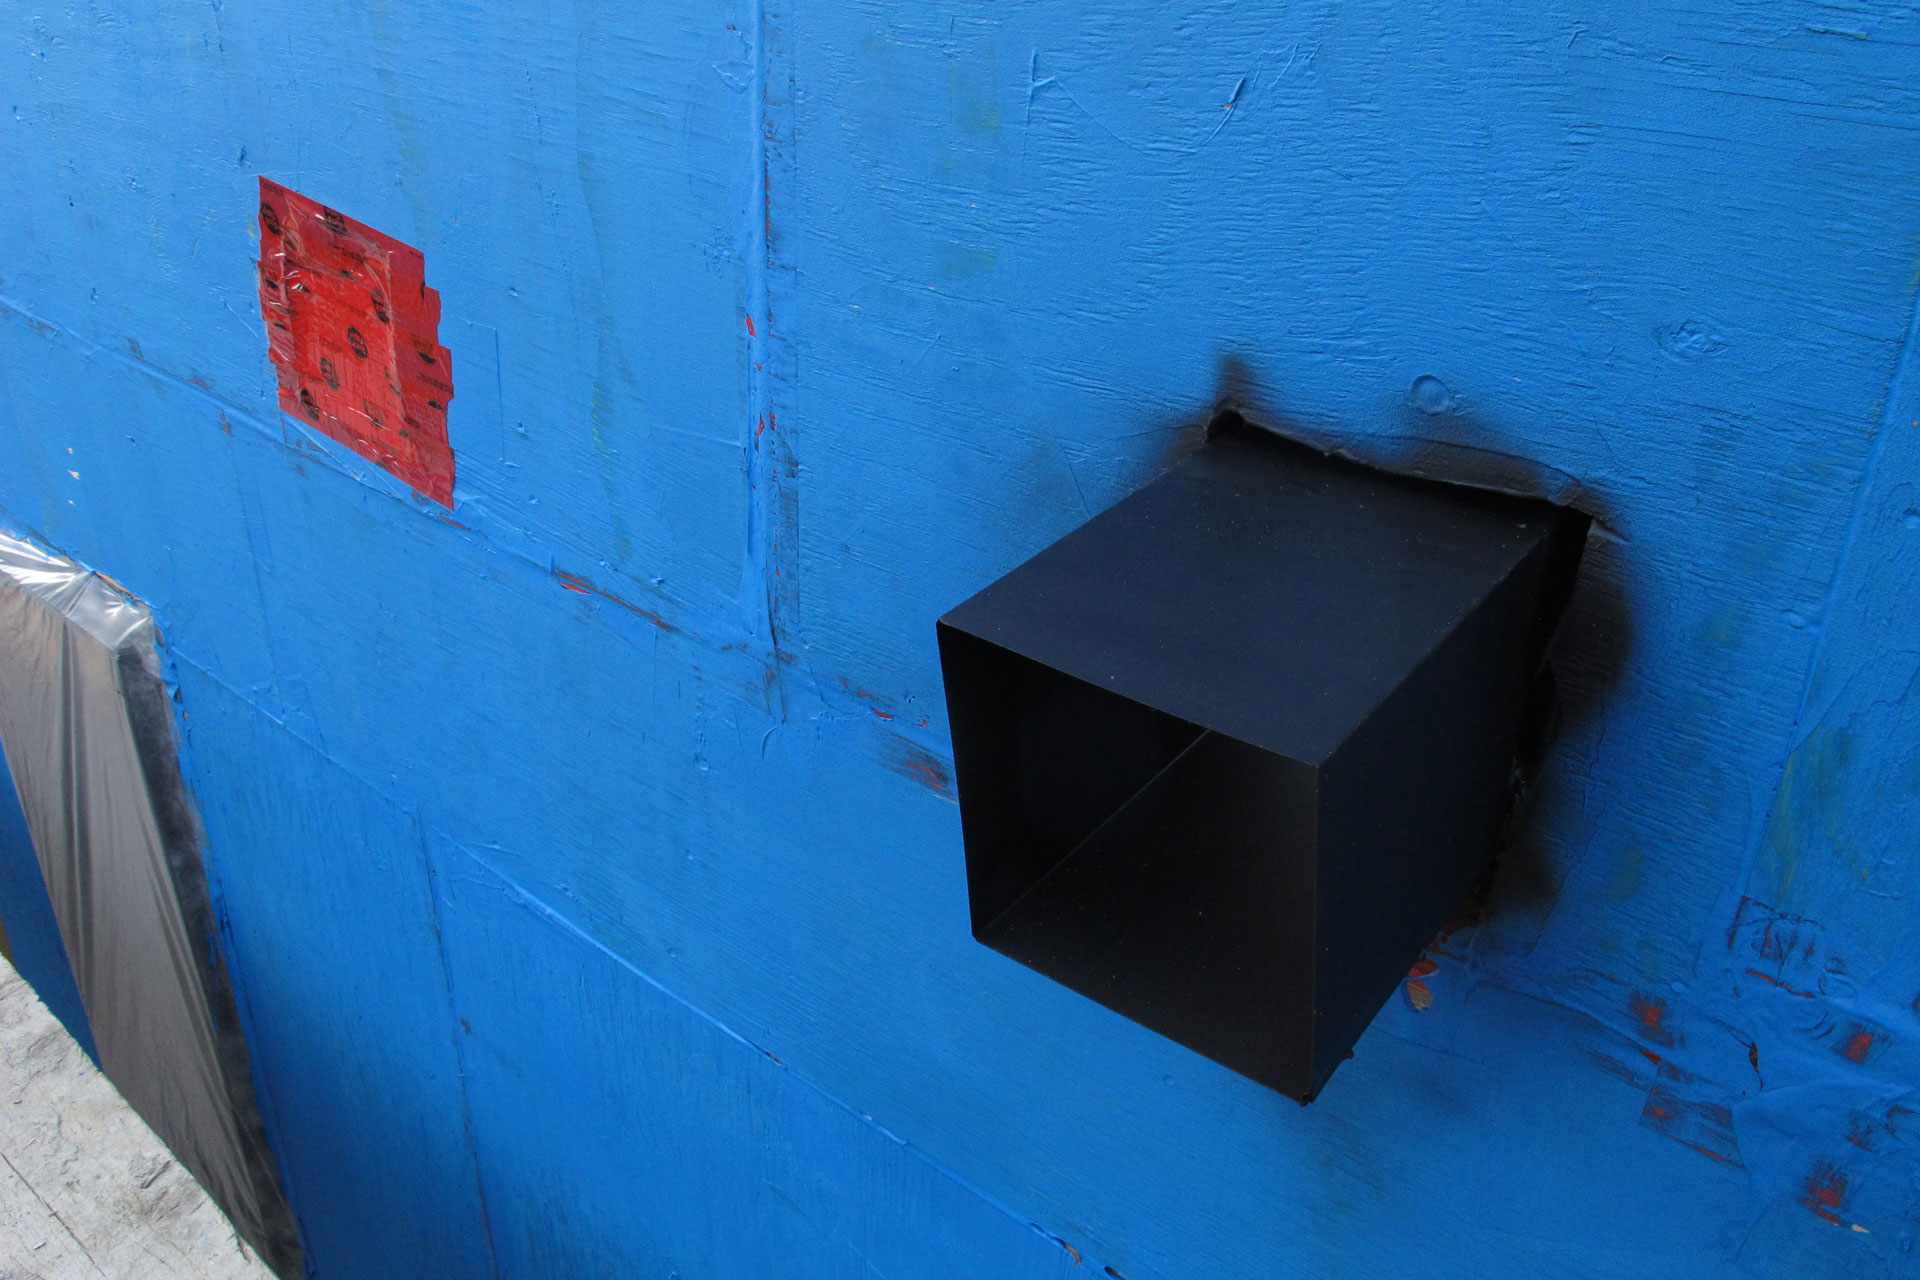
And I also worked on some smaller project after the crew has left. I filled the hole that was left over by the wrong initial placement of the scupper. And I spray painted all the scuppers black to match the metal siding that will be installed soon.
Leave a Reply
You must be logged in to post a comment.