So I decide to put in some sweat equity into this house. The basement sub-floor is really easy to do and so I decide that I will do it together with my cousin. We started on the south wall. We snapped a chalk line for the first row to line up again, and then start to lay these Tyroc panels. down. The installation is really simple since you just put glues (PL Premium) on the exposed ship-lap tab and glue the panels together.
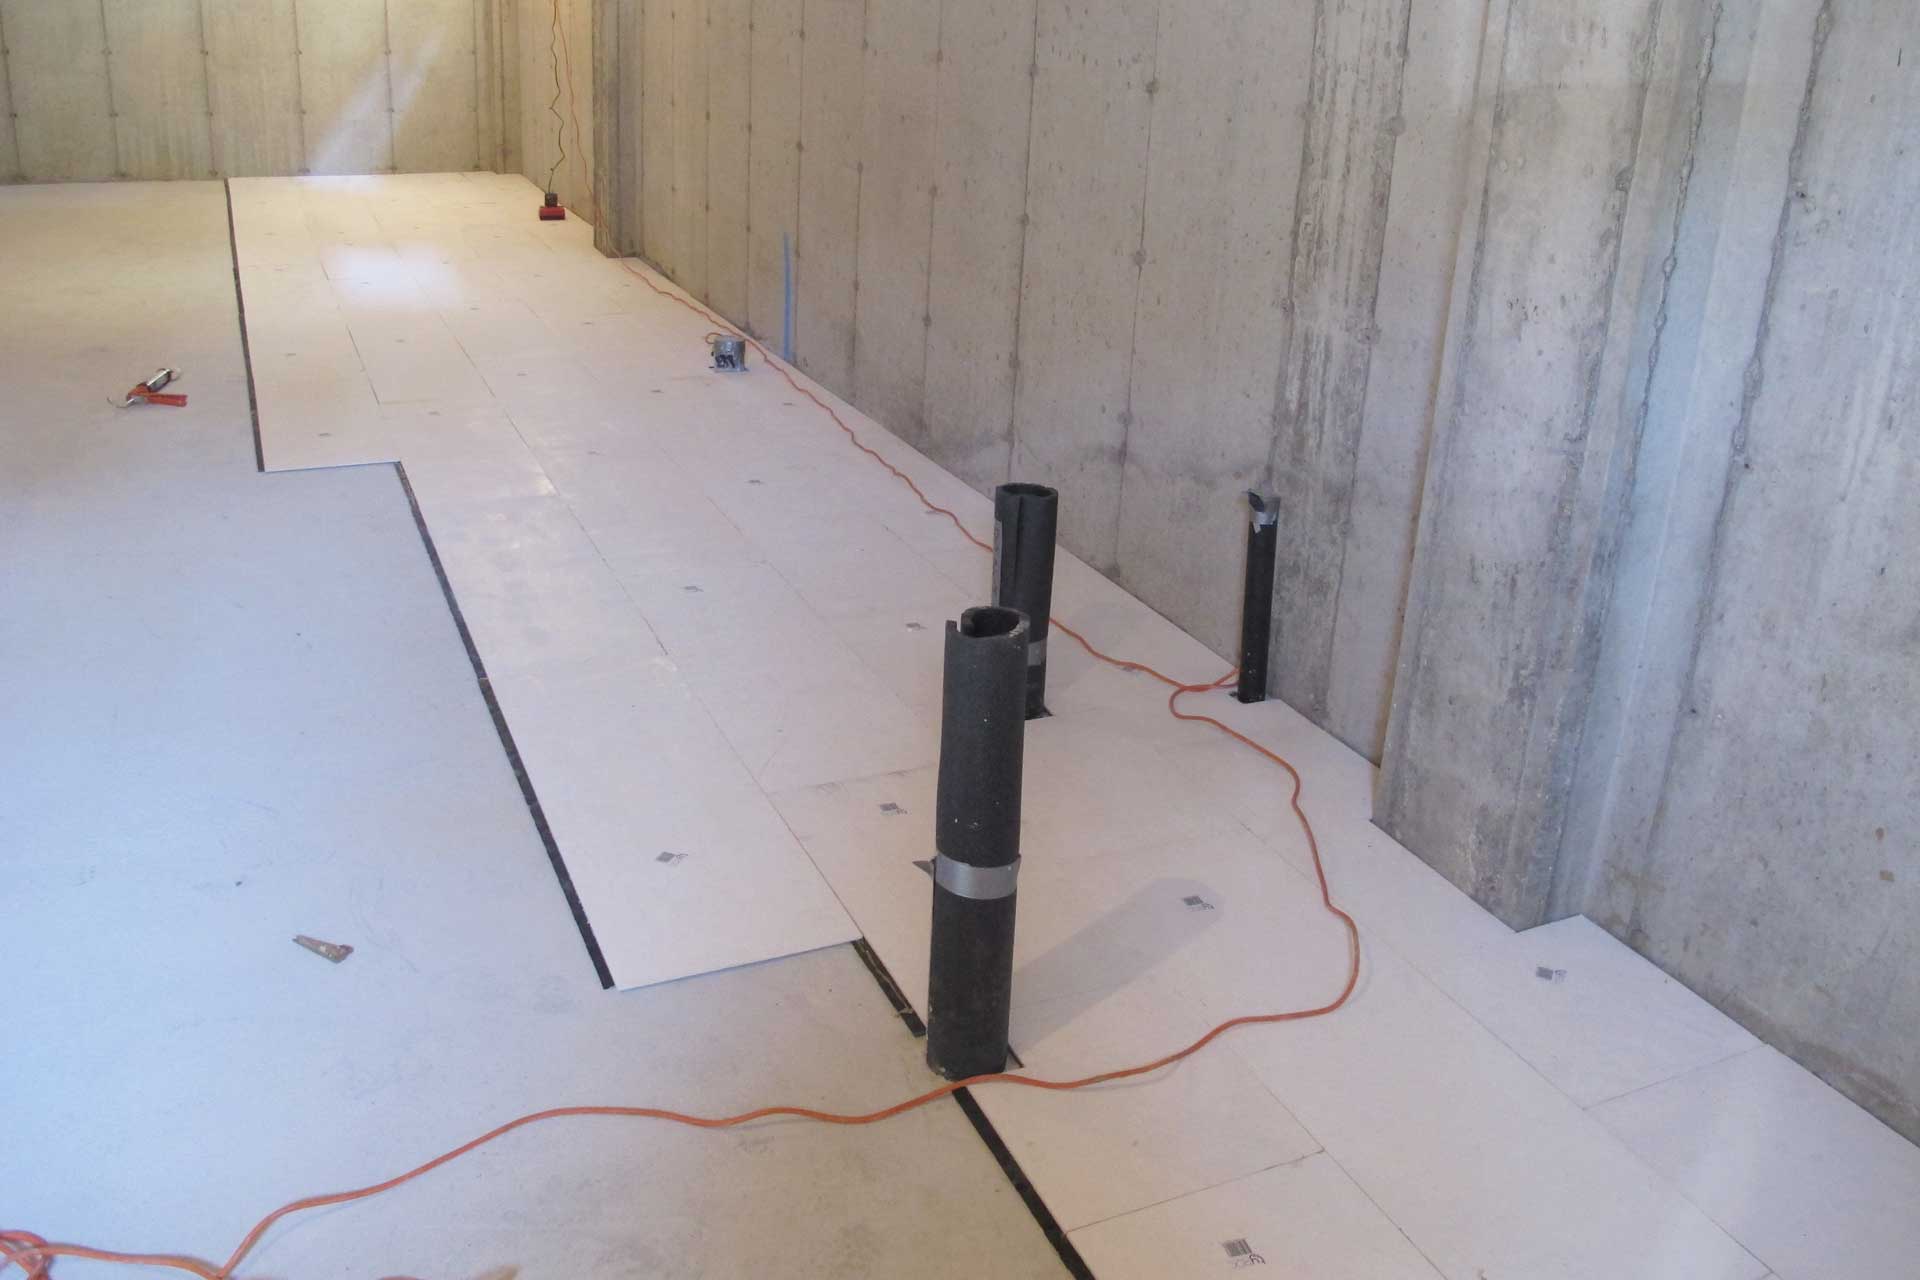
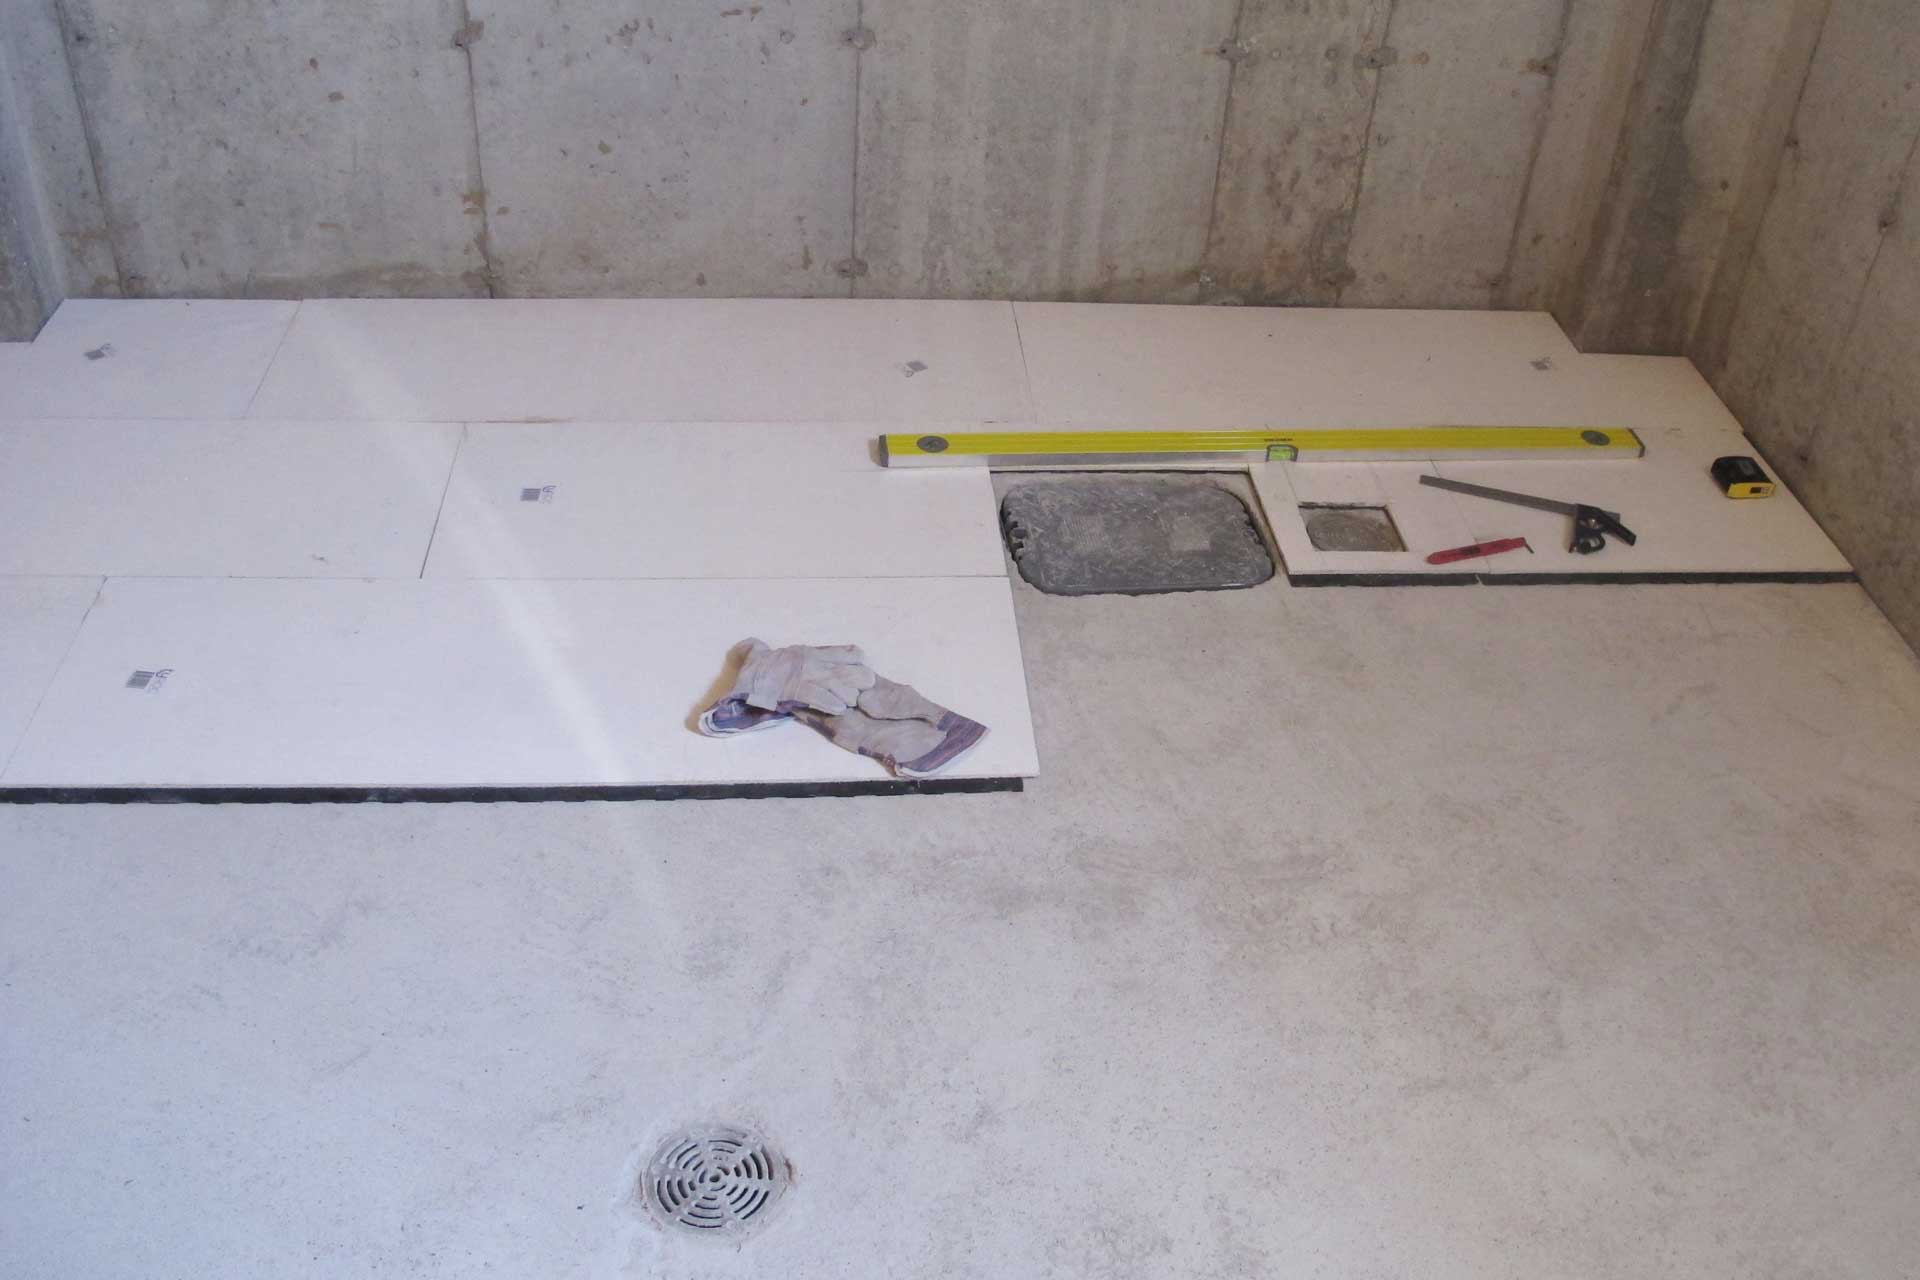
The time consuming part comes in when we have to cut all these panels for the piers in the basement, as well as all the plumbing openings. I have 8 piers in the basement, the backwater valve access port, the main house clean out, 3 floor drains, one main stack, one toilet connection, one sink connection, one shower connection, one more sink connection in the laundry room, the sump pit, the water service pipe. All those has to be measured and cut out in the Tyroc panels. And all that measure and cutting is the most time consuming part. Here you can see panels being installed around the backwater valve access port and the main house clean out.
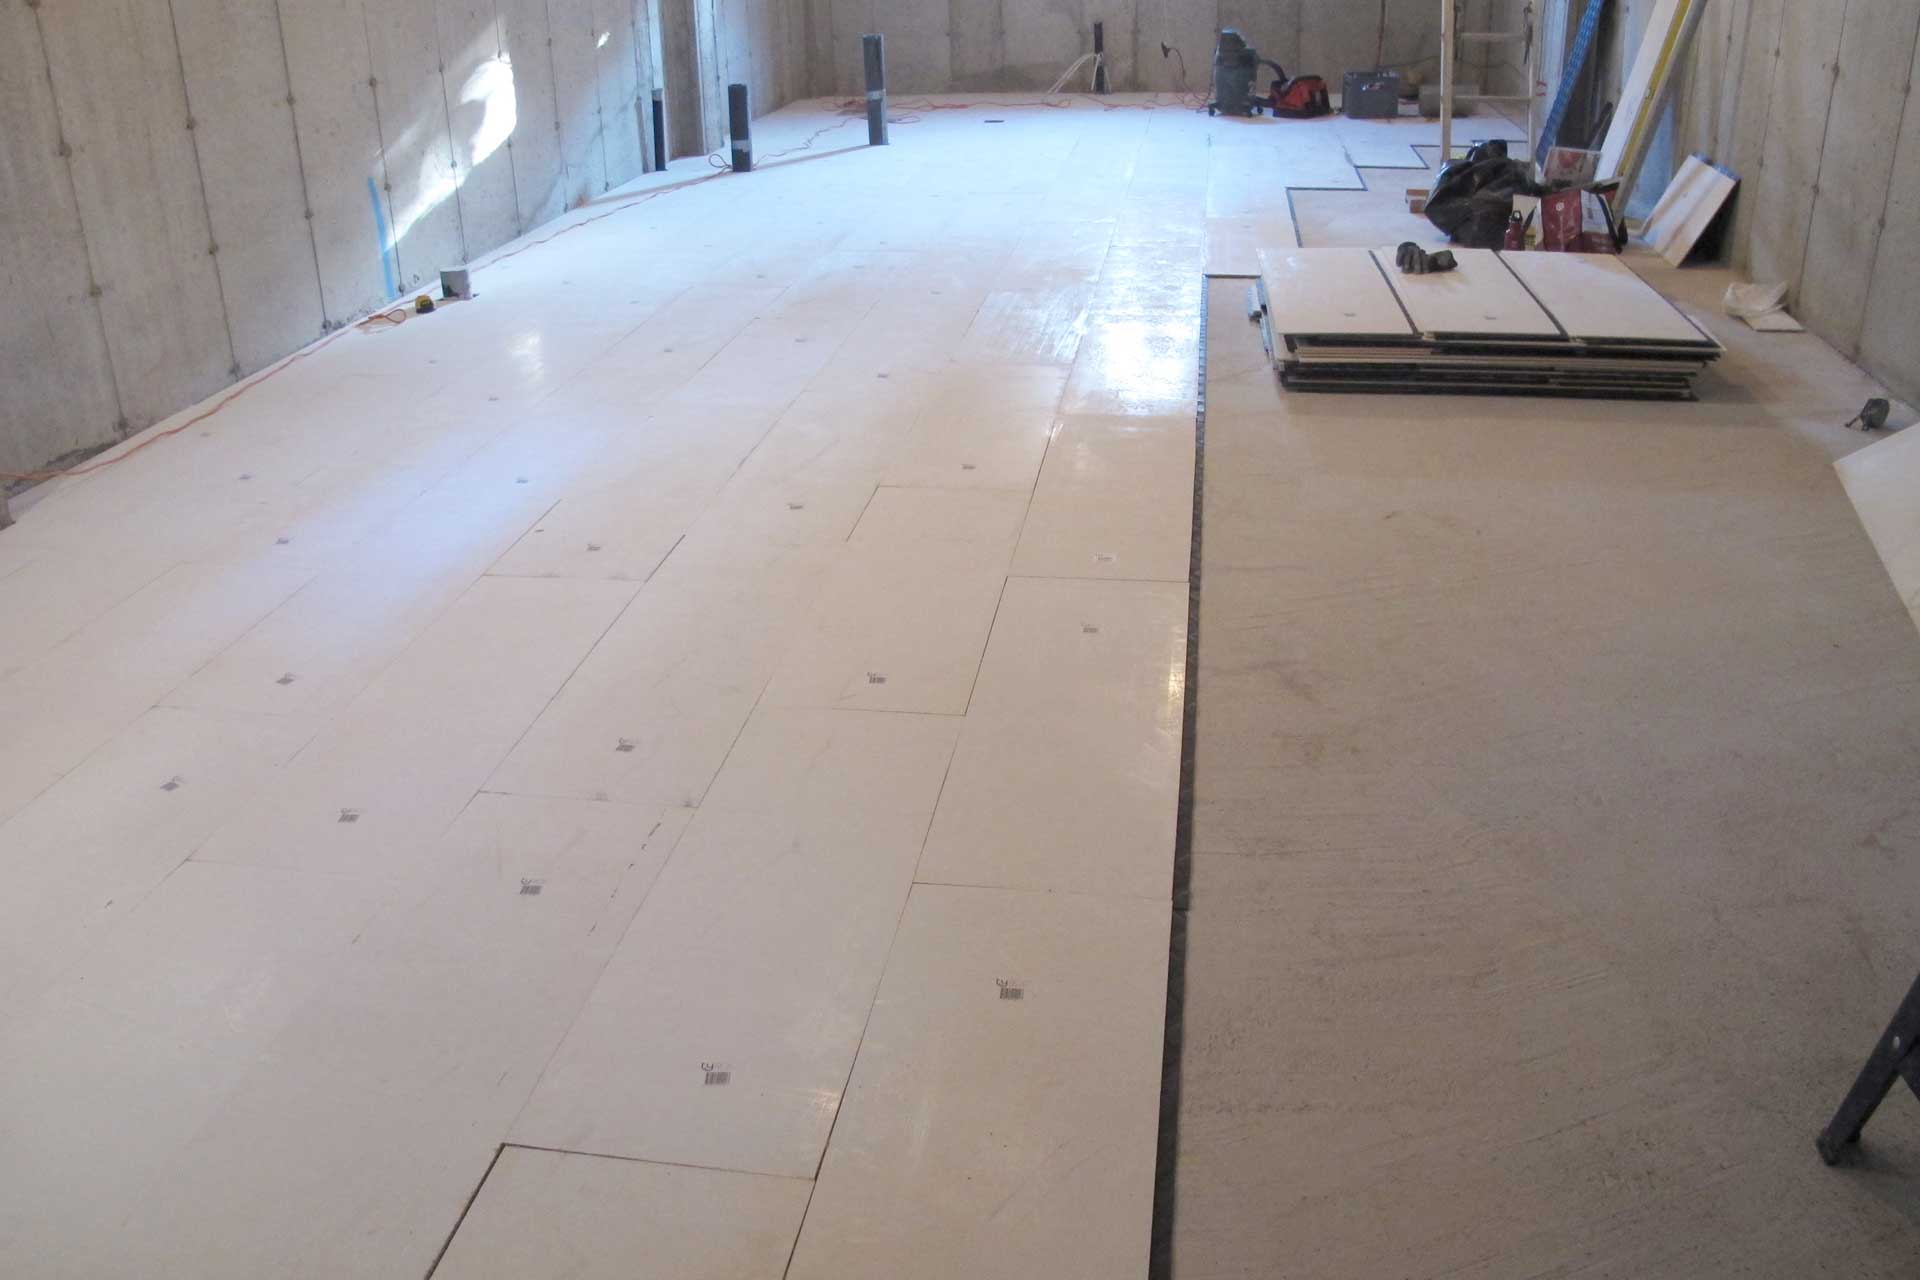
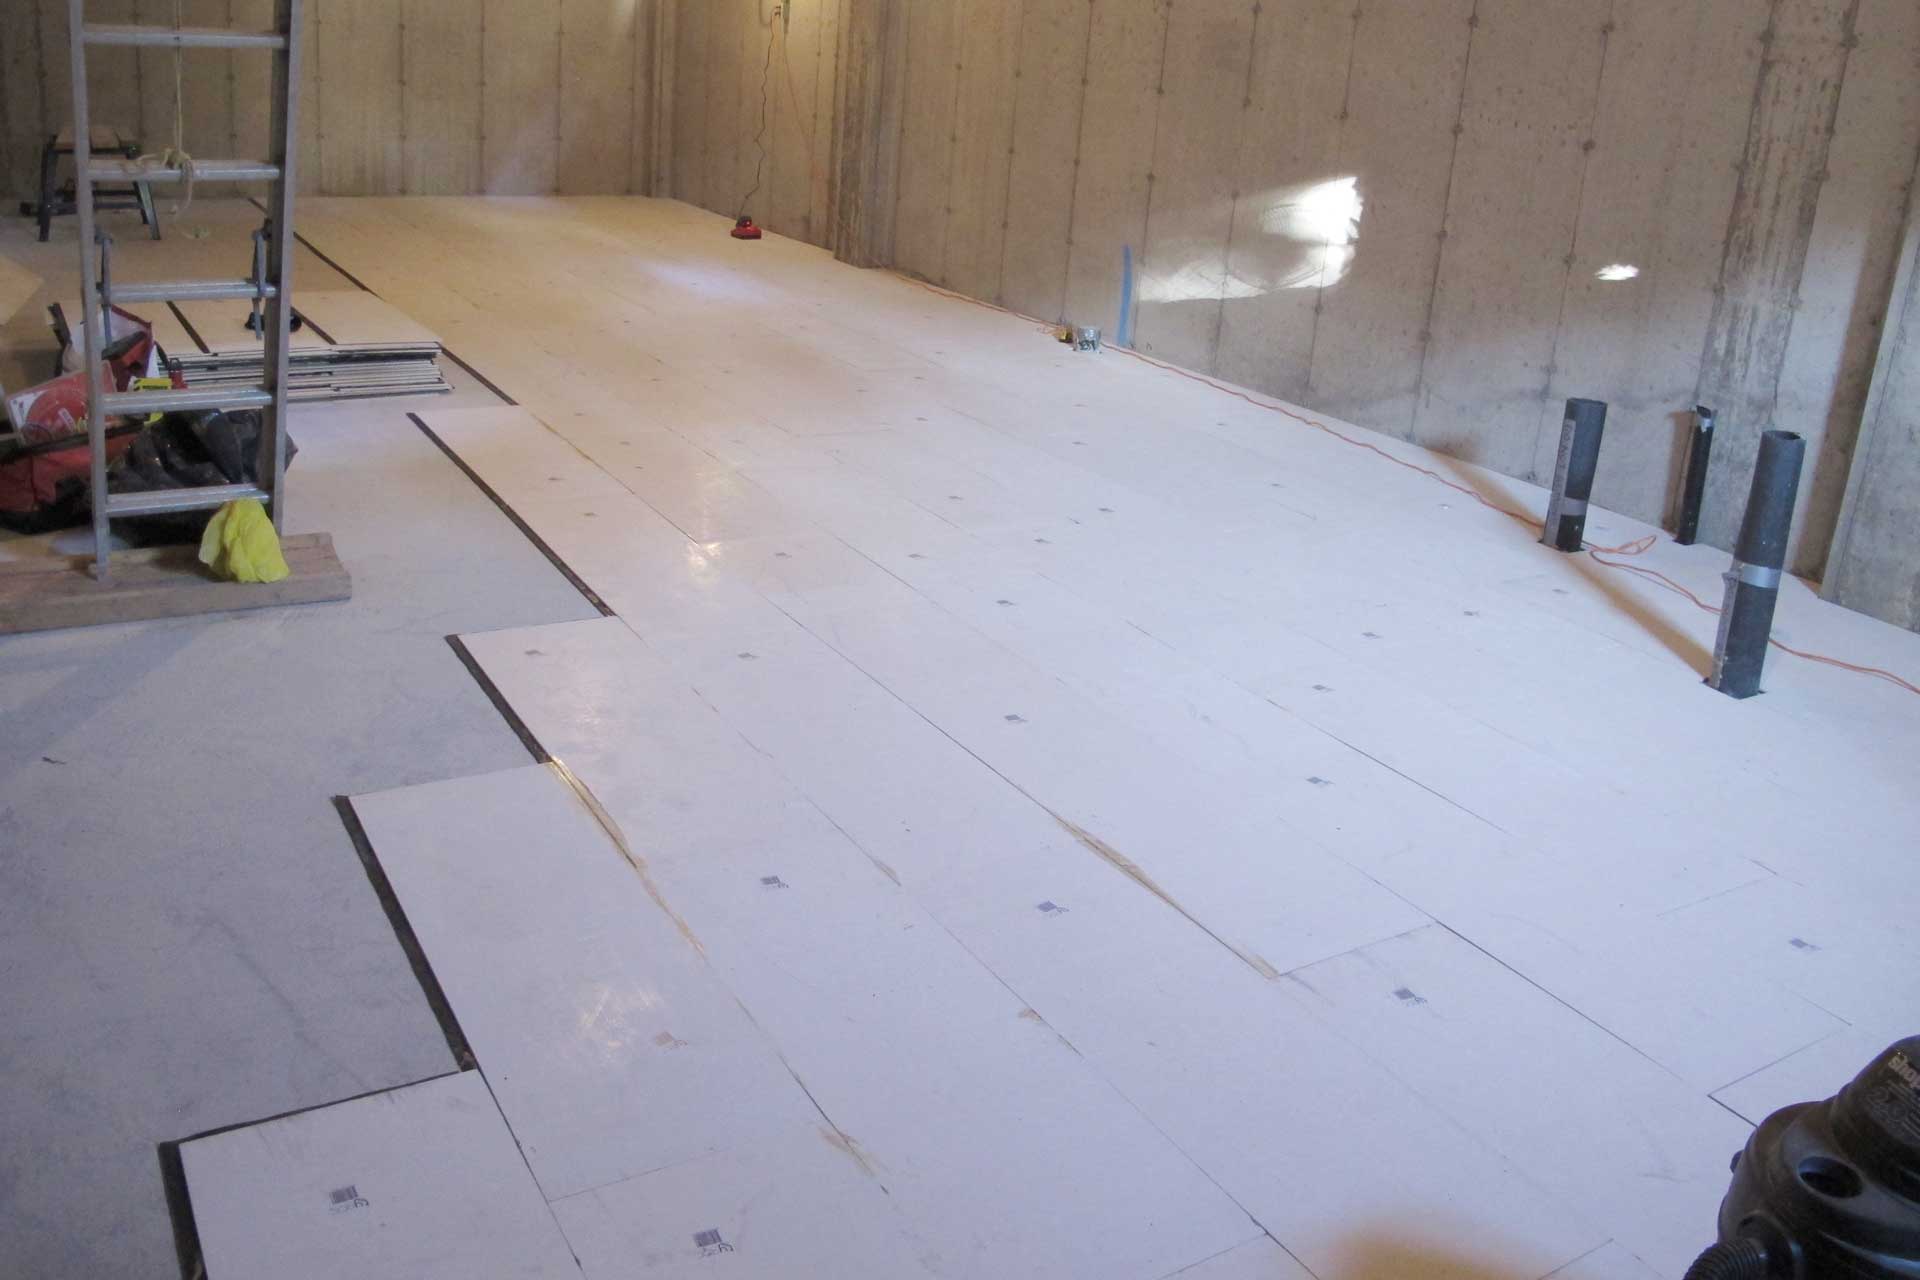
The panel installation actually went really fast when we didn’t have to cut these openings. The two of us can lay down one full row in a matter a few minutes with me putting down glues using the caulking gun and my cousin just laying down these panels. At the end of the day around 7pm, this is what we have. I think we are more than 75% done and most of the complicated cutting is done.
Tomorrow we will only have to cut around the last 3 piers as well as the last floor drain. So it will be a short working day tomorrow and I expect to have the basement sub-floor all done way before the end of the day.
Leave a Reply
You must be logged in to post a comment.