I got back on site yesterday too later and light’s fading away so I can’t really inspect the foundation wall. Today, is Saturday and not a working day so I got out and took a closer look at what has been completed so far.
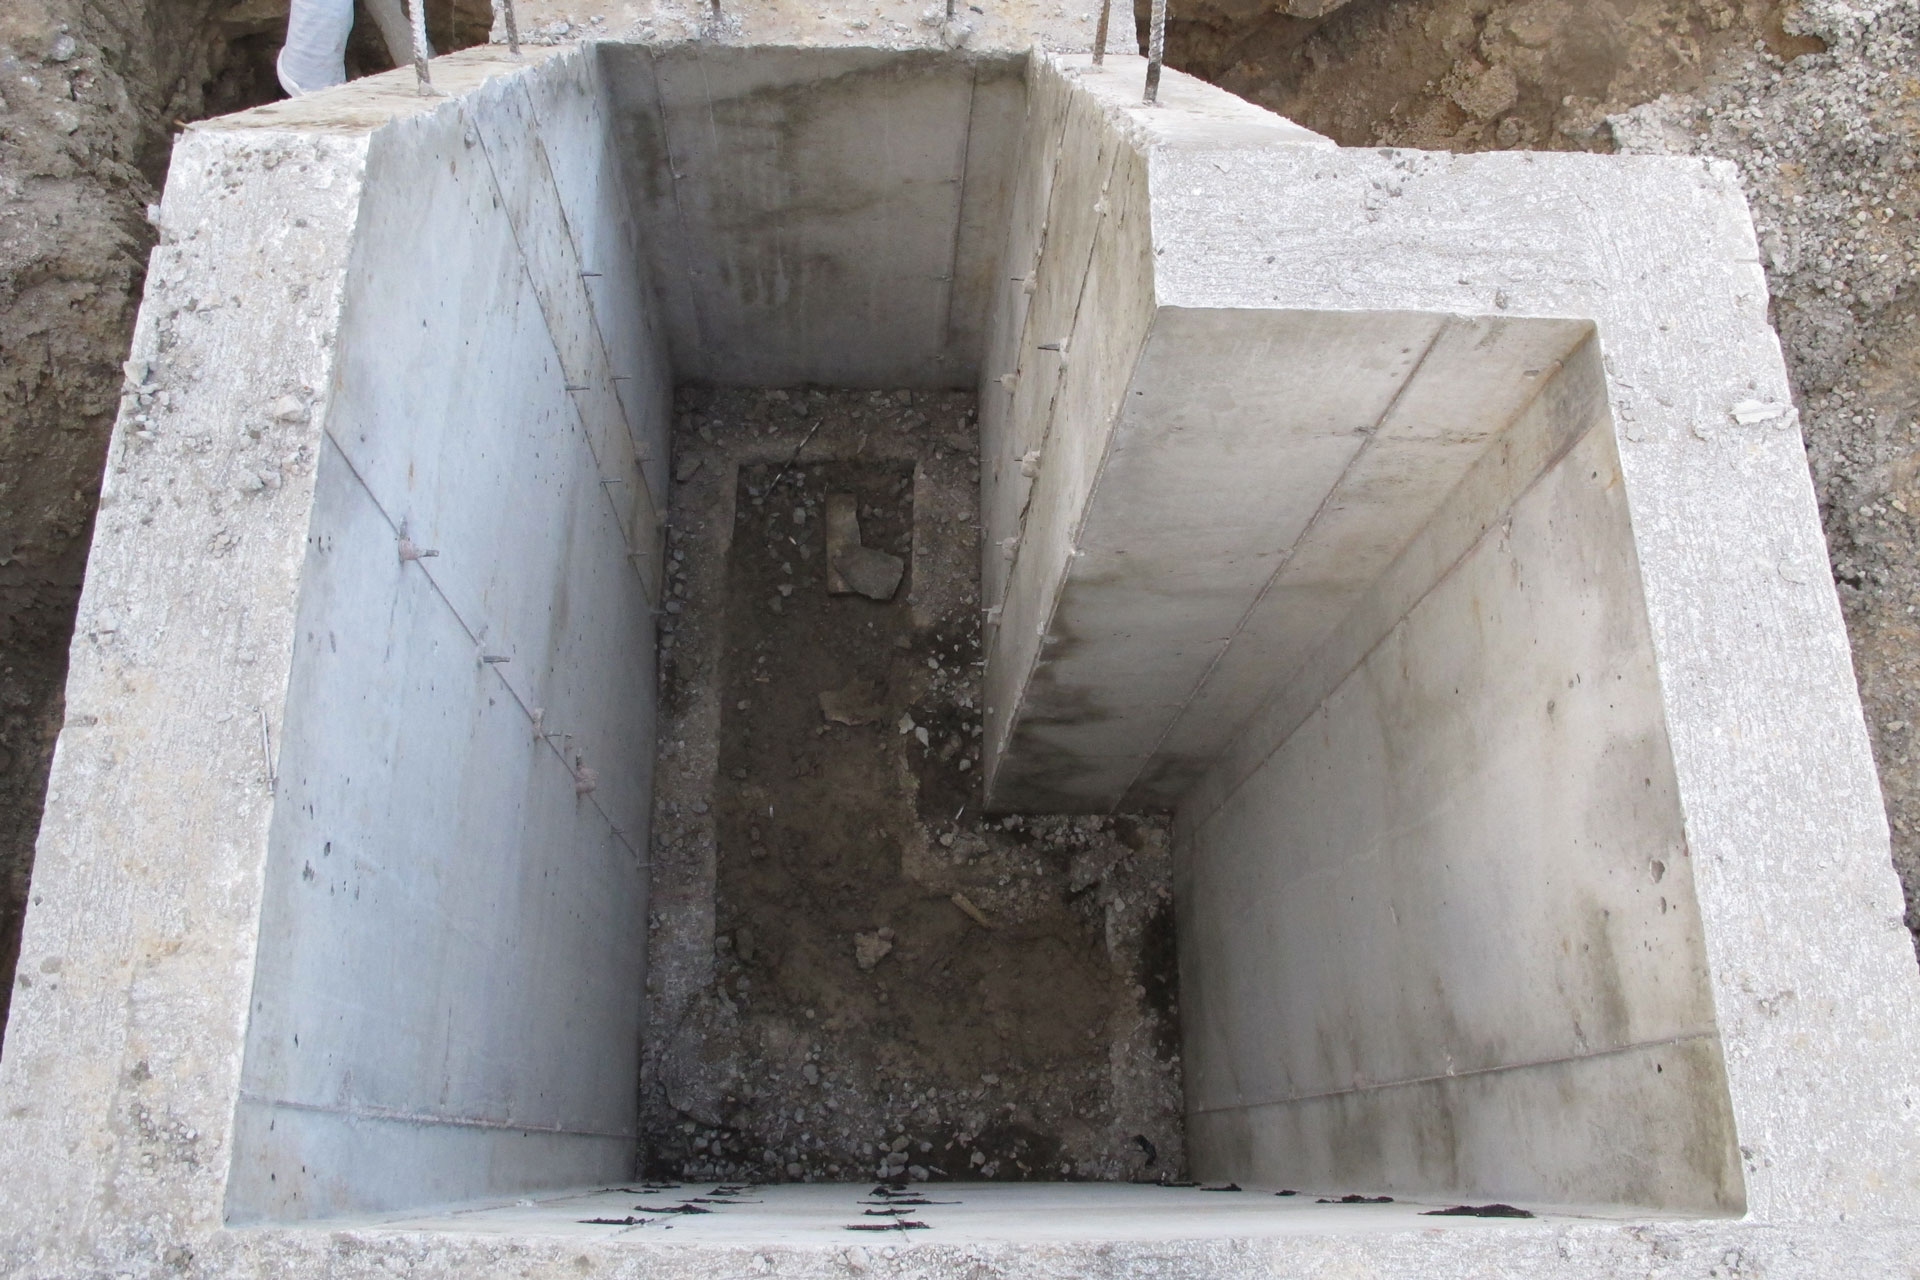
This is a view from the top of my foundation wall into my front concrete stair foundation. The stairs are one piece connected with the house and the stairs are just as heavily reinforced with rebar as the rest of the foundation wall. You could have a cold storage room in here, but this space is just too small and I don’t want to have a break in my thermal envelop in the basement.
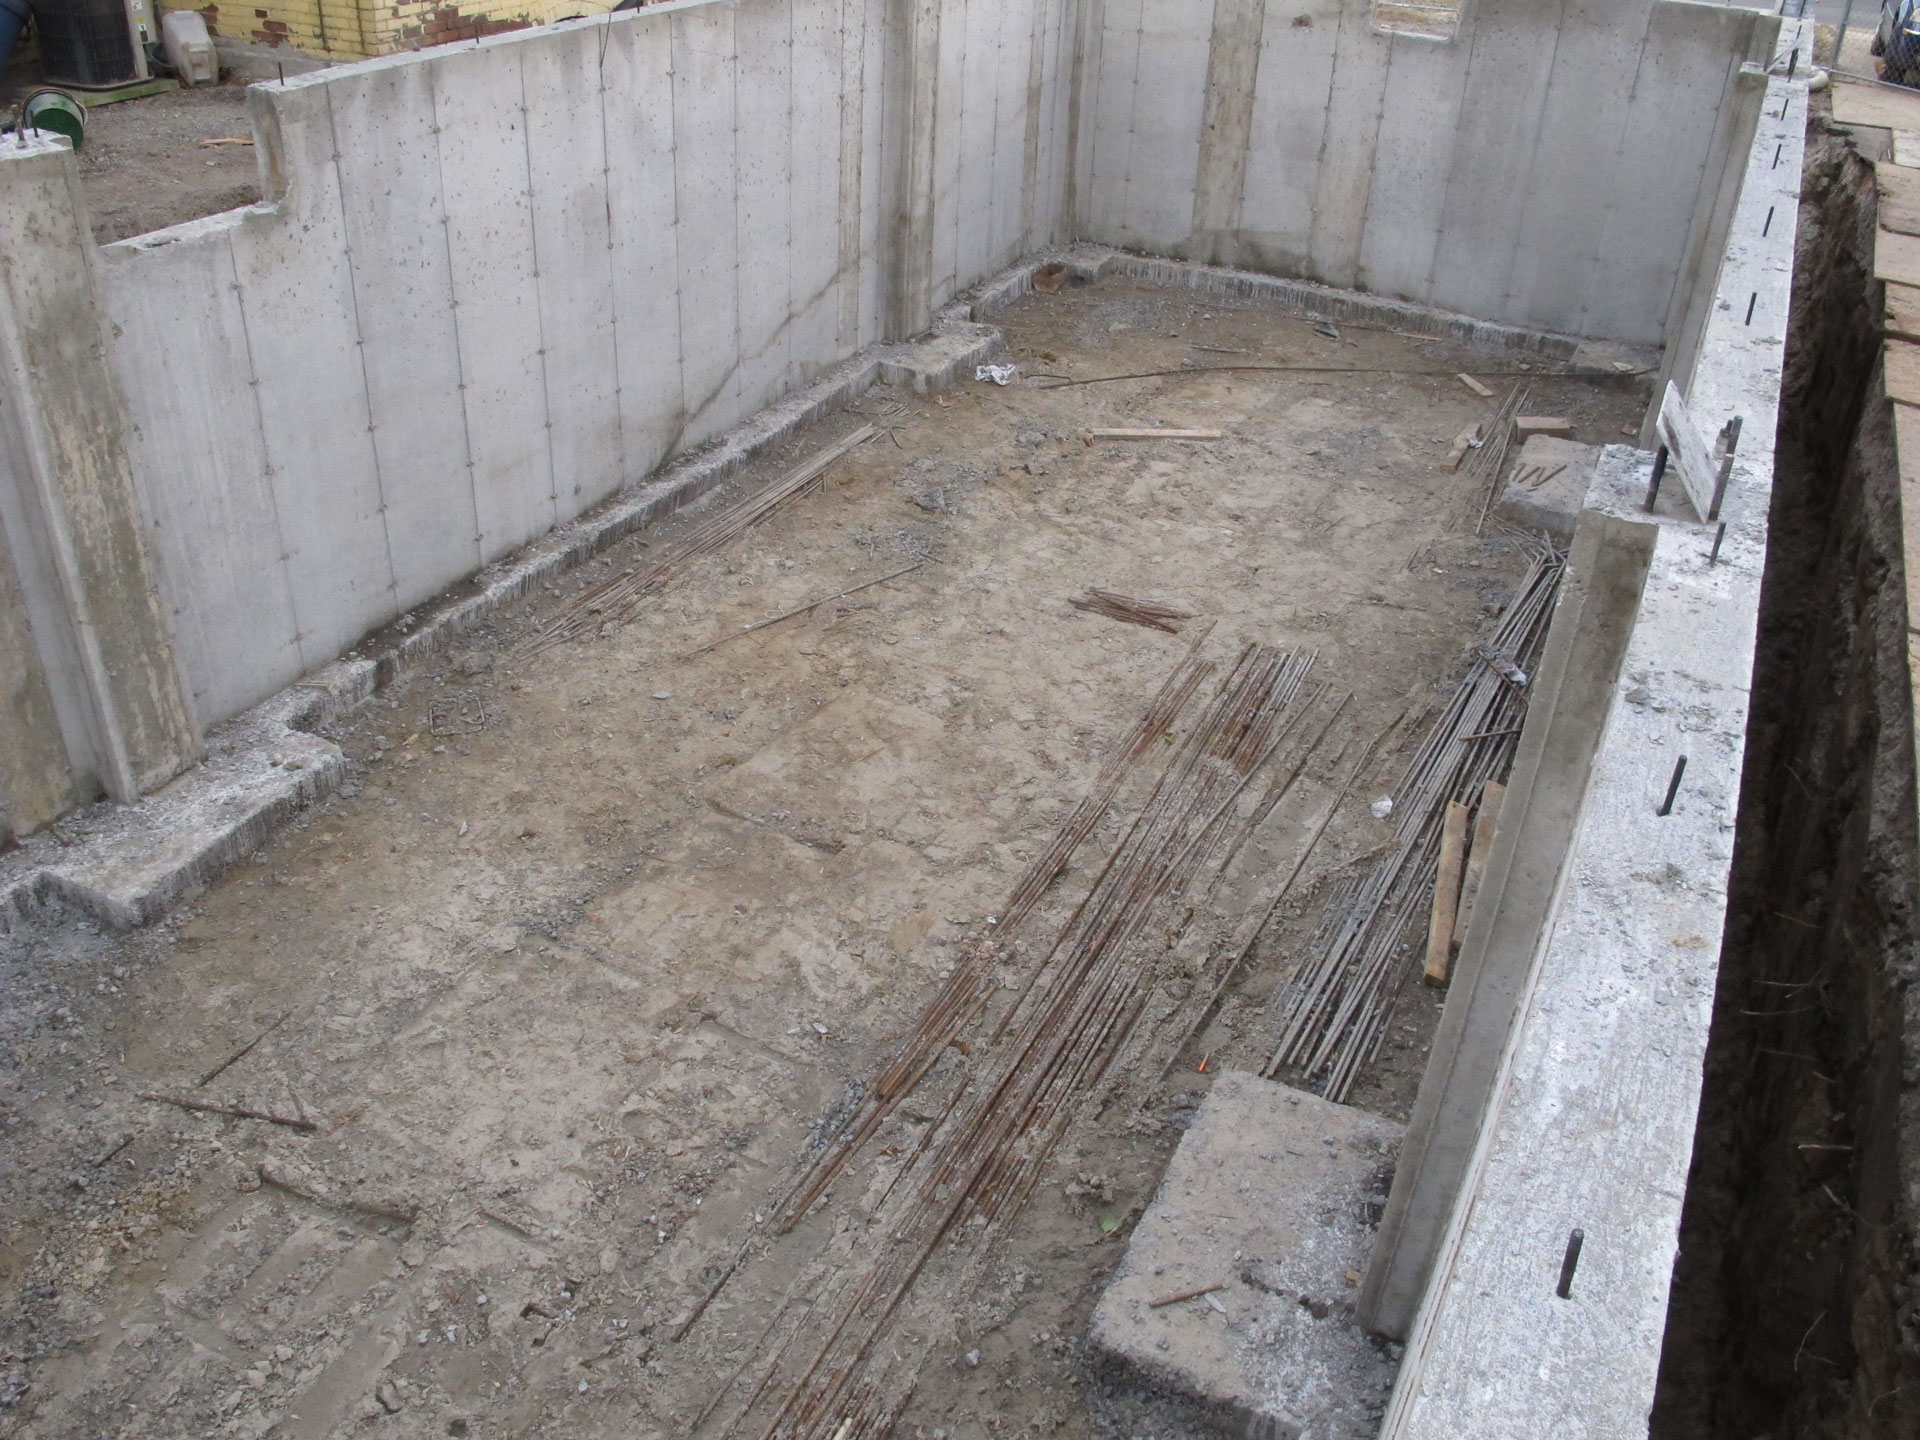
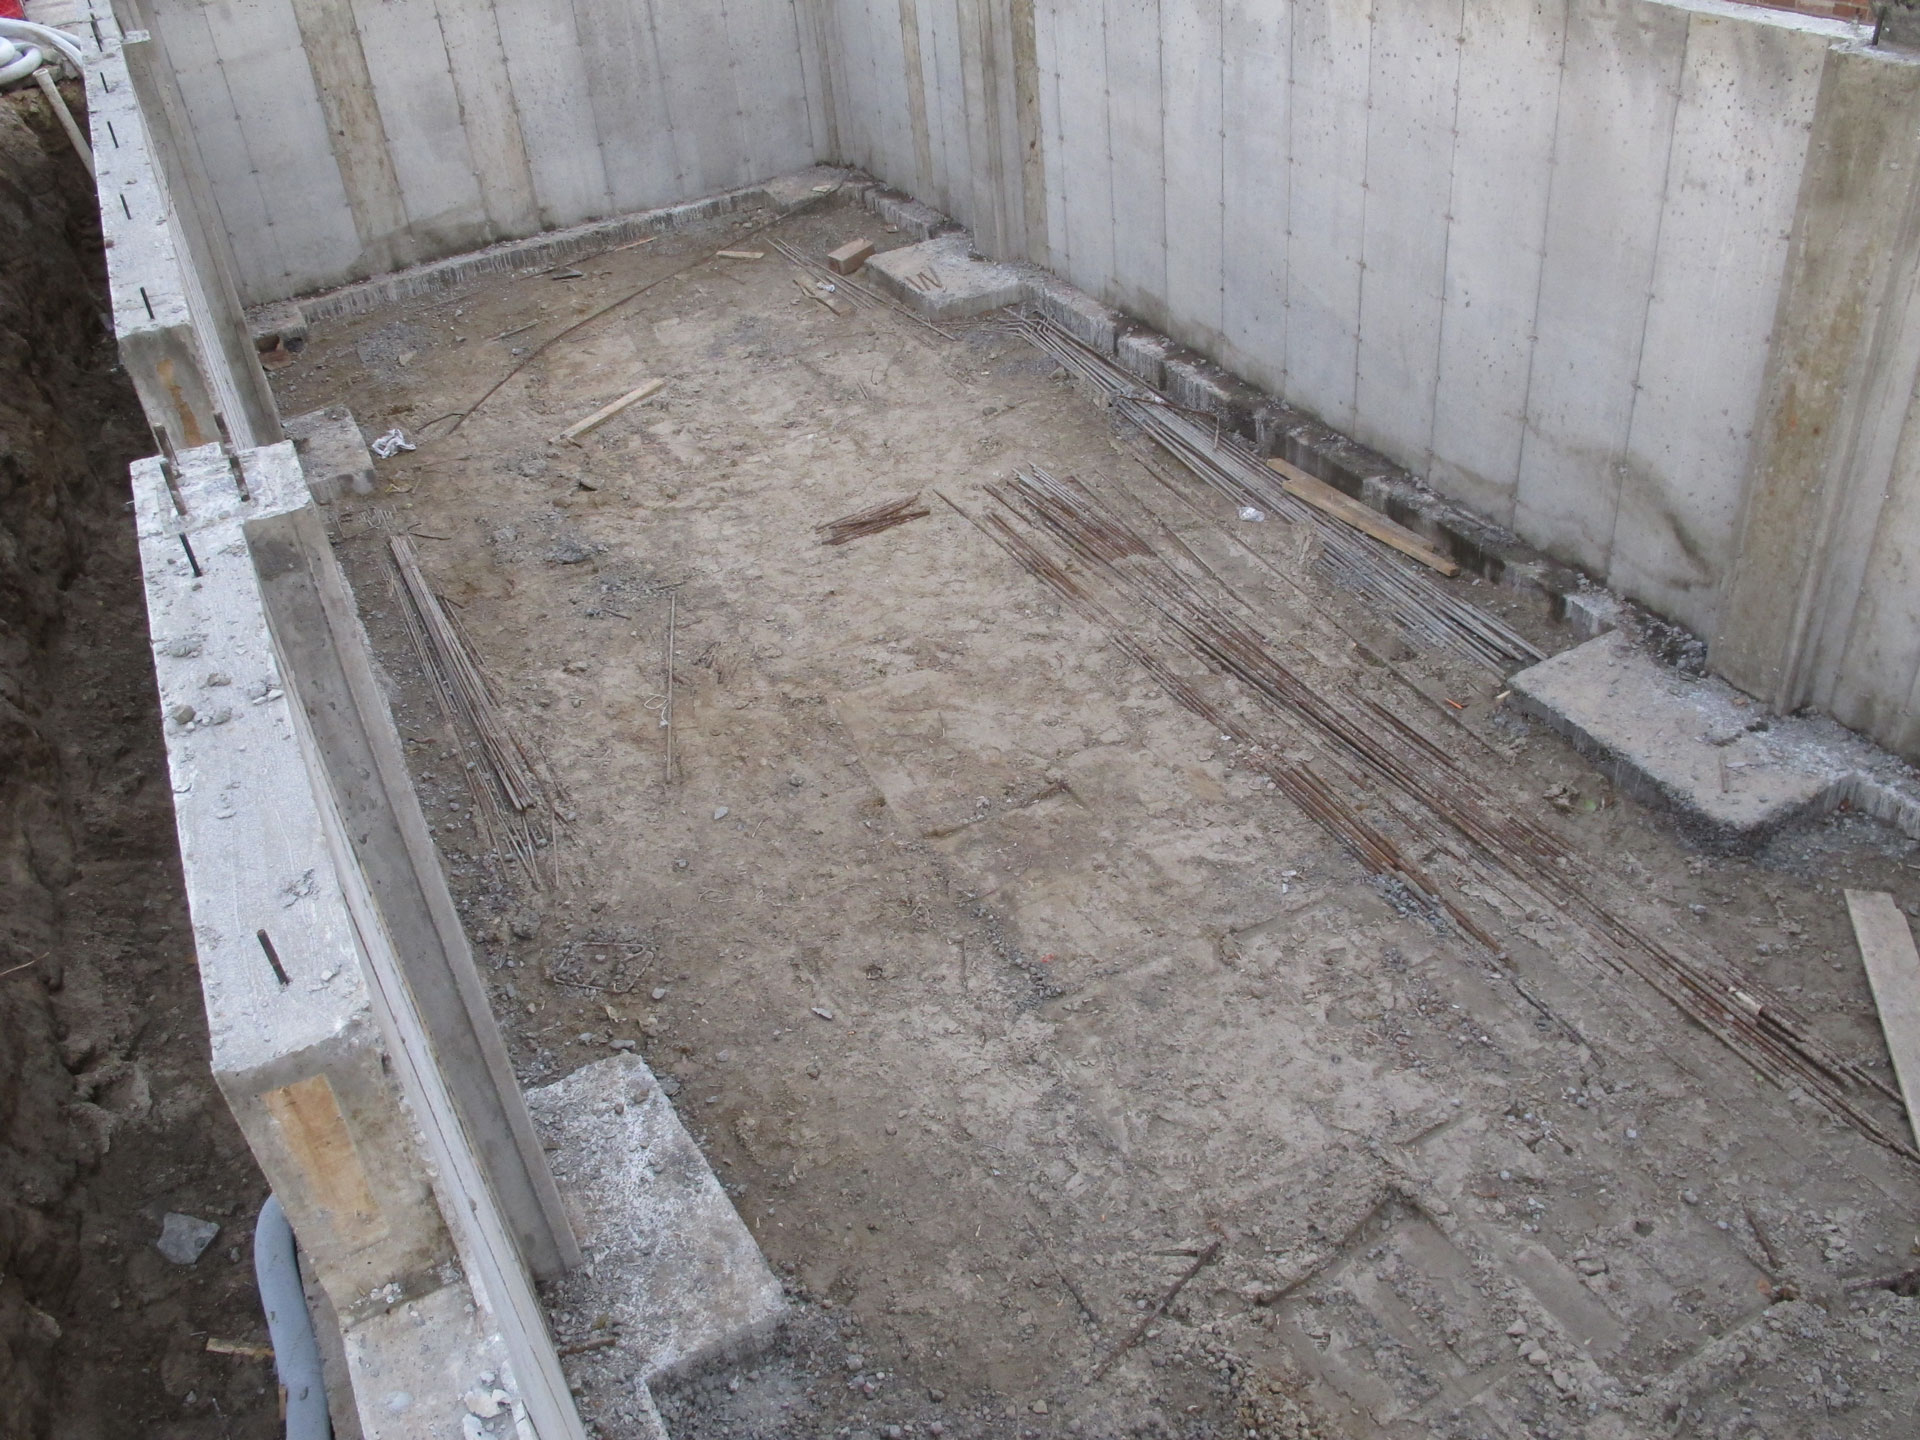
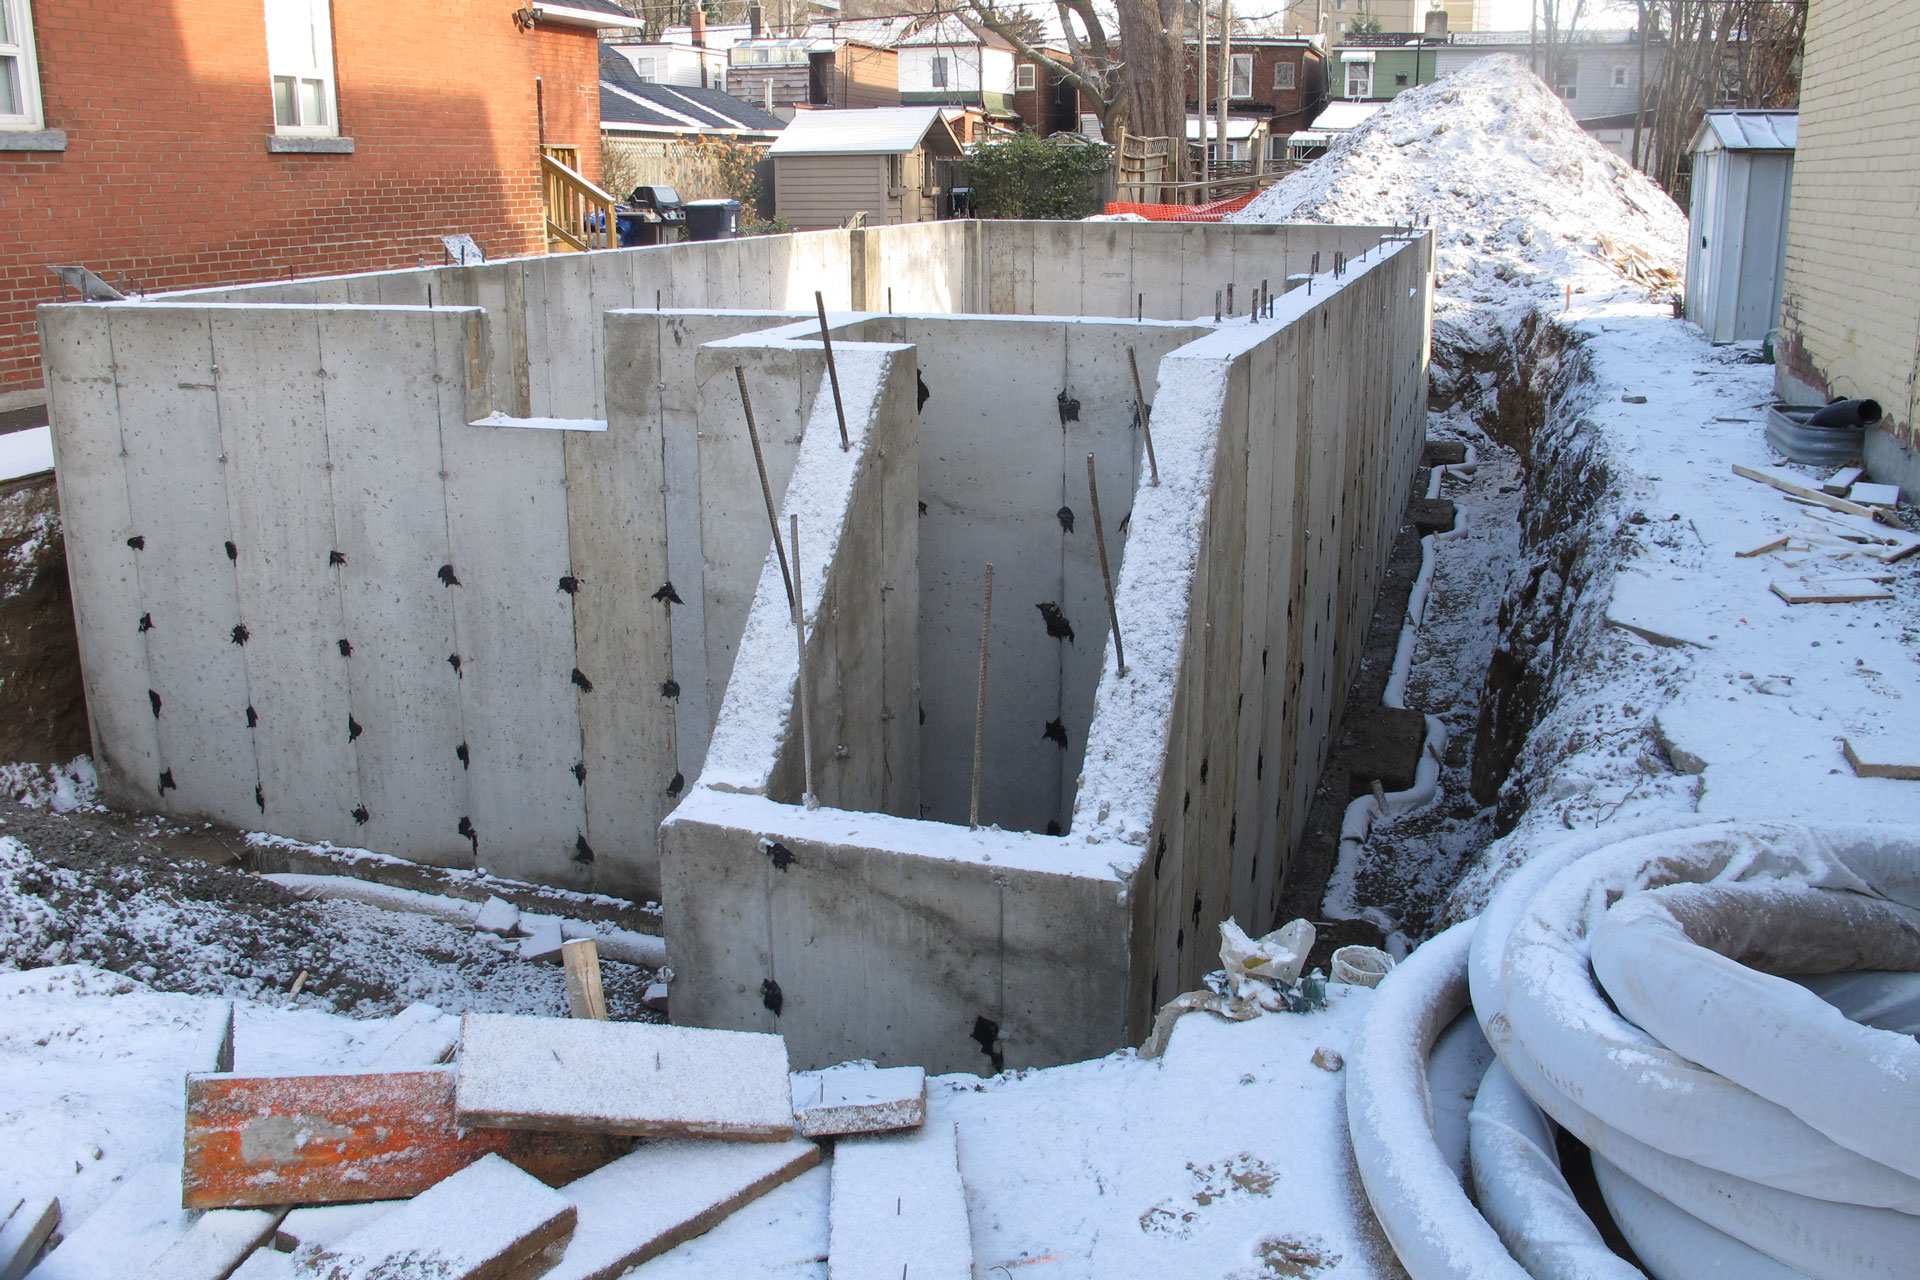
And here’s a look of the inside of the foundation wall from the back of the house. They have planned way too much steel. Just look at the amount of steel that’s still left behind on the floor.
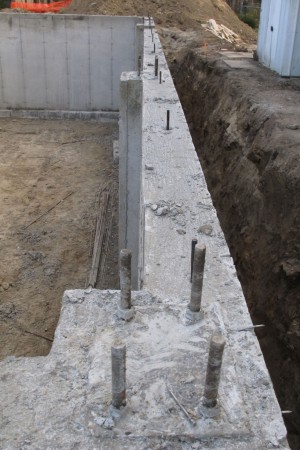
Yes the footings on the right looks larger than on the left. That’s because on the north, I’m 1′ away from the property line, so the 4′ x 4′ special footings for the columns have to move towards the inside of the foundation wall. On the south, there’s plenty of room and so the column footings are centered around the column.
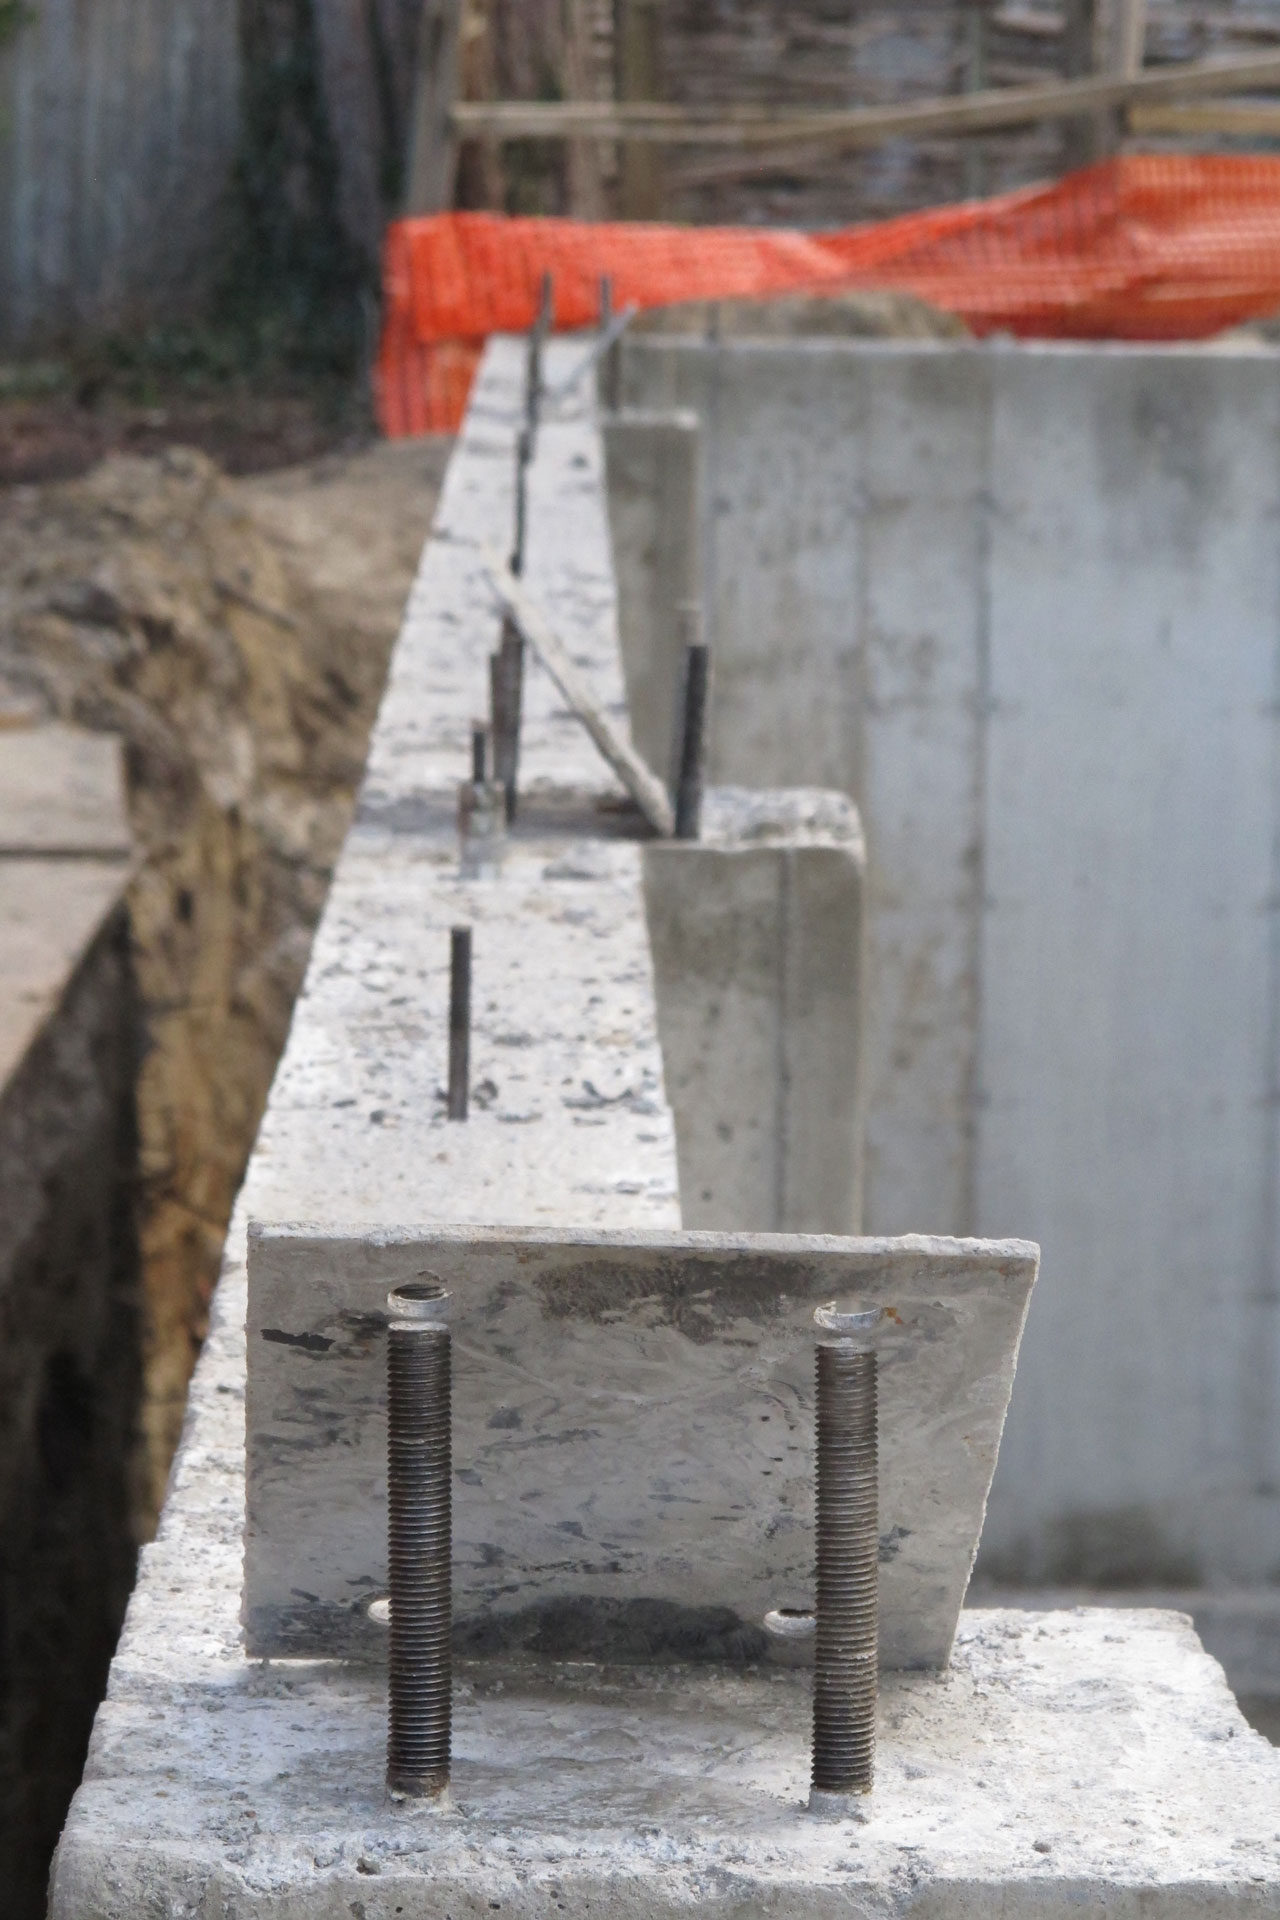
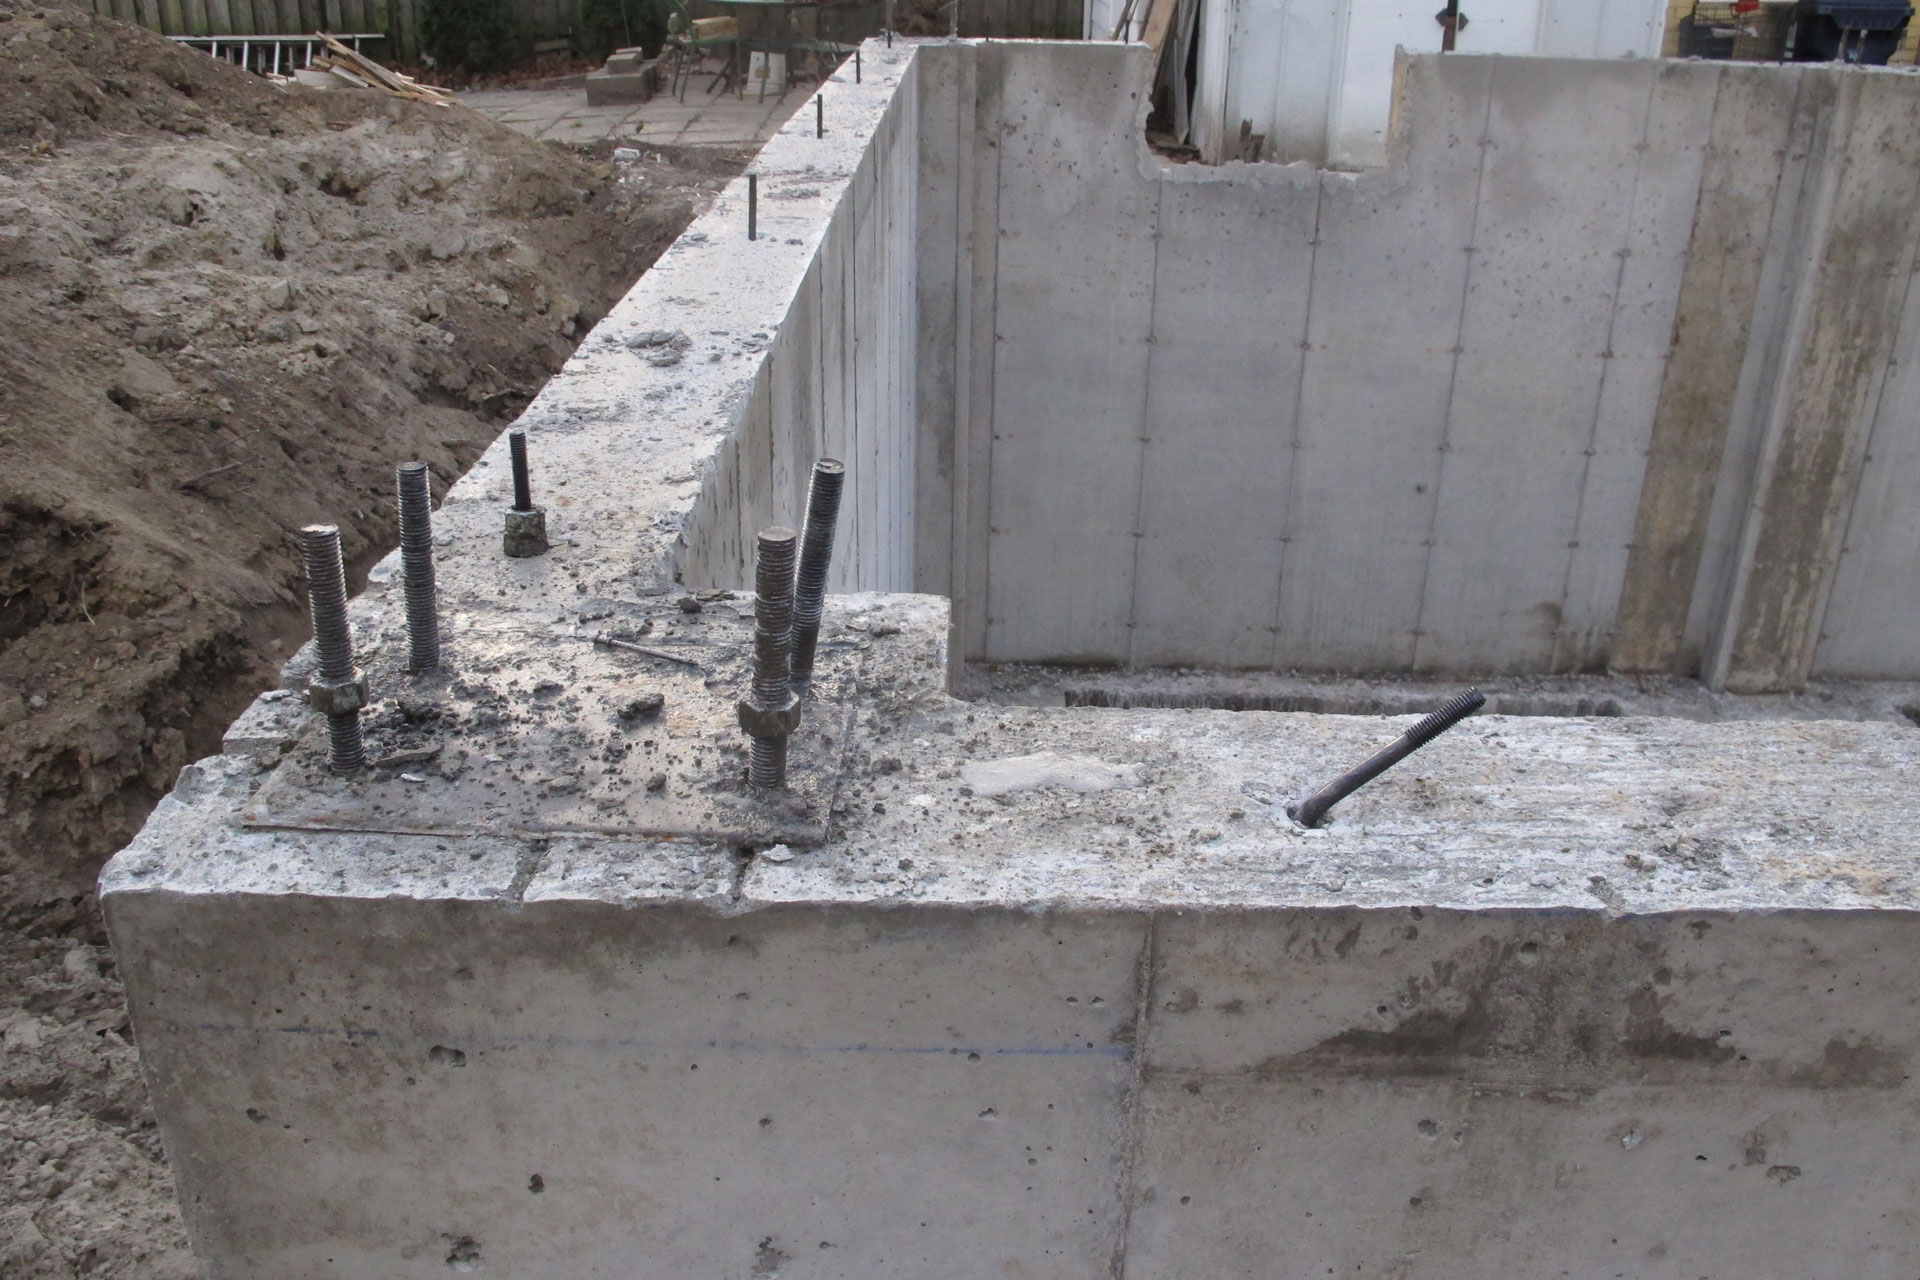
Here’s what it looks like on the left and right of the foundation wall. You can see all the plates where the piers are. The piers are 14″ x 16″ and the plates are all positioned 2″ away from the outside edges of the foundation wall.
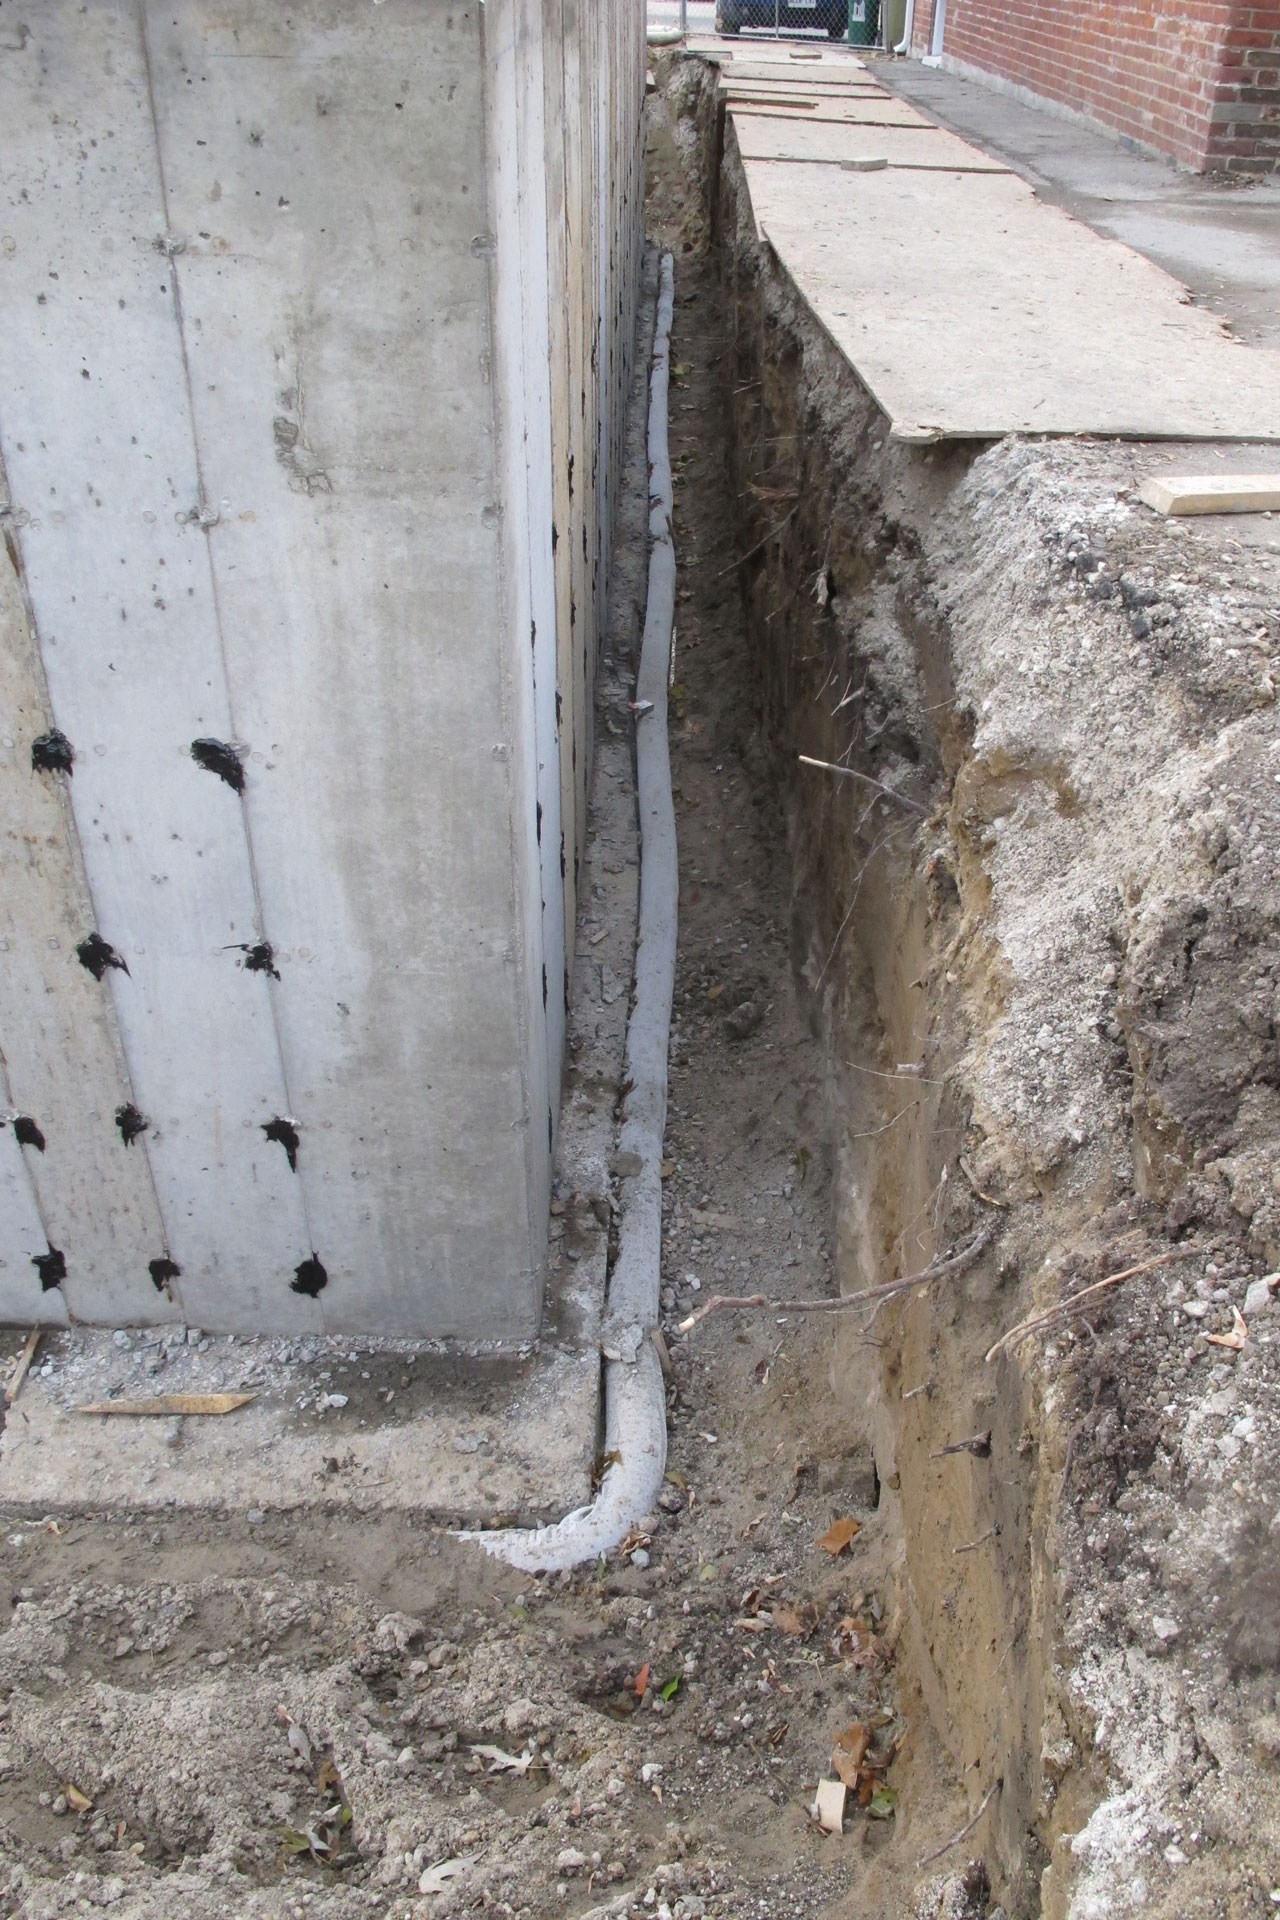
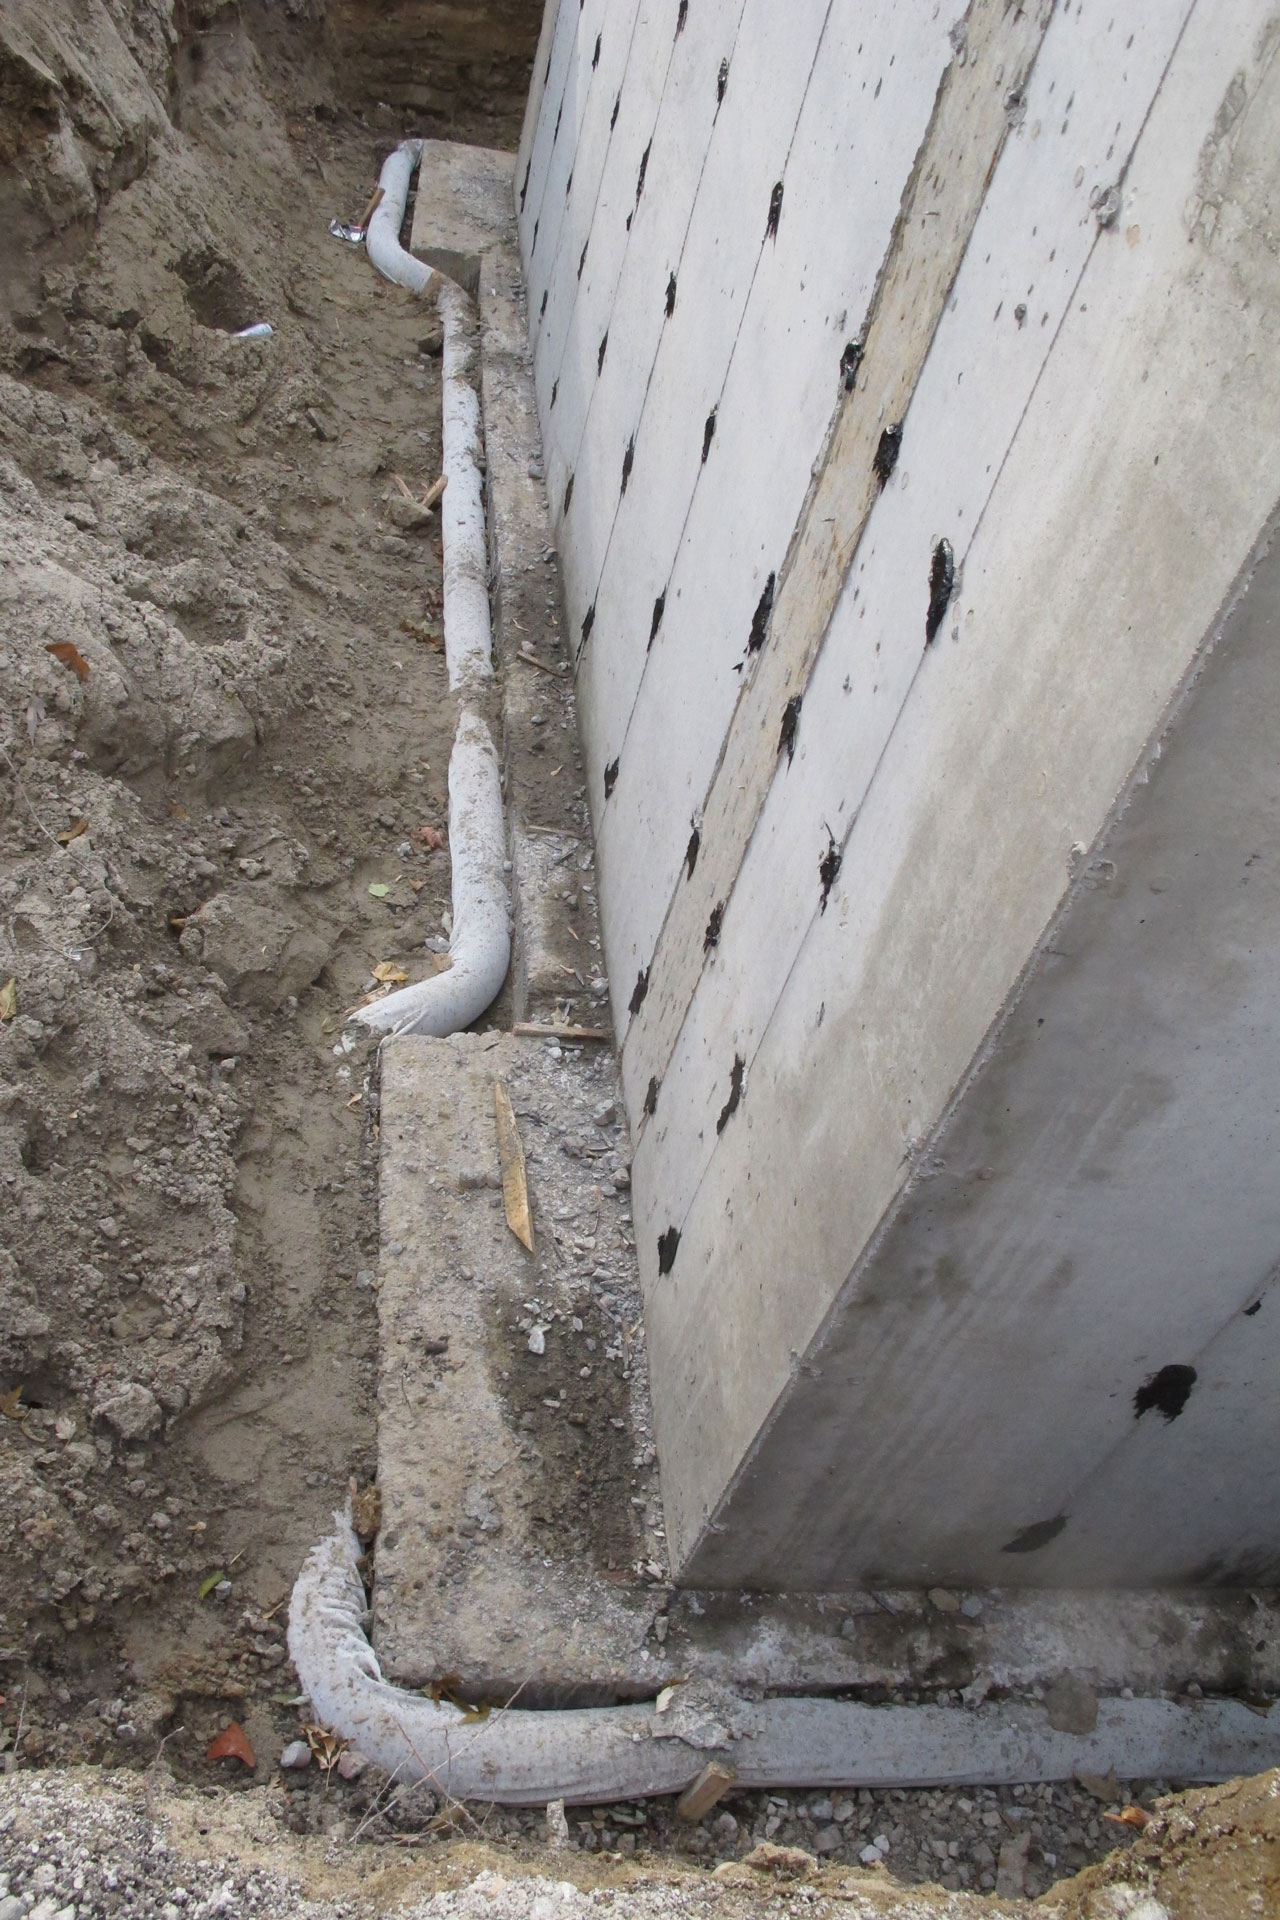
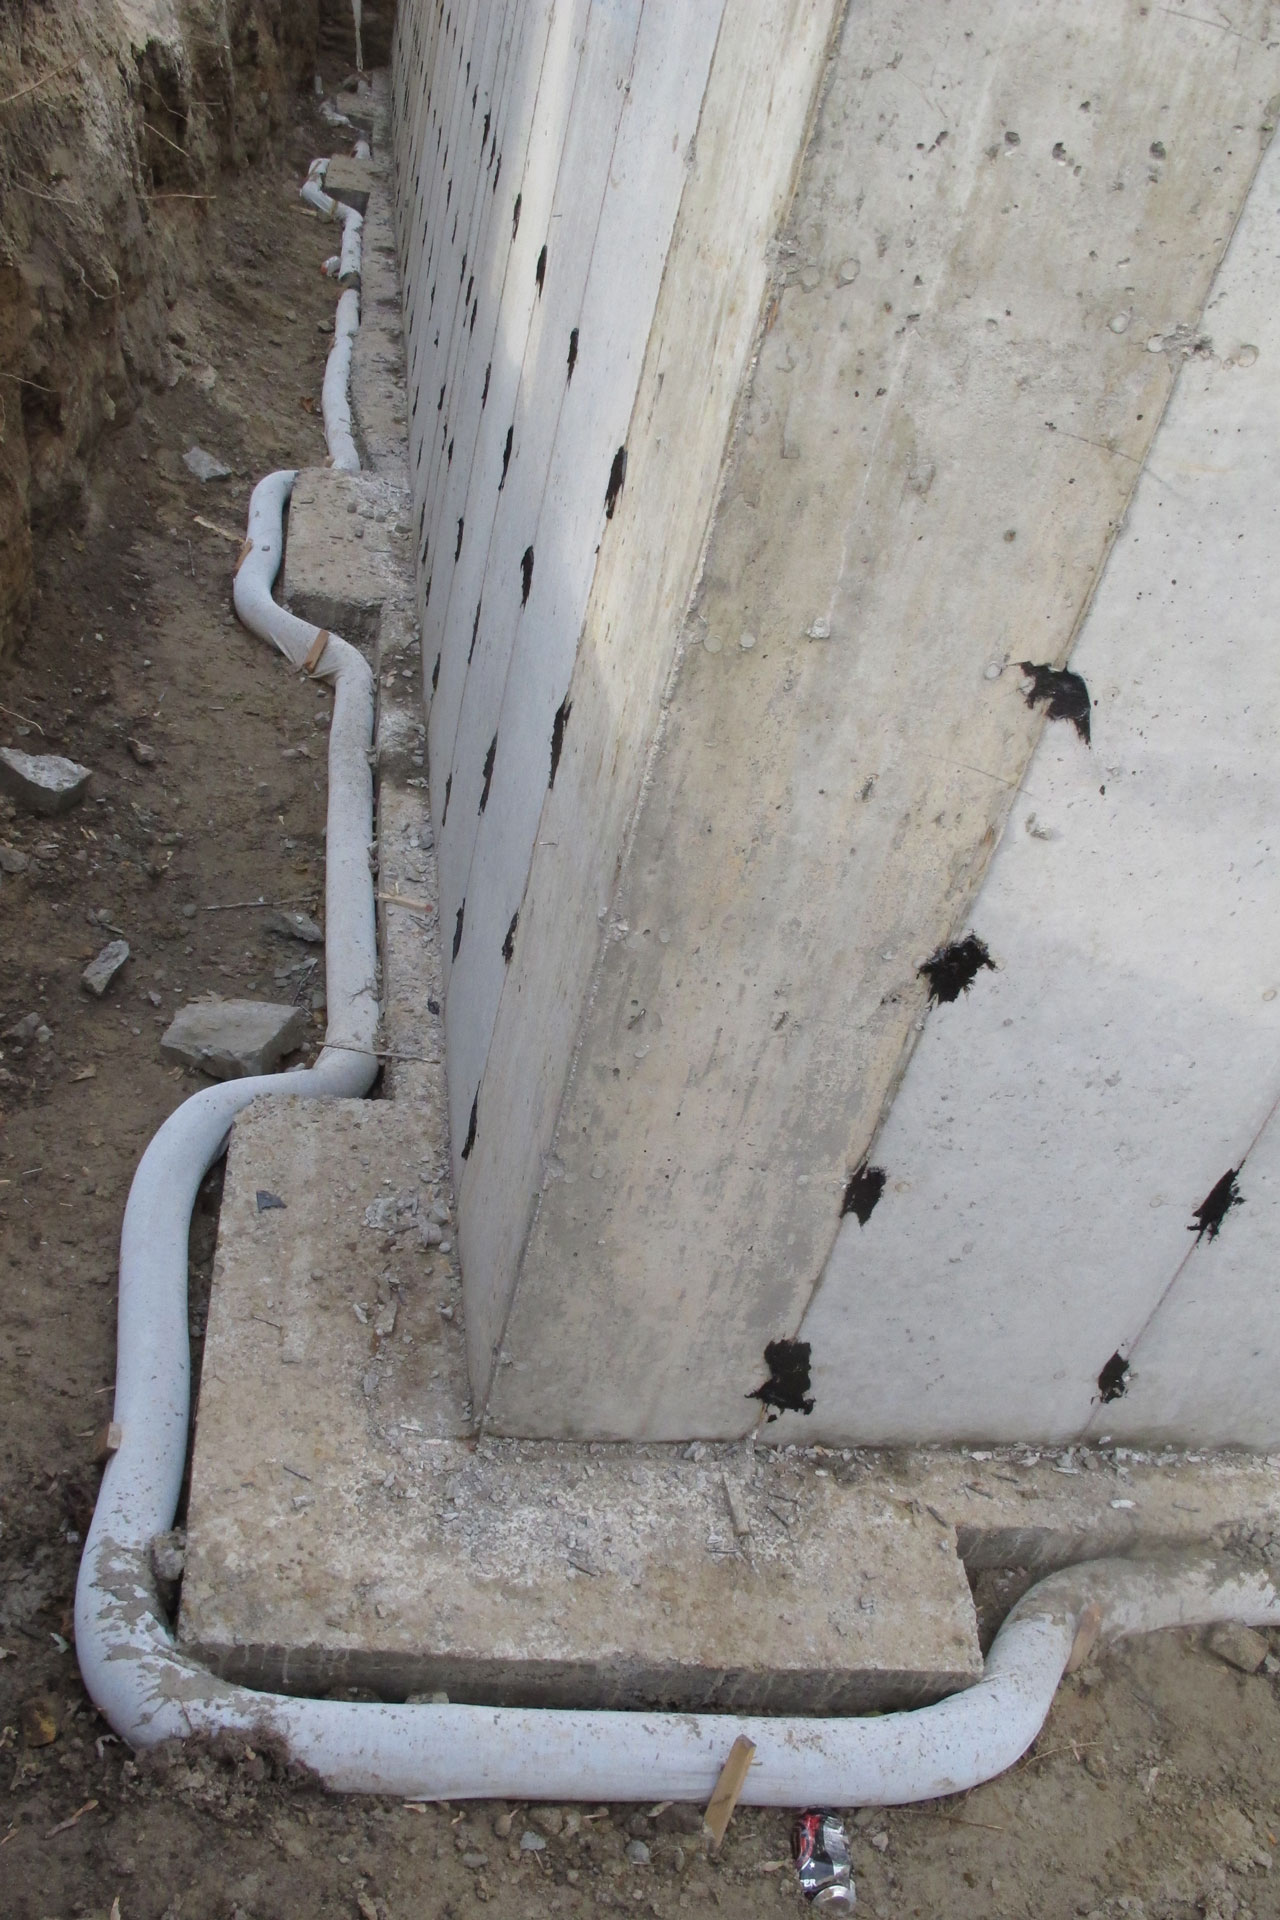
Here’s all the weeping tiles that wraps around the footing. I will have to make sure they put gravel around the weeping tiles later before they back fill with dirt.

I have indicated on the post yesterday that not all the plates have been removed. And here’s a compilation of all the plates according to where they are in the house. The north-east corner has a heavily bent rod. And only 3 plates on the north side of the wall starting from the west end has been taken off.
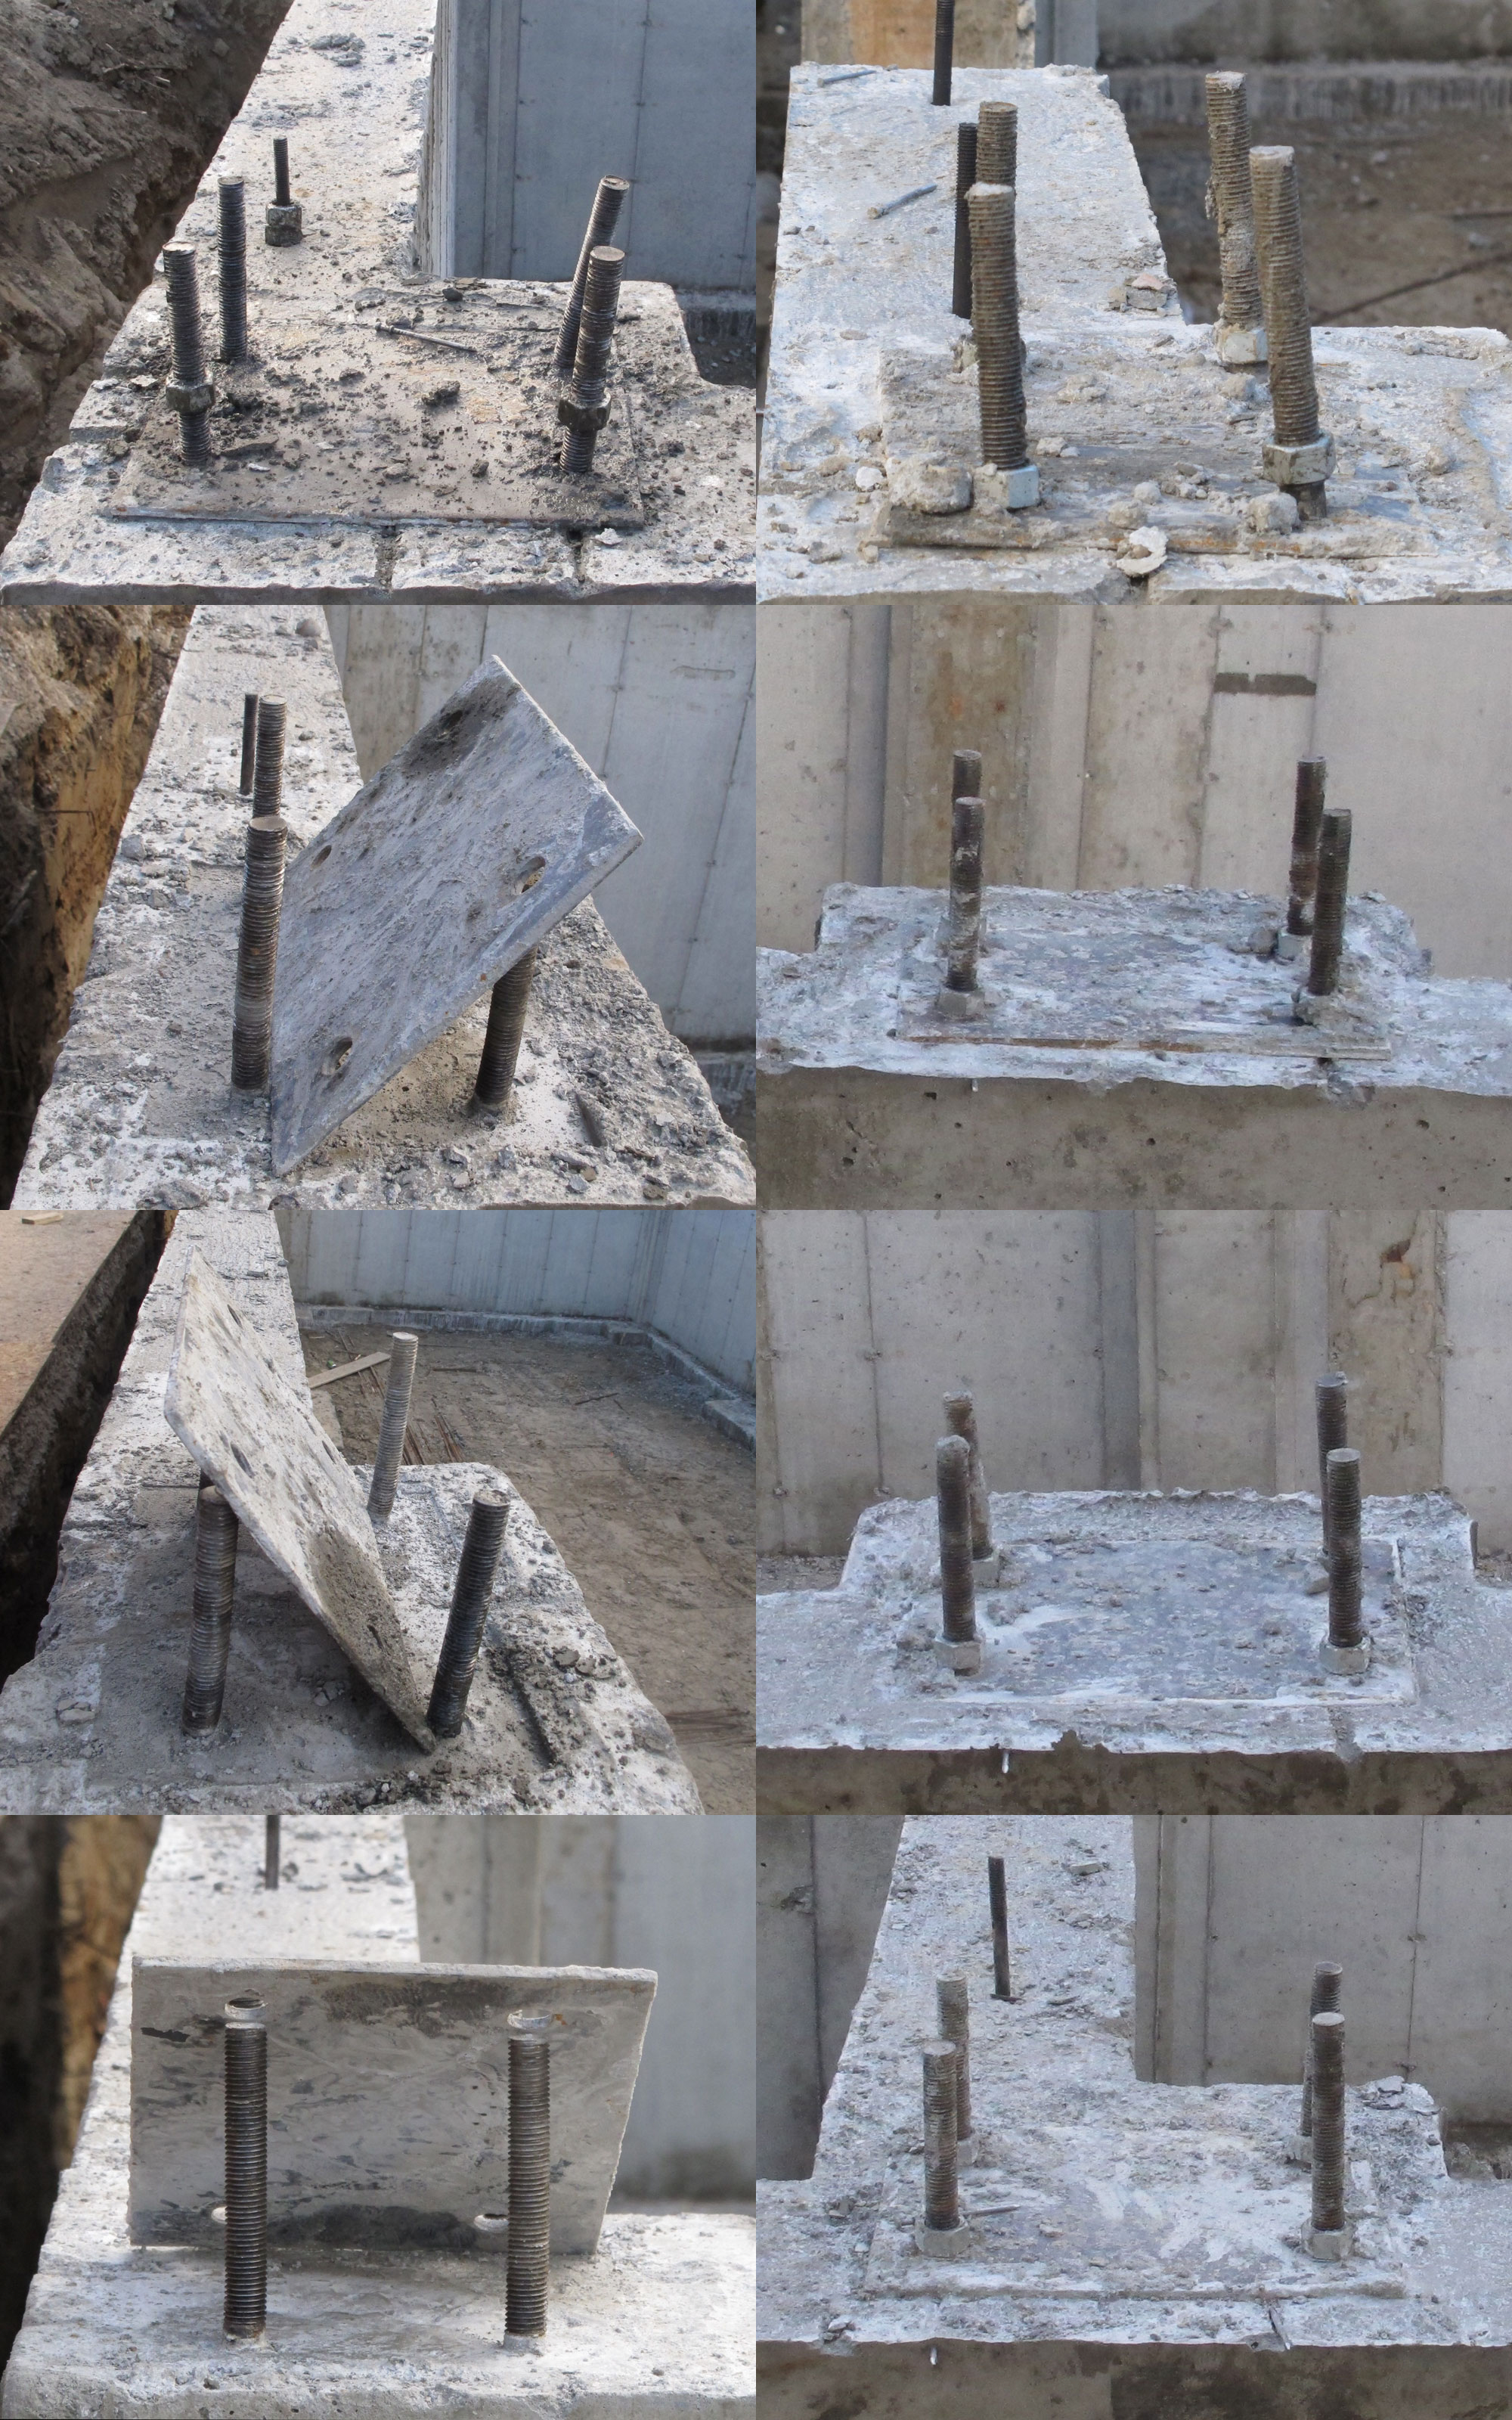
I’ve also got a really bent regular anchor bolt right at the north east corner. This one will have to be straightened out.
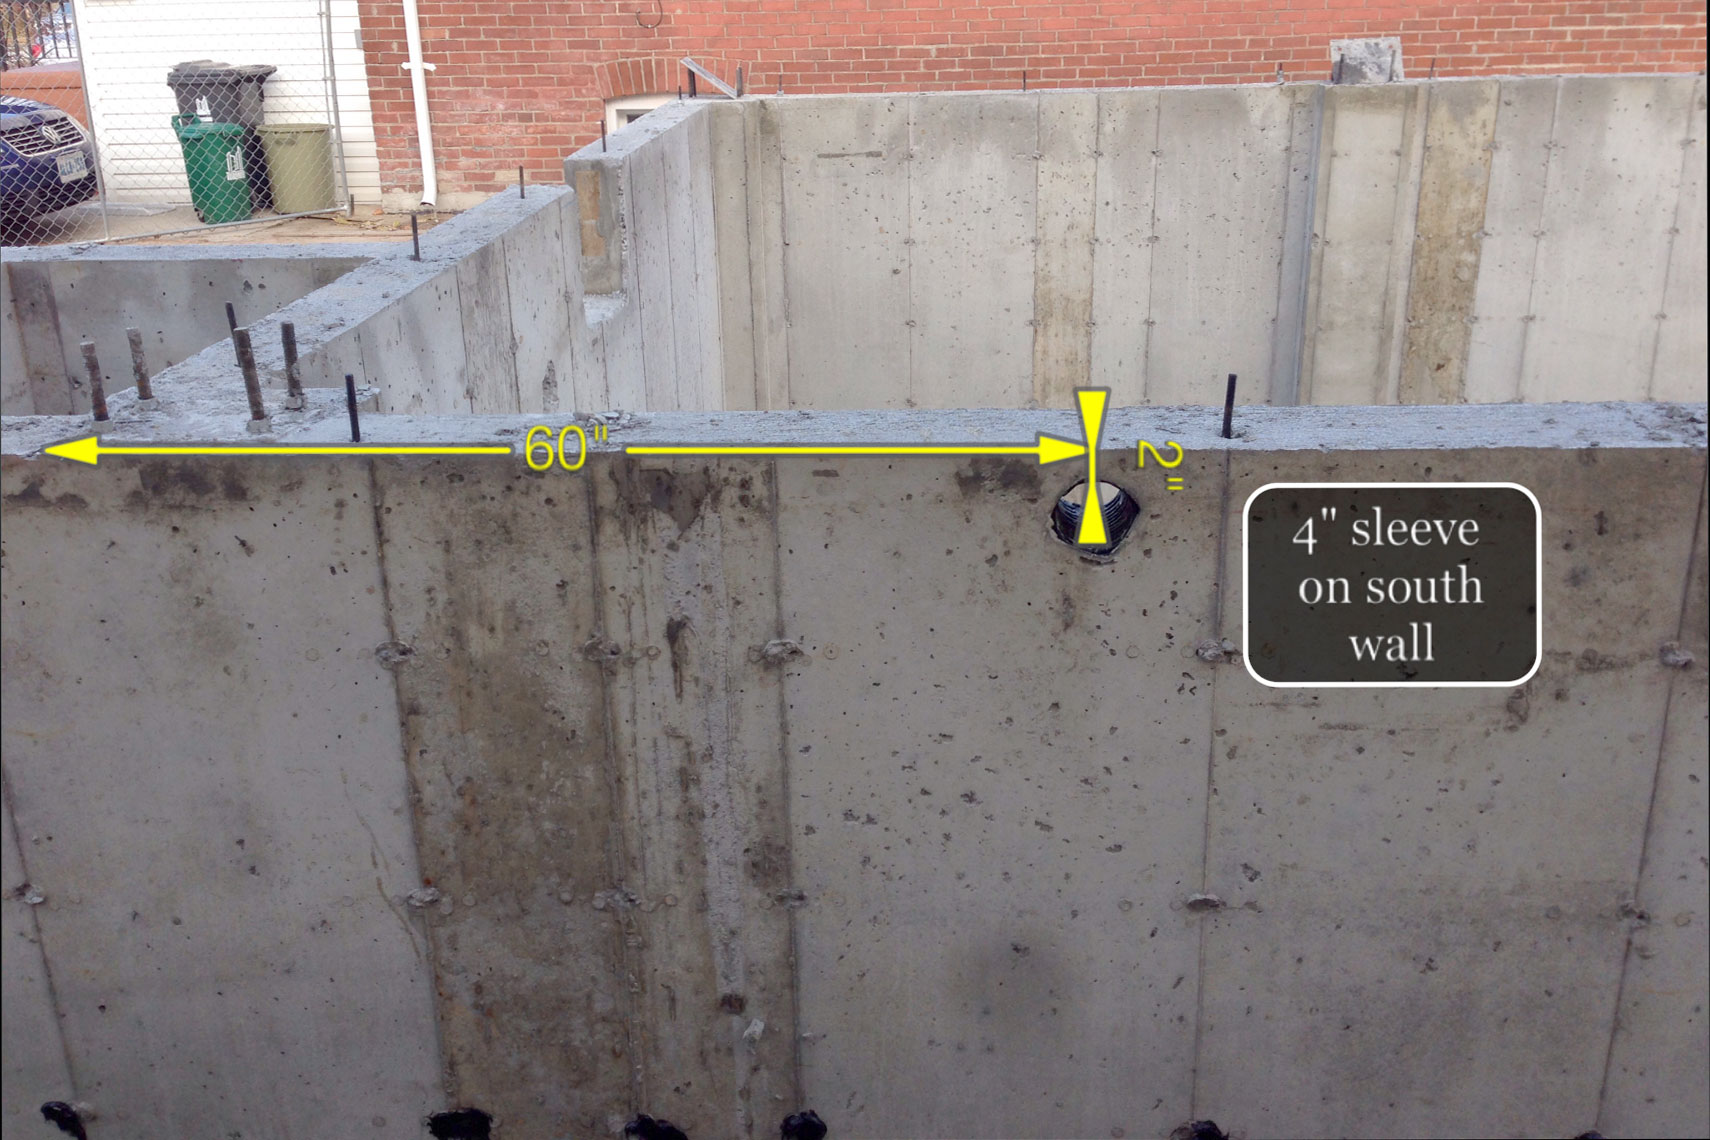
Now let’s look at the problem of the holes on the foundation wall. Here’s a 4″ sleeve in the south wall with a 2″ gap to the top of the foundation wall. The crew told me it’s for hydro connection. However, my utility room is on the north side of the building and the original hydro connection also comes in on the north side of the building and we want to keep it like that. So this hole really doesn’t make sense to me.
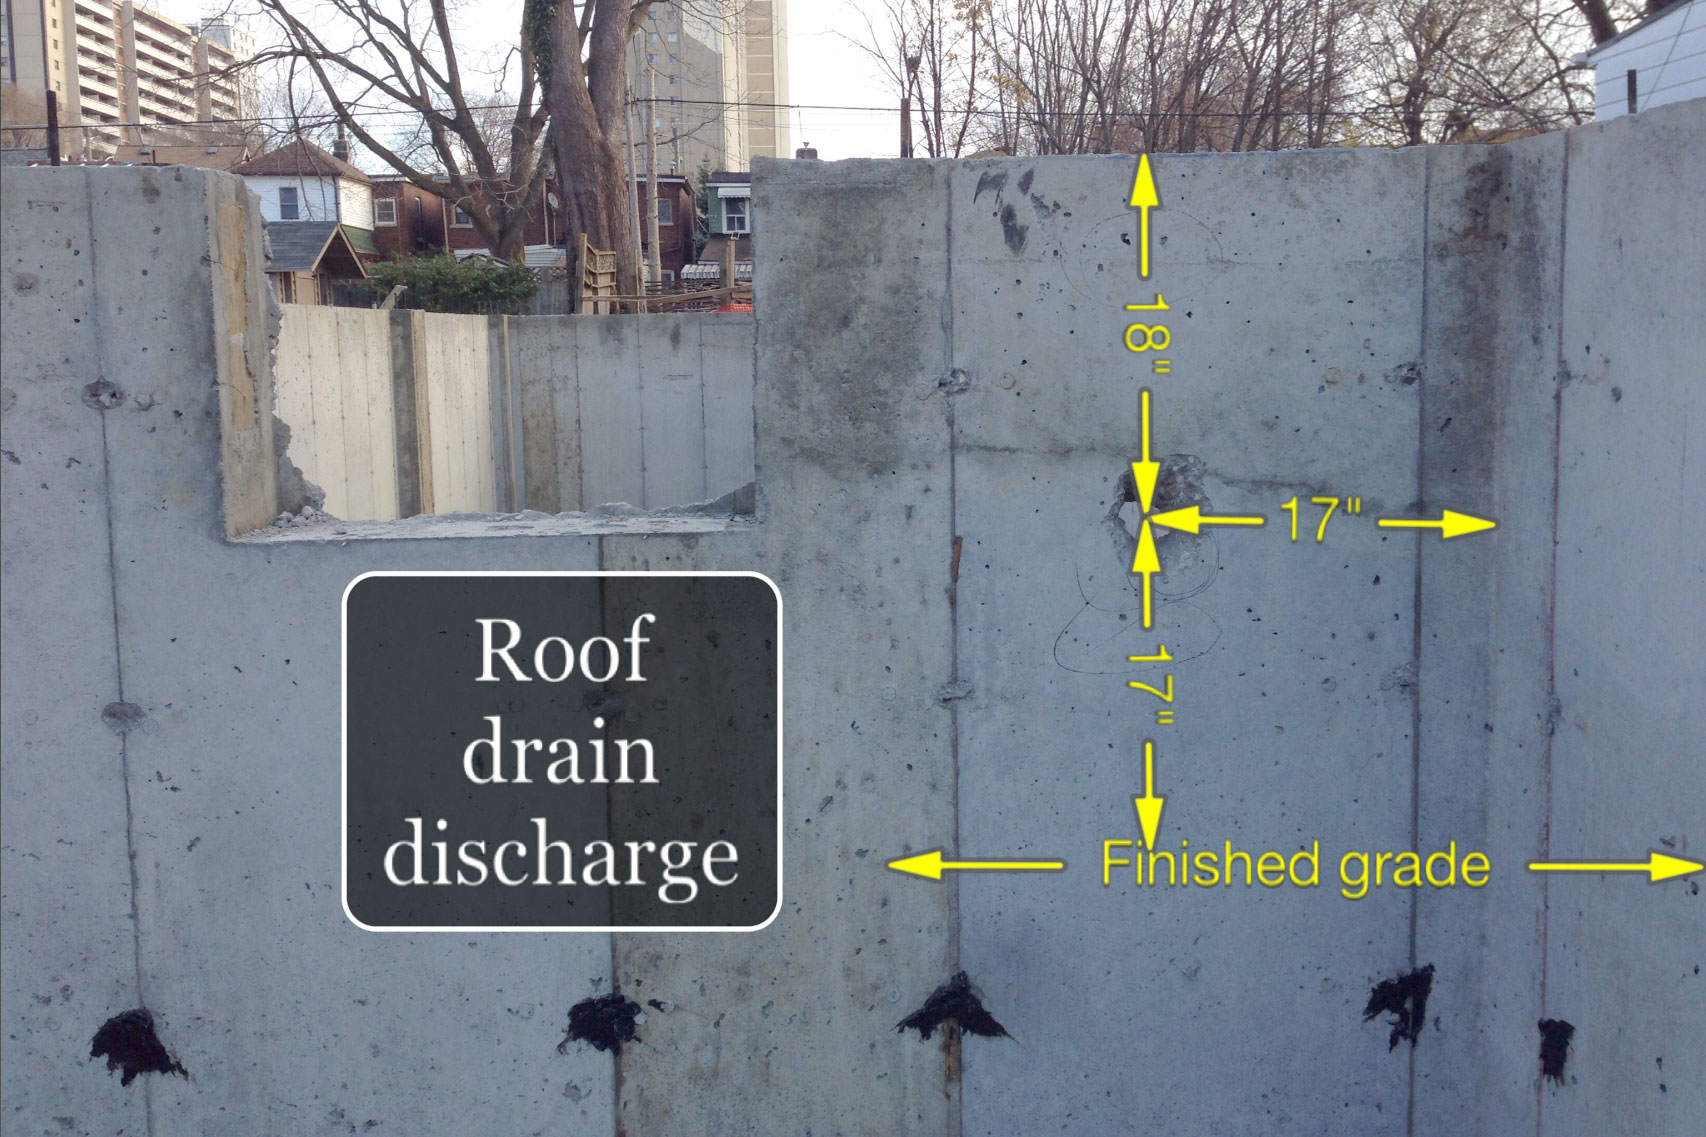
And here’s the hole that they punctured later. It’s measured at 17″ from the stairs and 17″ above finished grade. It should have been 12″ above finished grade but since this is a roof drain discharge, I think slightly higher is not an issue. However, the size of the hole doesn’t seem to be able to fully accommodate a 4″ sleeve. So I guess my plumber will have to knock out a few more pieces.
Well that’s all the issues in detail right now and I’ll have to get them rectified in the coming weeks.
Just as I finished my inspection of the foundation wall, we got hit by the first wave of snow that actually accumulates on the ground here in Toronto. Suddenly, the site looks like it is transformed into winter setting. I have been worried about I cannot get this project started early enough so I can built through the winter. Now as soon as I finished my foundation wall, snow kicked in. What great timing.
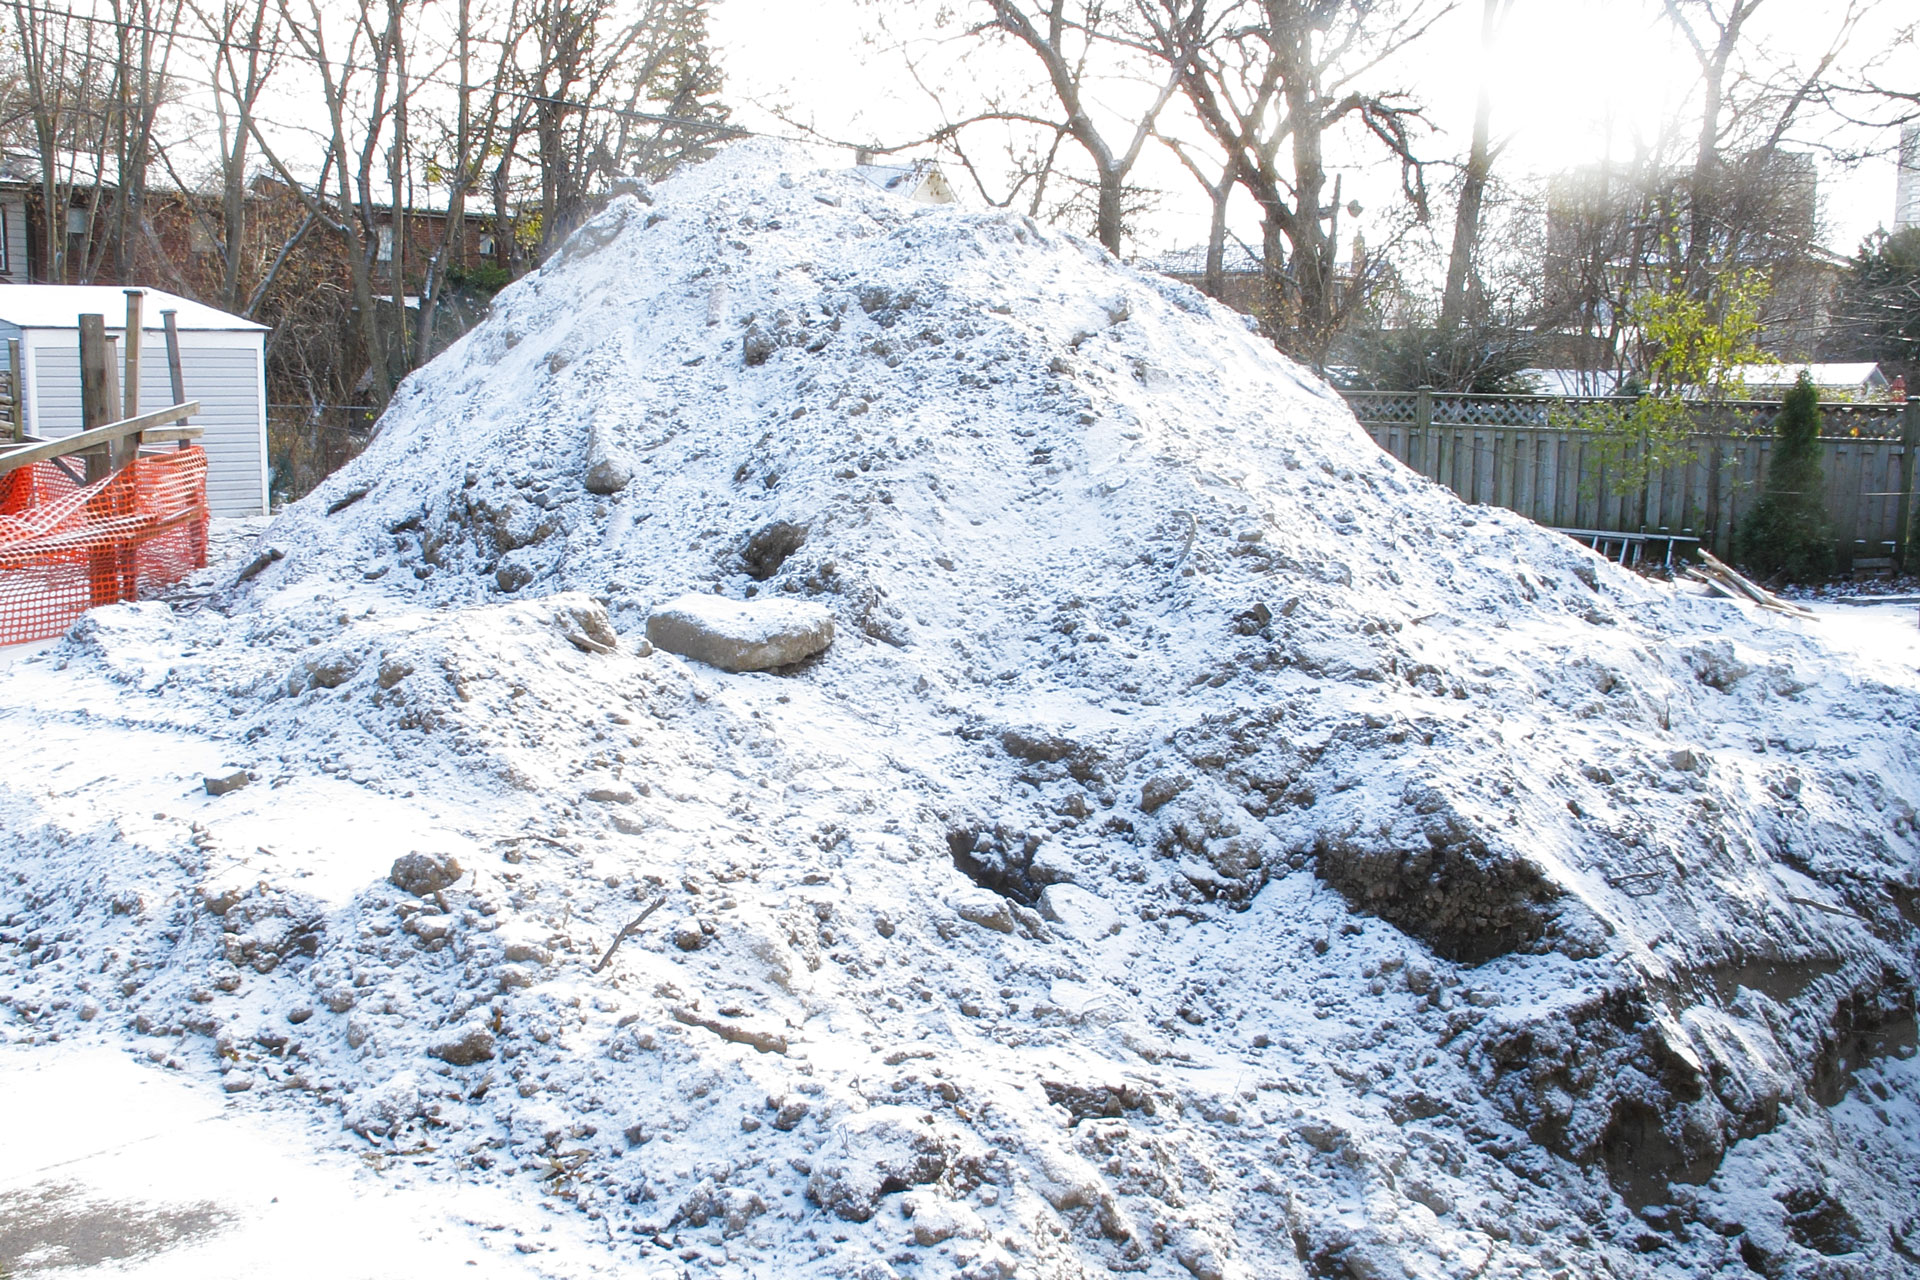
Remember that huge pile of dirt pile up in the back yard from the excavation? With the snow on it, it looks like a snowy mountain in my backyard now. Ski season opening soon. 🙂
Leave a Reply
You must be logged in to post a comment.