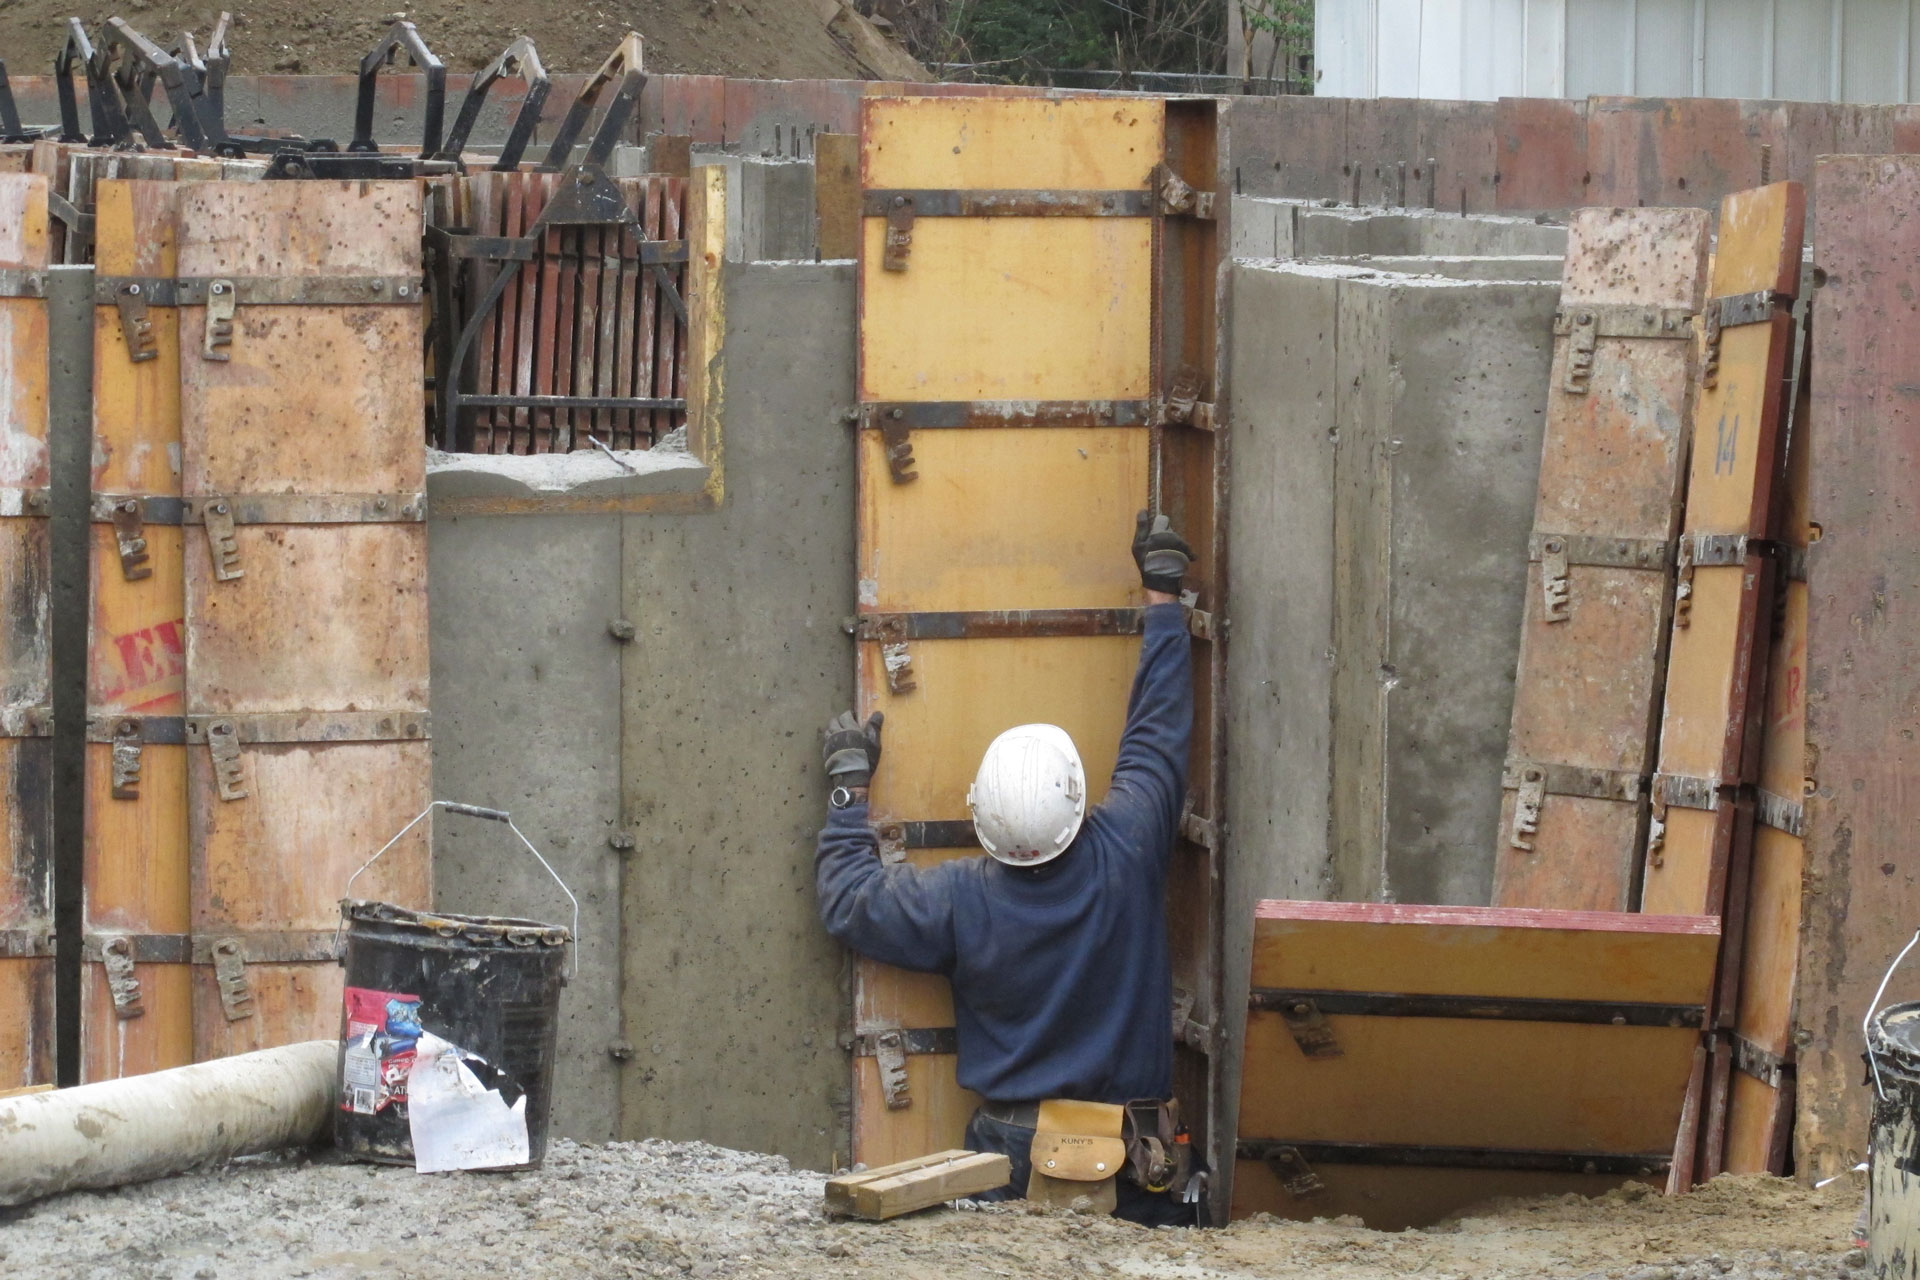
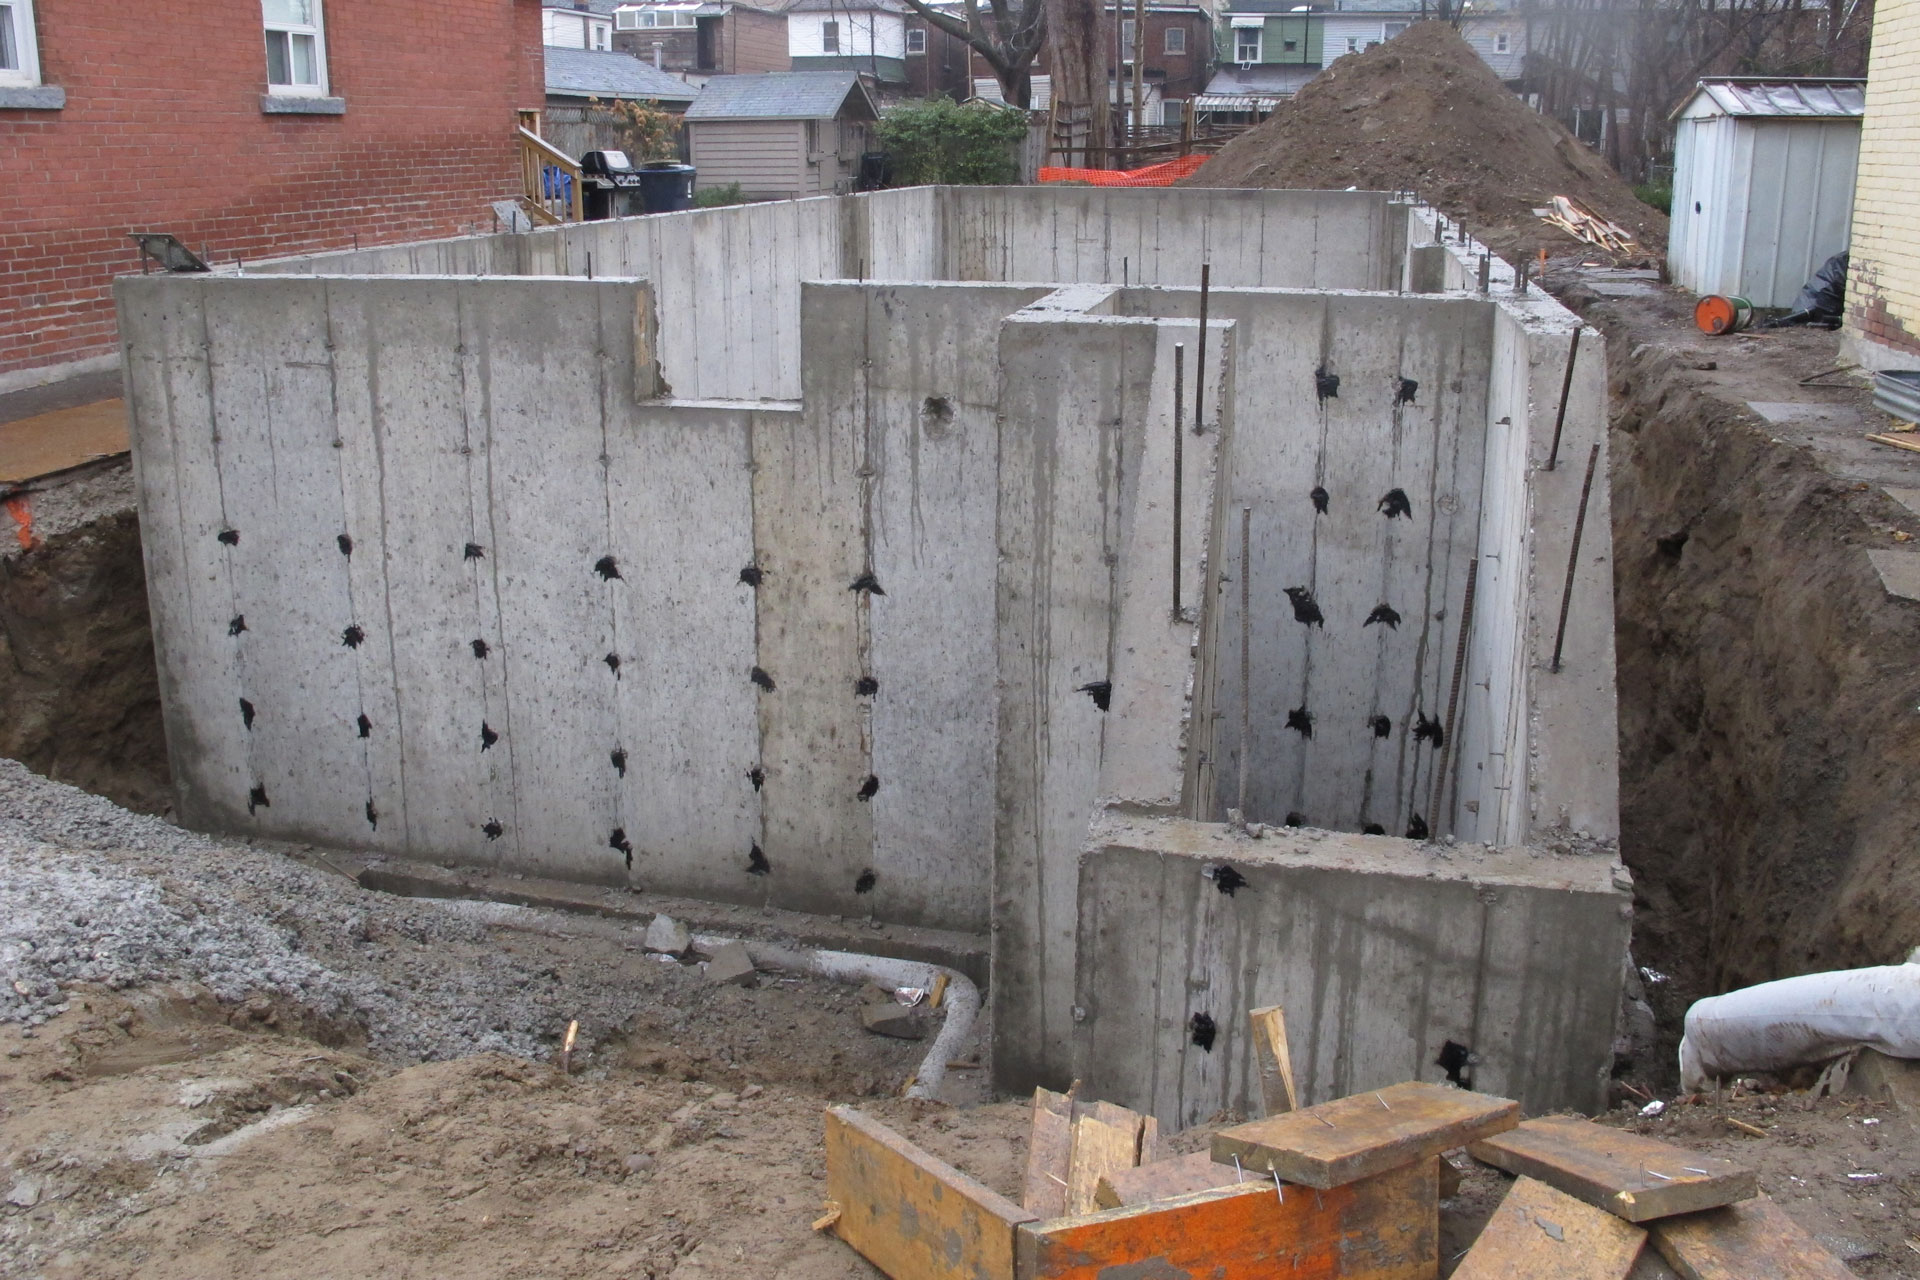
Today a smaller crew is here to remove all the wood support around the form and the forms itself form the foundation wall. They started removing it panel by panel by hand on the inside of the foundation wall.
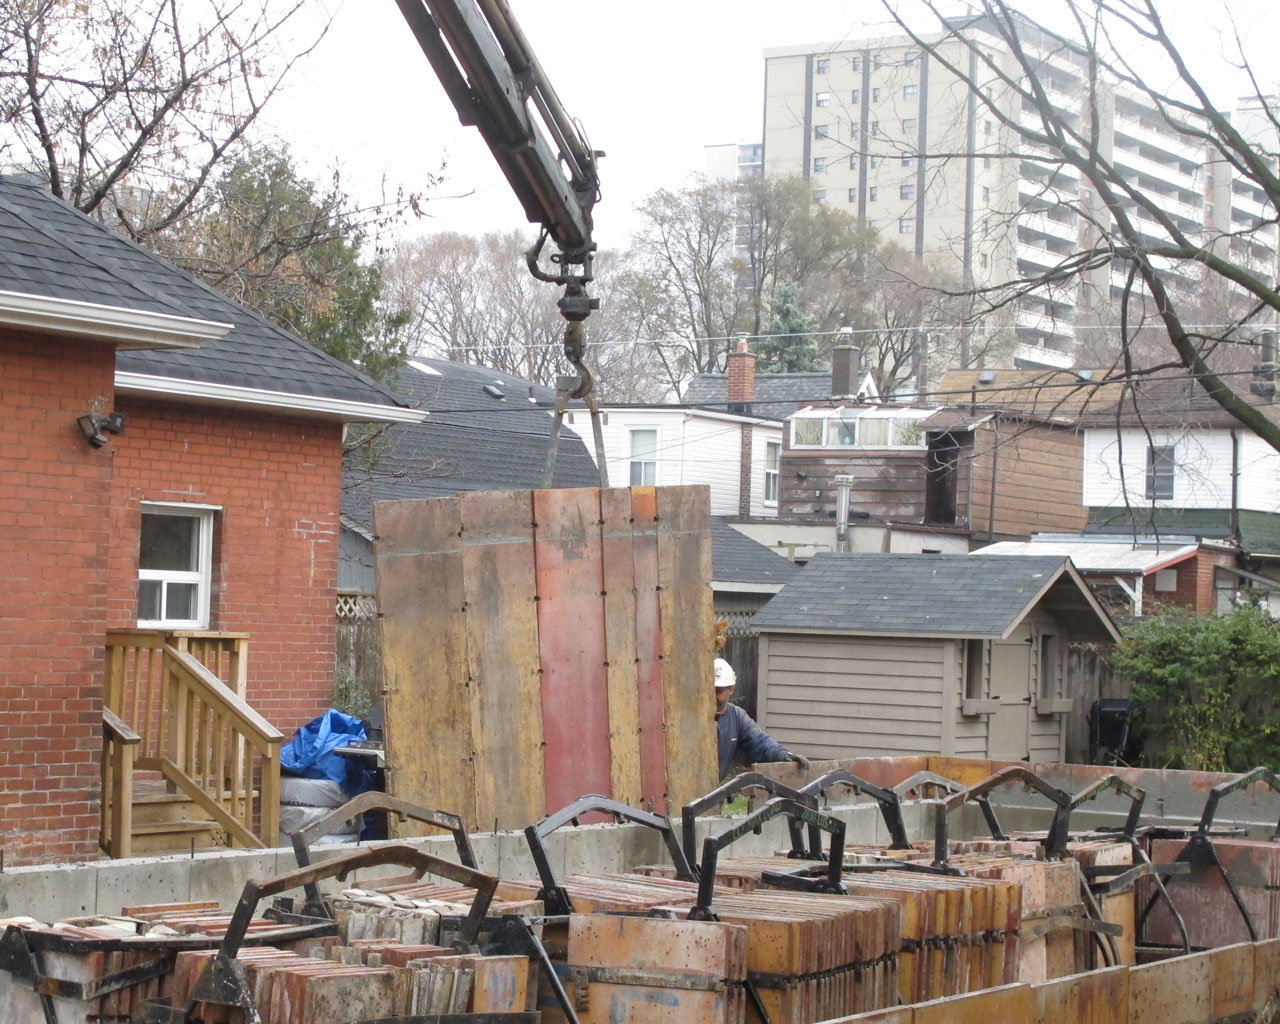
Later when the truck with the crank came, they started to pull the panels out by using the crane.

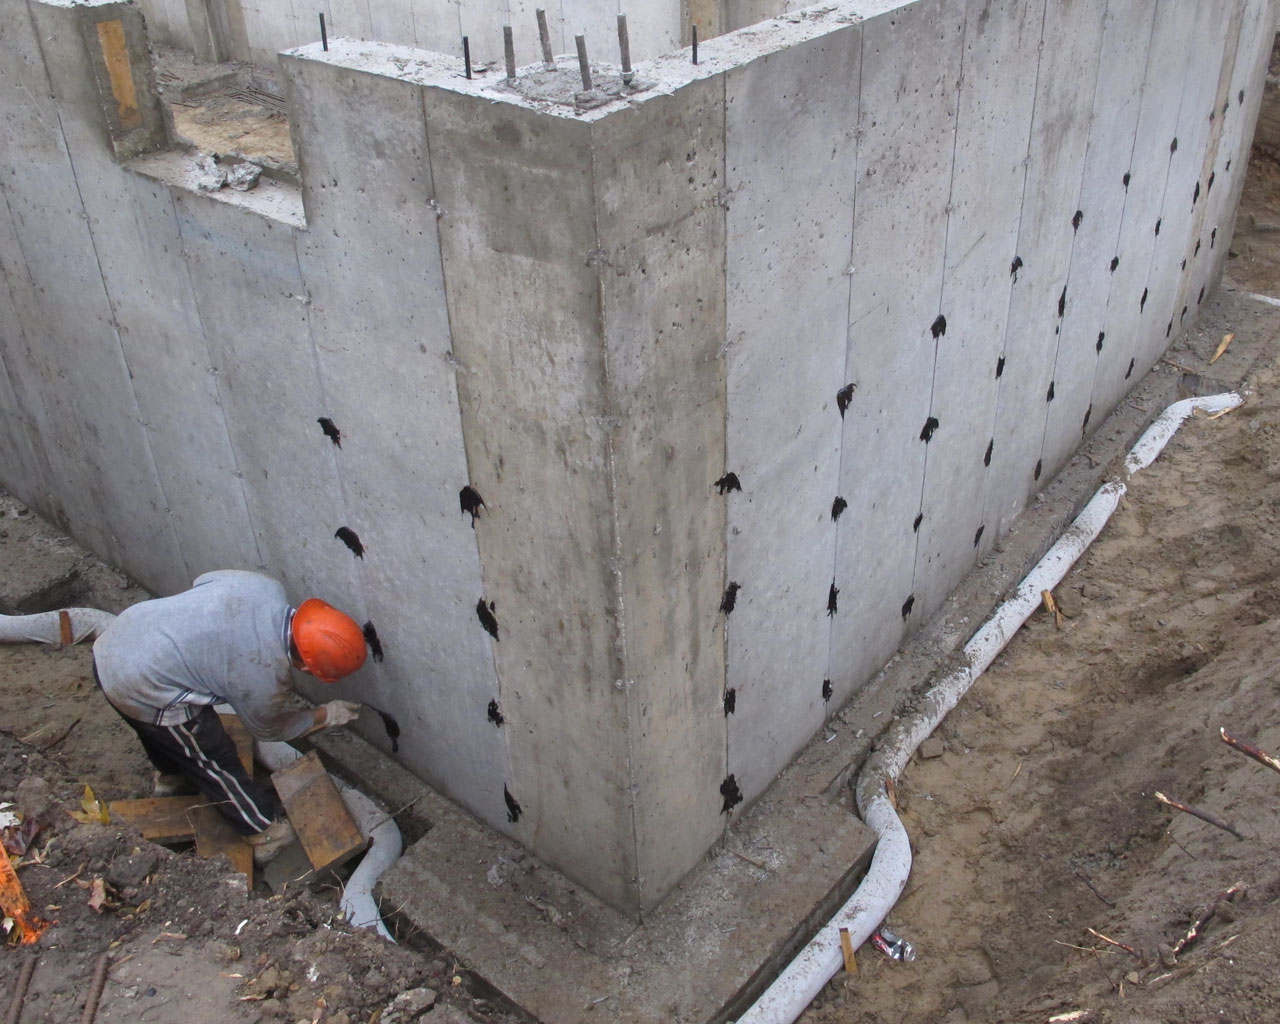
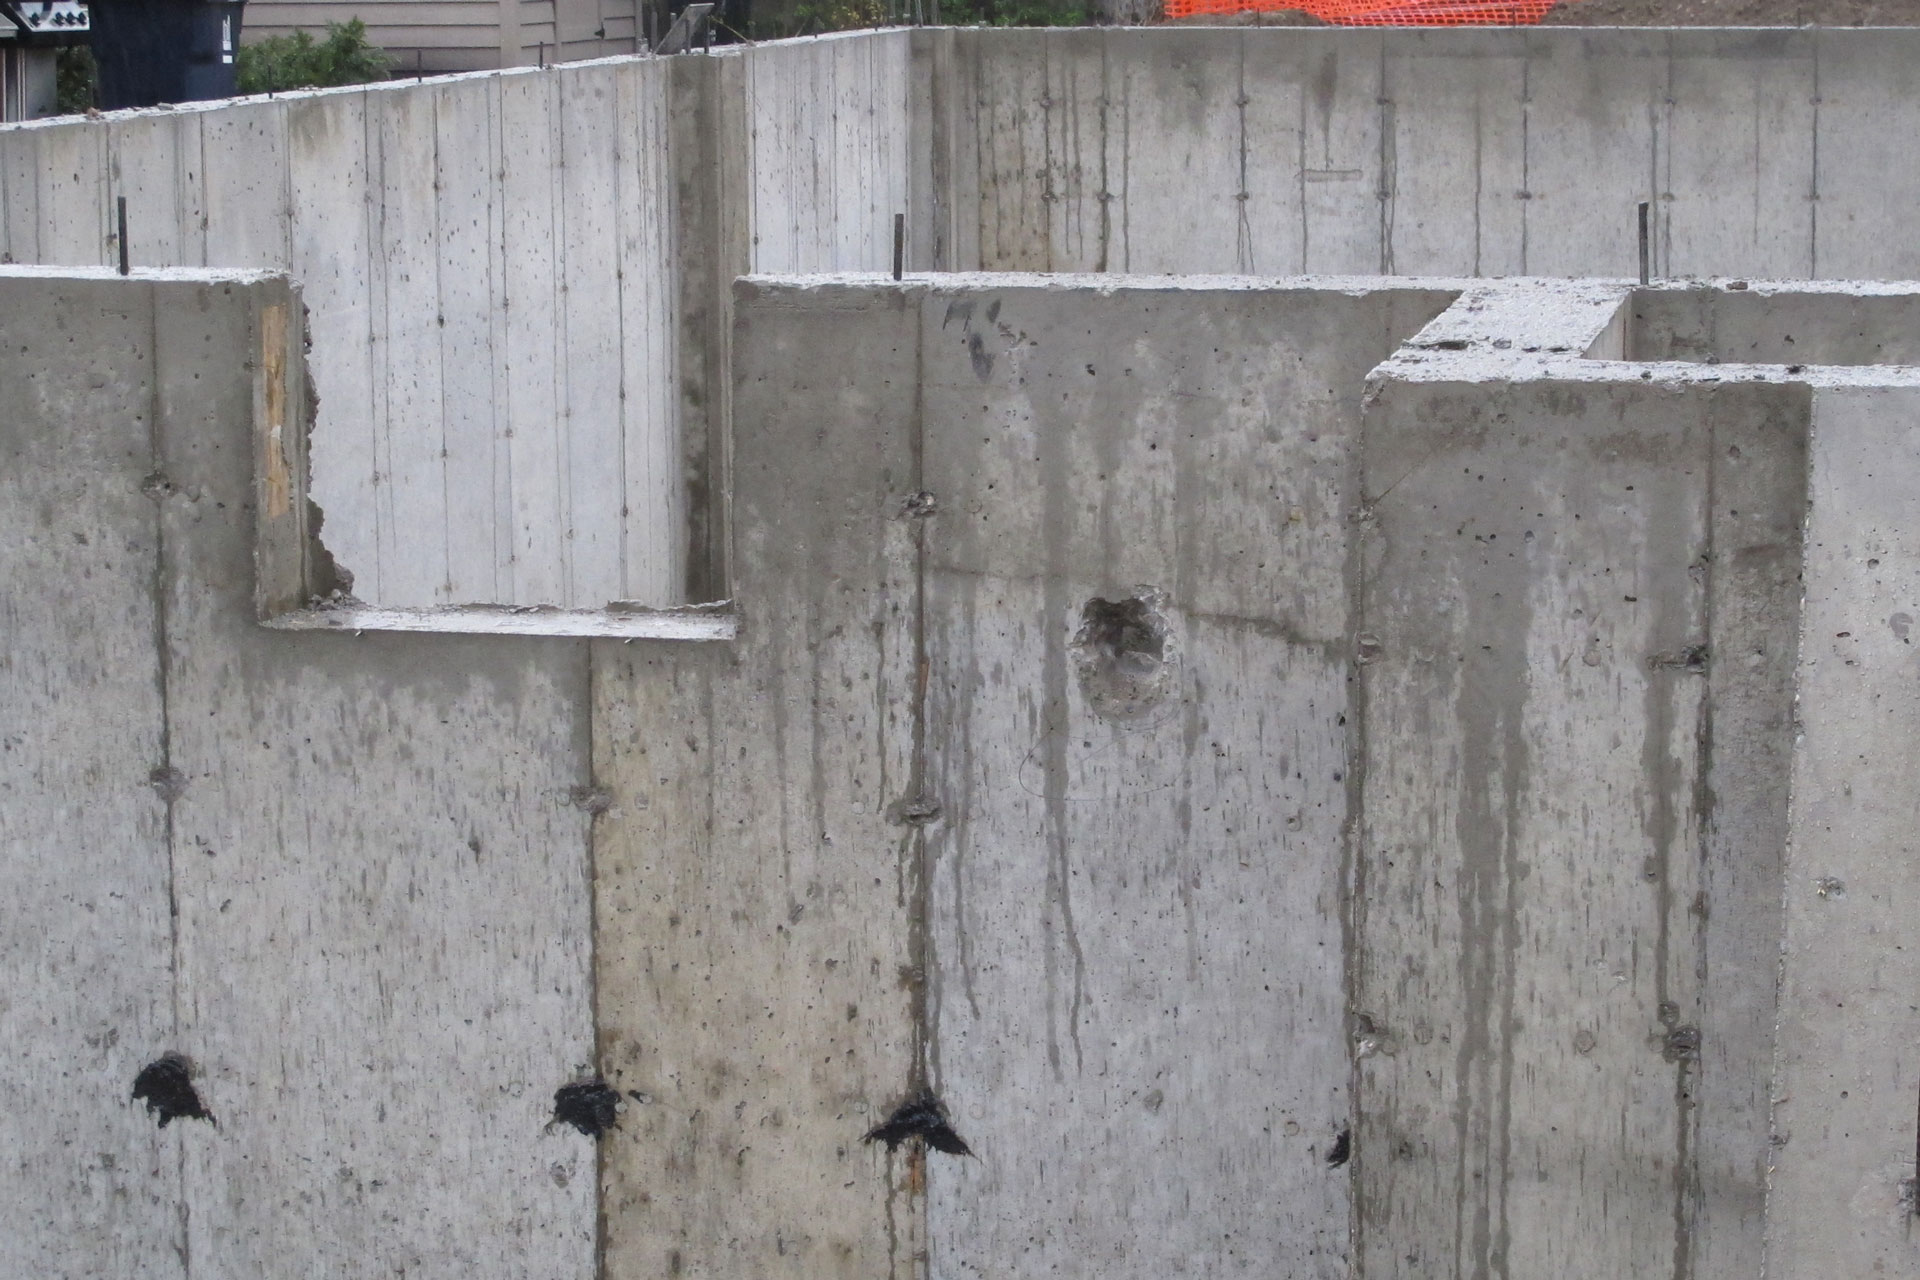
They hammer out the extra bits of concrete formed around the holes for the wall ties and hammered out the extra bit of snap ties. They also put tar where the wall ties goes through the foundation wall to secure the forms.
However, it today we are having a few issues with the result.
Problem #1. They put a 4″ sleeve on the south wall while the plan calls a 4″ sleeve on the west wall. After I told the crew about it, they dug a hole using a pick axe where it should have been. I’m not sure if the size of the hole is good enough, I will have to go measure it out over the weekend. The hole is meant for my plumber where he will route the interior roof drain discharge to the outside of the house. It should have a 4″ sleeve where then my plumber will thread a 3″ pipe through. Below you can see the nice round hole on the left (south wall) and that rough hole they knocked through on the right (west wall).
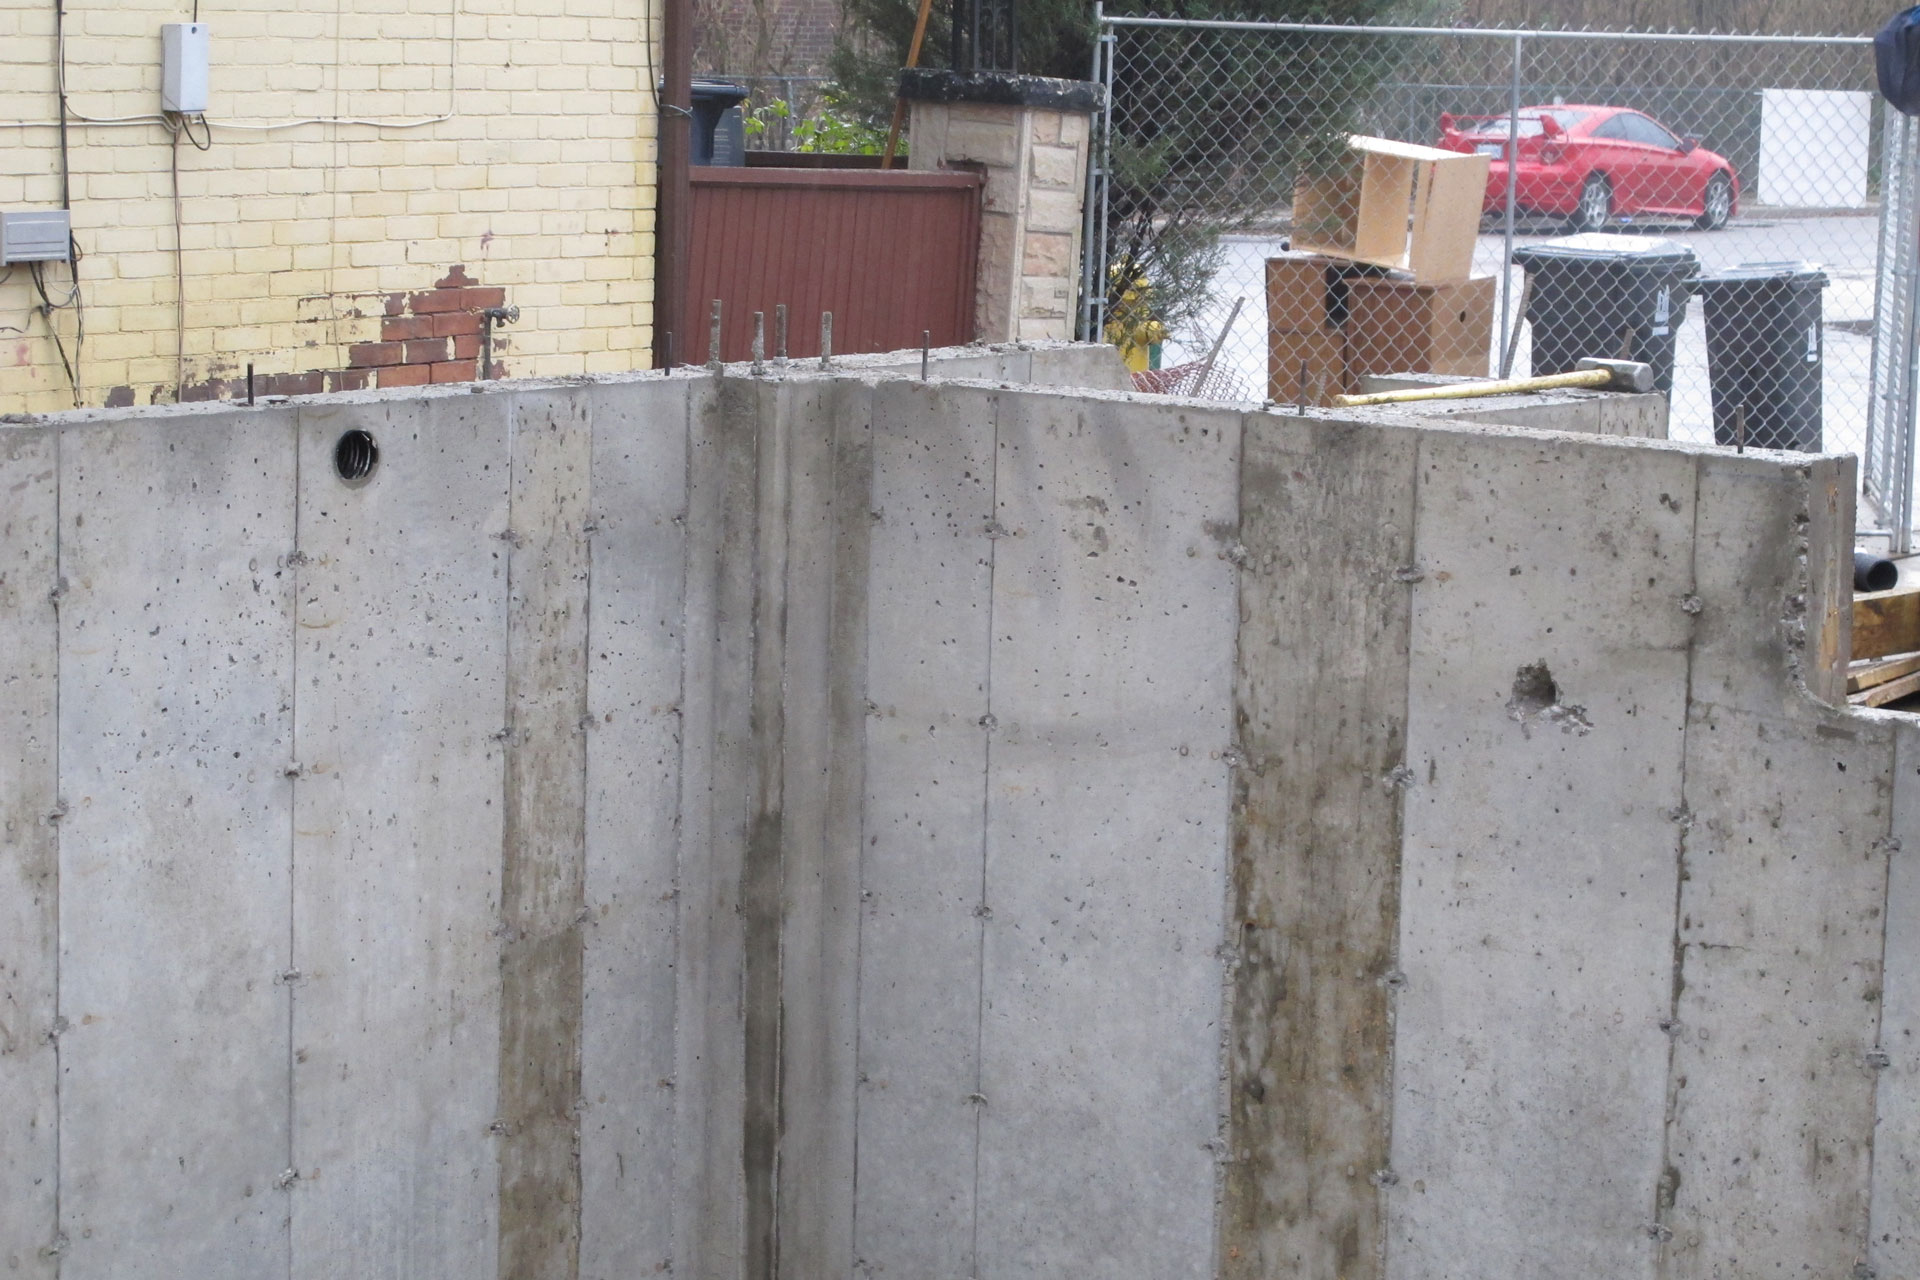
Another shot of that hole they knocked out later on the west side wall.
Problem #2. The guys who’s trying to unbolt the anchor bolts is having trouble removing the bolts because the bolt has concrete all over it. At the end of the day, not all the bolts are unscrewed from plates as they left around 2:30pm.
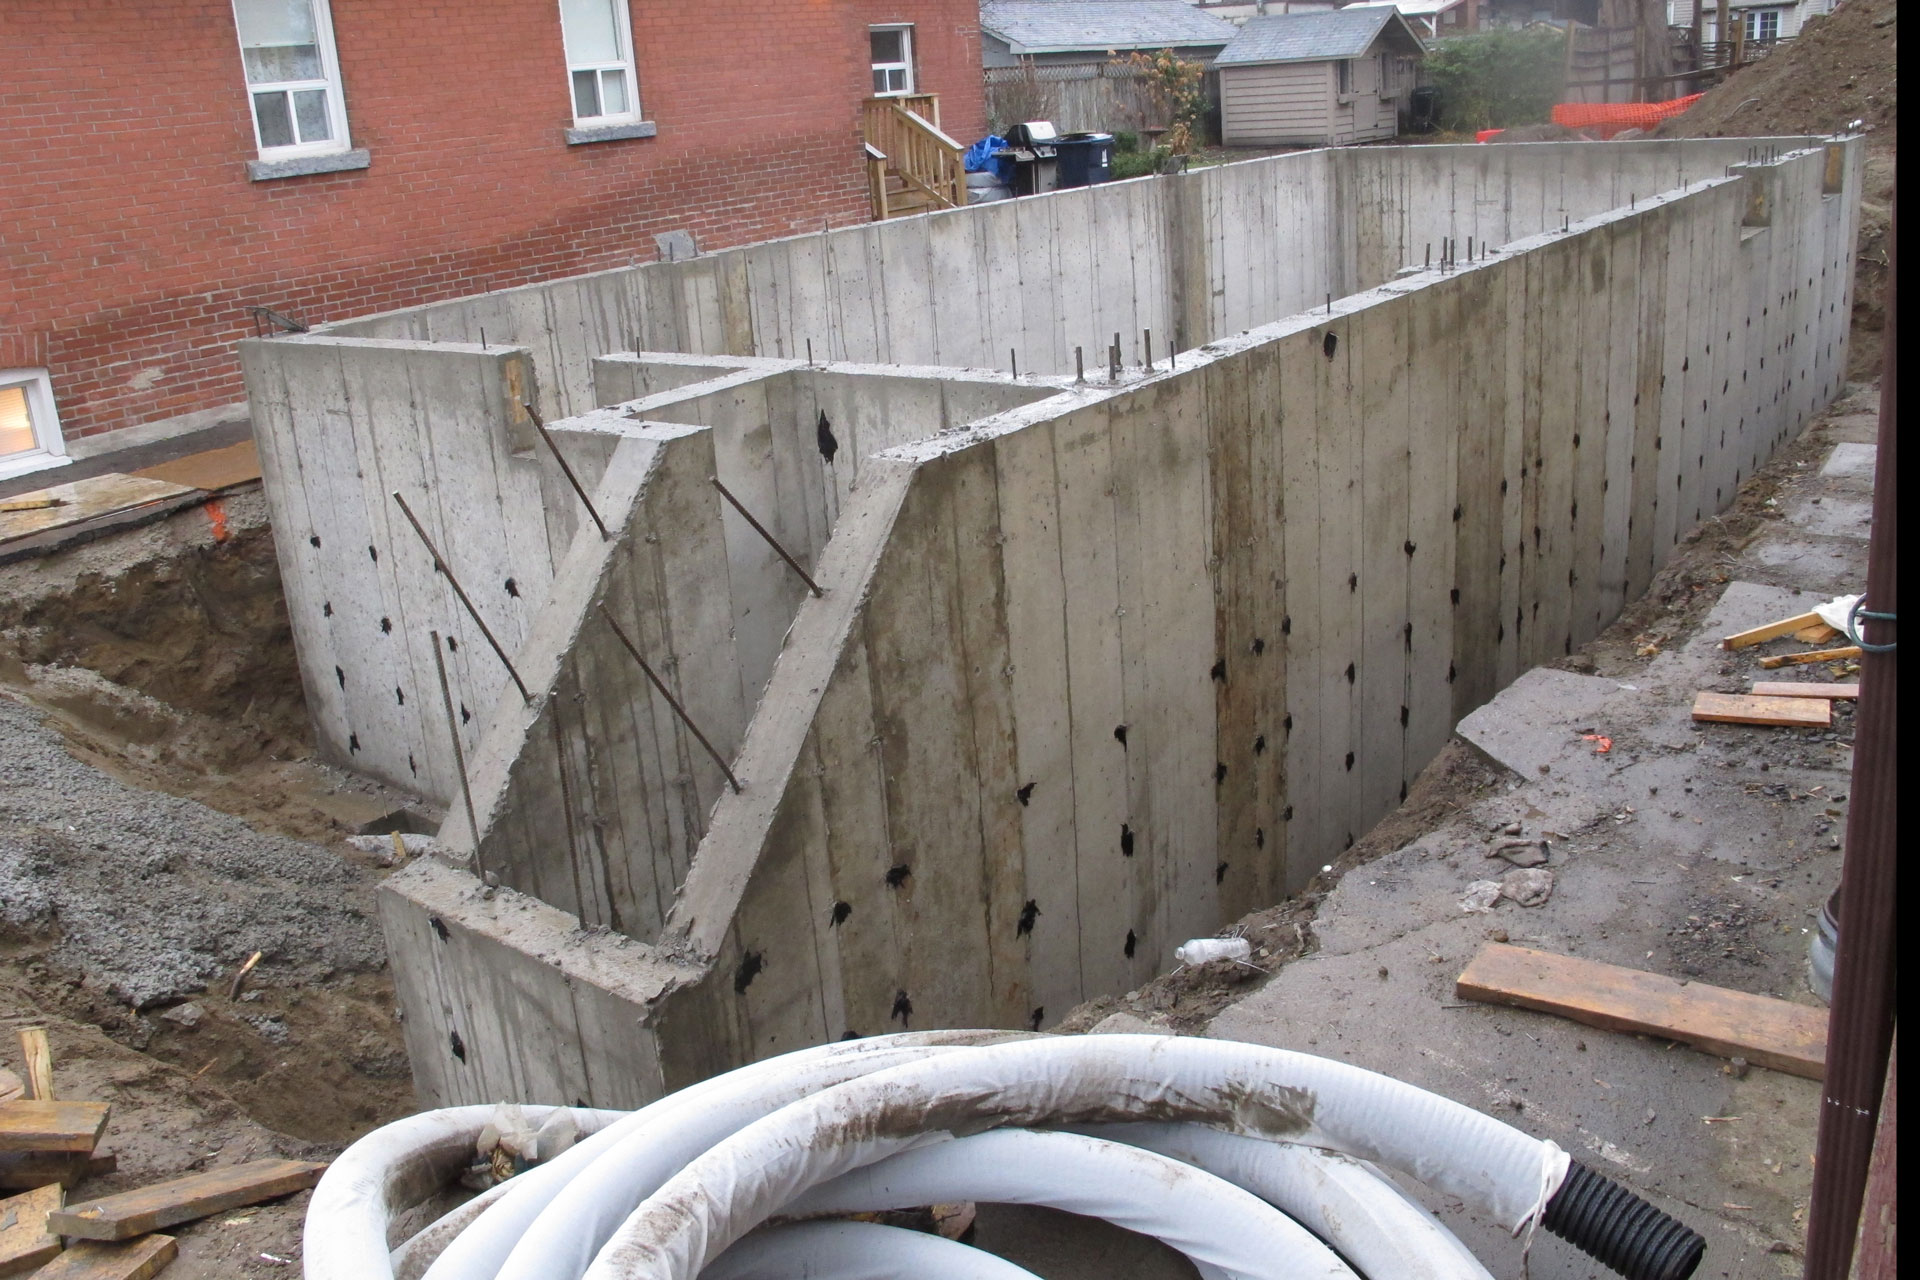
And at the end of the day, this is what I have right now. A almost completed foundation wall. An extra hole on the south wall that will have to be filled in, and a hole on the west wall that I’m not sure about the size or elevation from the finished grade.
Here’s a time-lapse sequence of the day.
Leave a Reply
You must be logged in to post a comment.