I carefully checked the result from our last epoxy injection, and I found that the top part of the crack did not seem to be fully filled. It seems that that the epoxy have flown down the crack and accumulated at the bottom. So the bottom part of the crack is very nicely bounded and sealed while the top still seem to have some space. So we decided to do another round of epoxy injection just on the top three holes.
So we did the same drill as last time. We taped up the top three holes using tuck tape. Then we start to inject epoxy from the bottom hole let the epoxy rise up until it flows out of the hole above. Then we tape up the lower hole and move up.
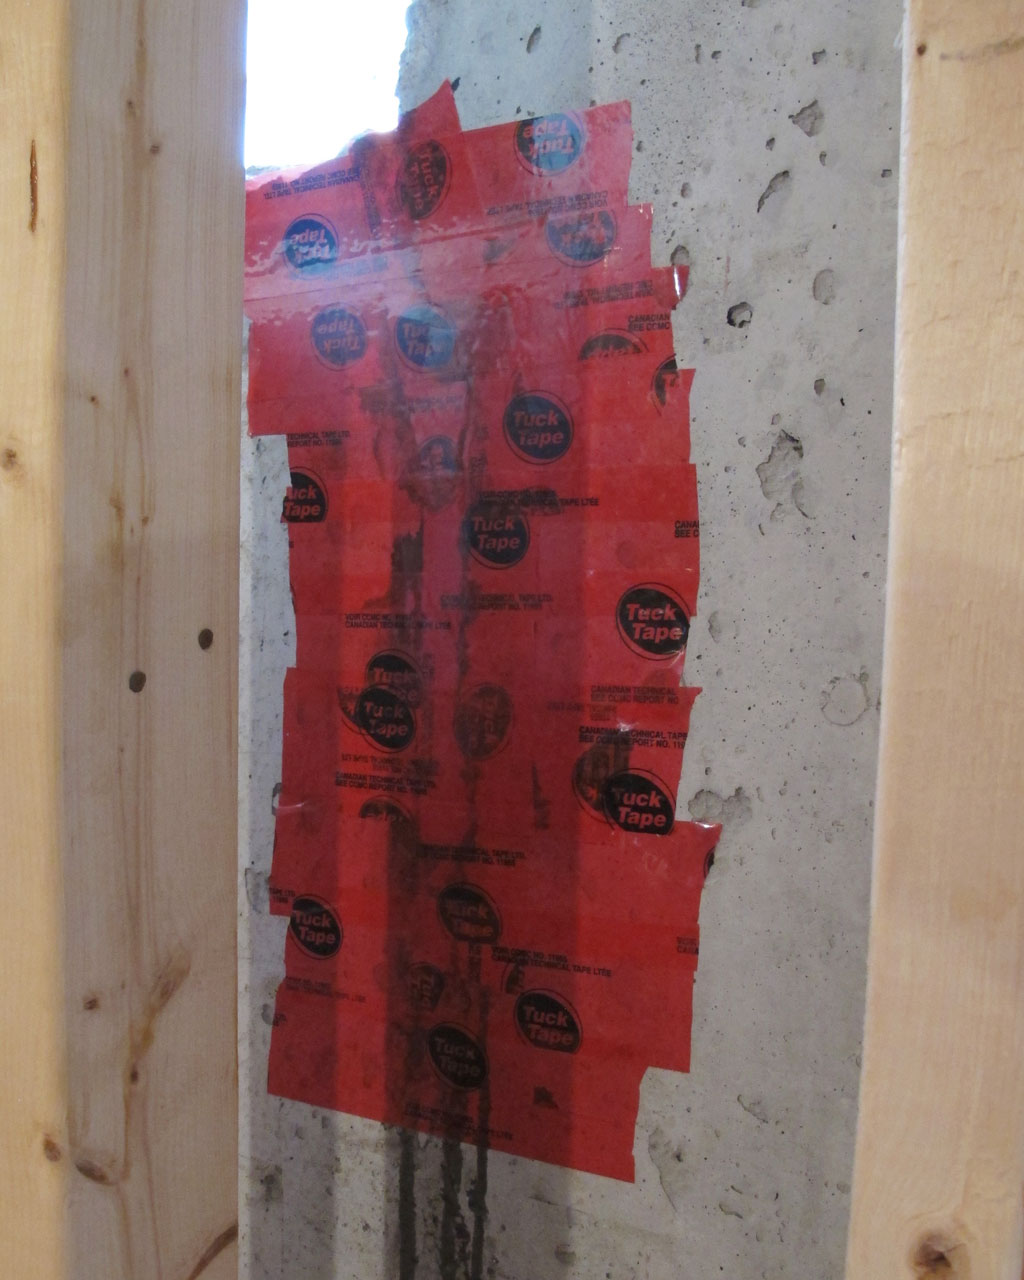
The difference this time is that we injected the epoxy even slower and we taped up the holes much better ensuring there’s no leakage. Then on the top where the crack started, we put some epoxy right where the crack is, then we wait for a while allowing the epoxy to flow down the crack, then we added more. Once we don’t see epoxy going down that crack on the top any more, we filled up that little lower area with a small pool of epoxy so that it can still flow down the crack if there’s still space for it.
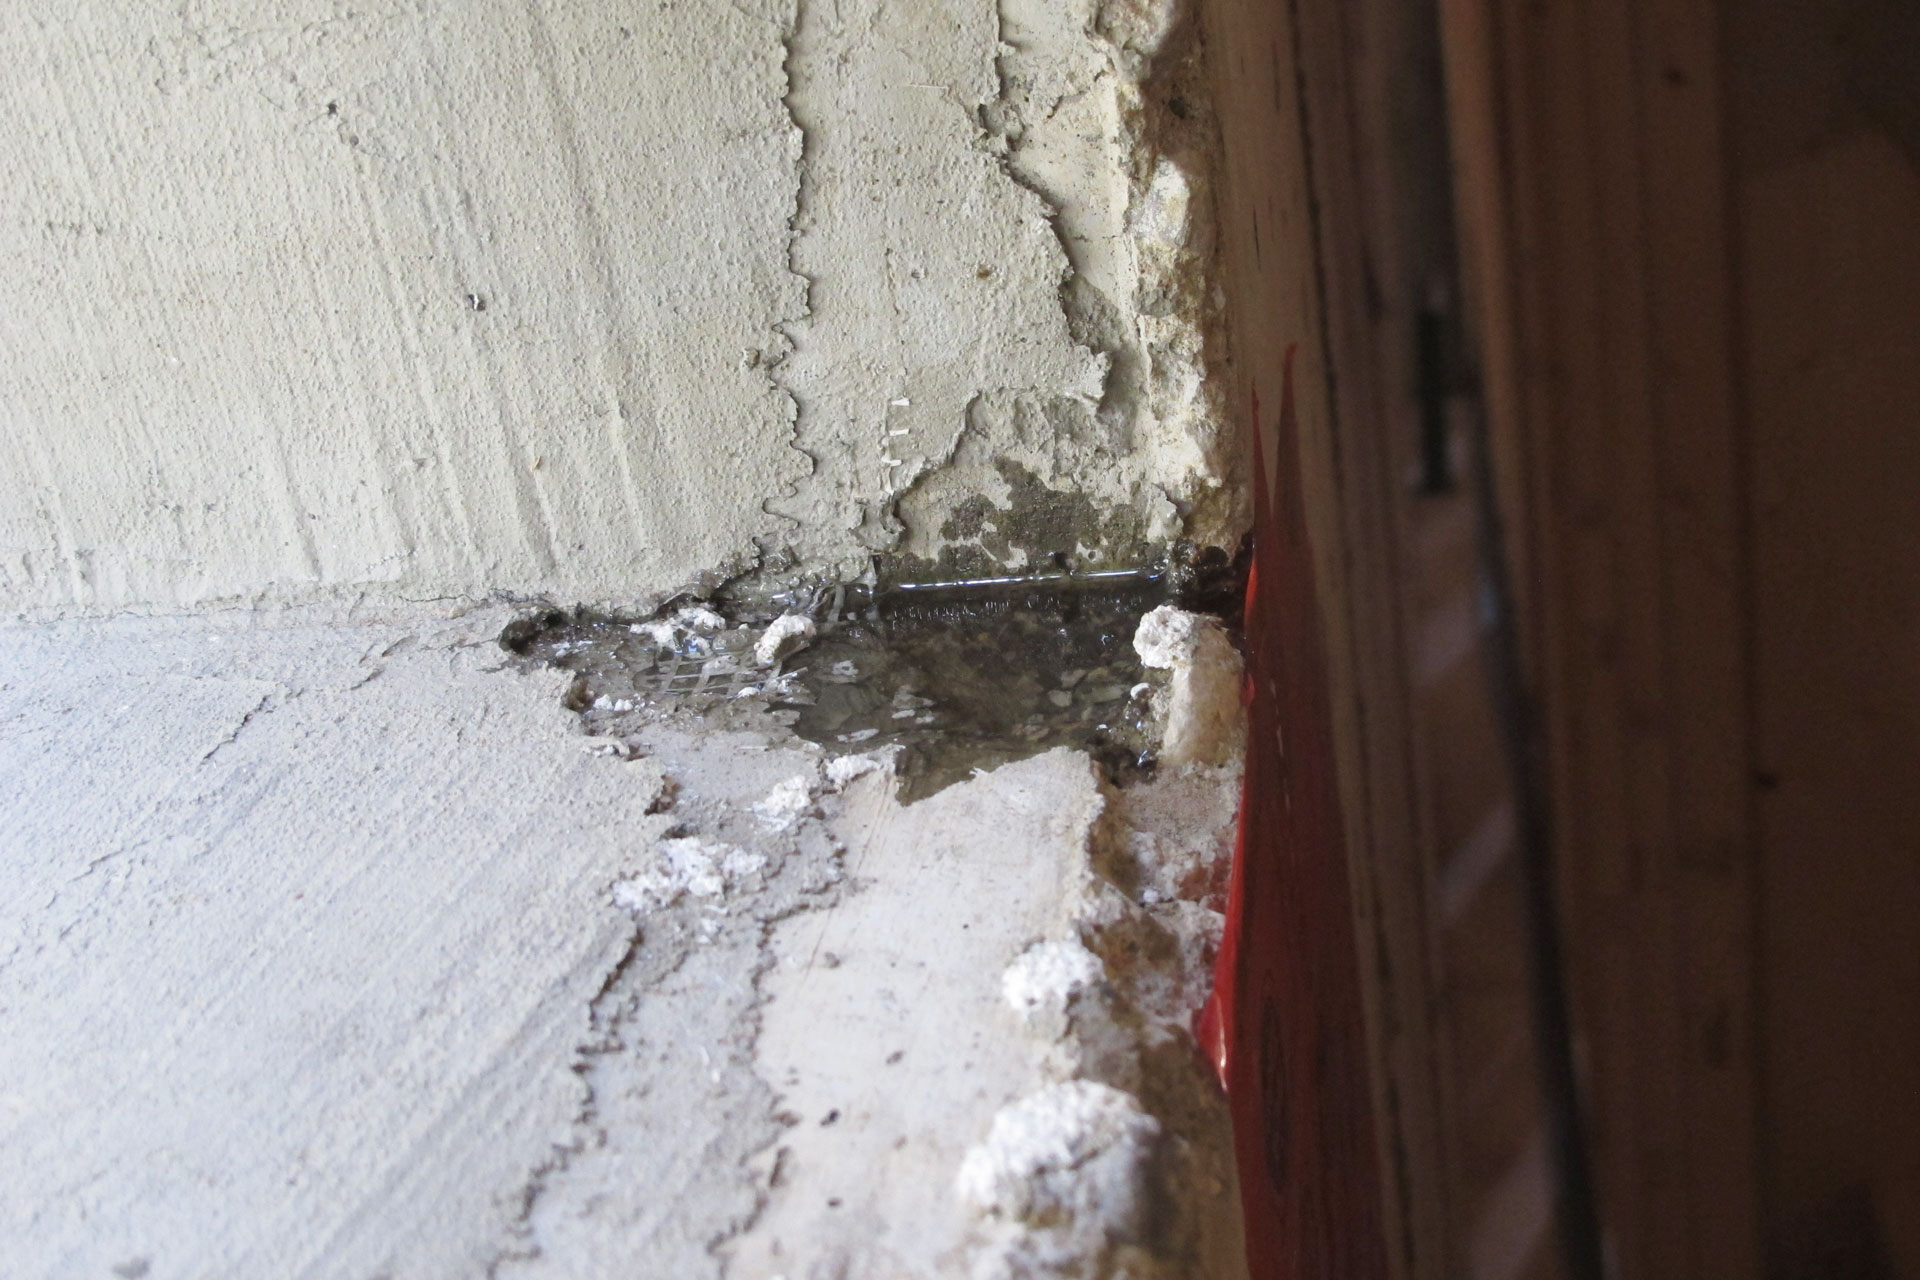
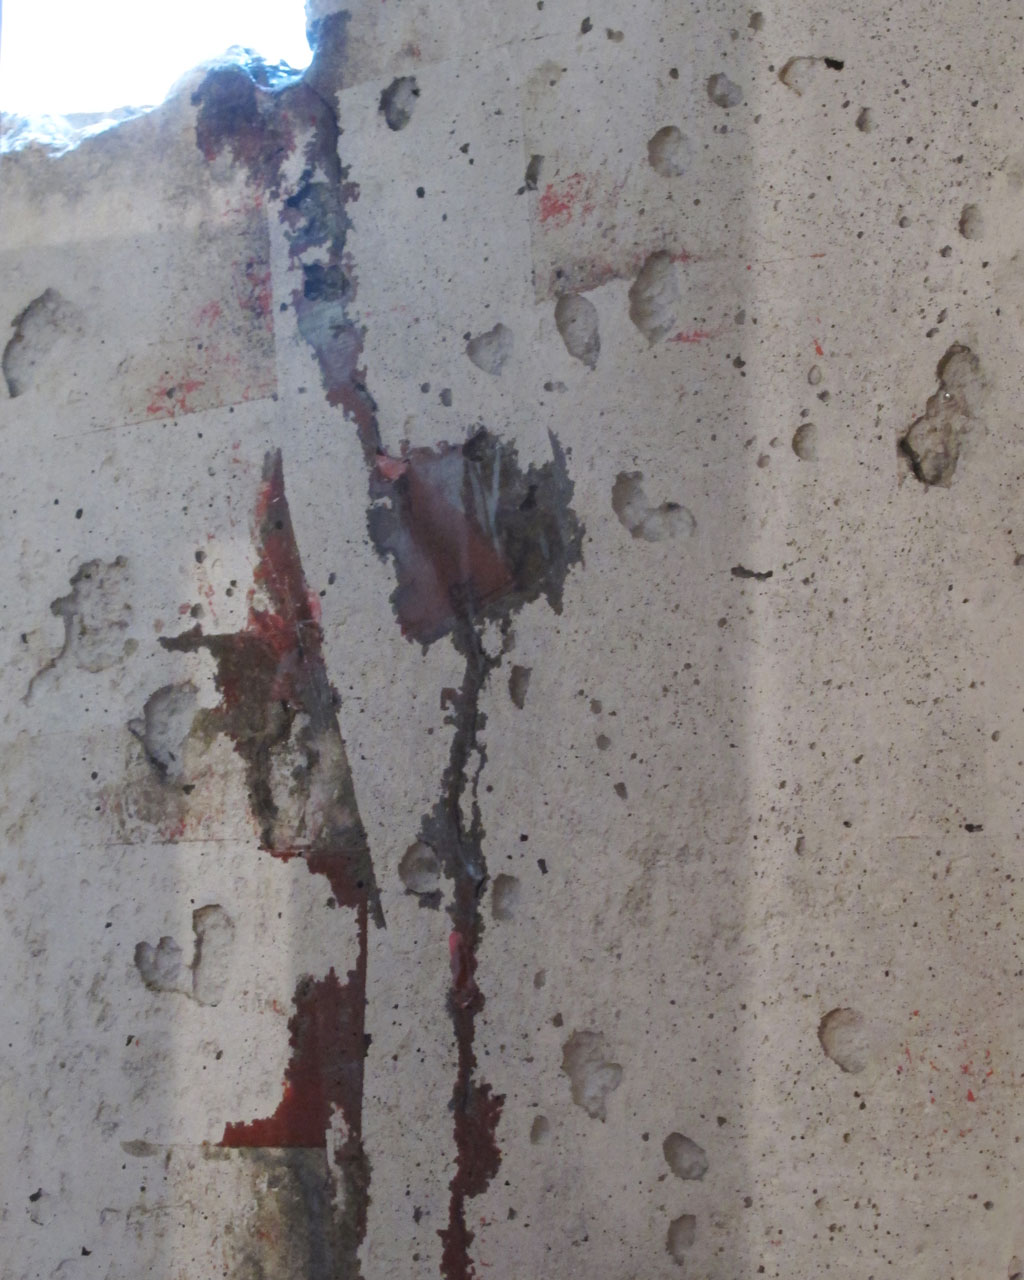
The next day I checked for result. I know the picture looked nearly the same. And this is good. Because that pool of clear material is not liquid, it is hardened epoxy. So that entire crack area is sealed with epoxy now.

I removed the tape and carefully checked the crack again. It’s all looks good. The entire crack is filled with cured epoxy including that large dent on the wall. So it looks to me that there’s no where else epoxy resin can flow to. And so it should mean the entire crack is now bounded and sealed.
Leave a Reply
You must be logged in to post a comment.