More sweat equity work that I’m putting into this house. The HVAC work is schedule to happen next week. However, on the duct wall, once the duct is in place, it is next to impossible to access the walls behind for insulation. So I will be filling these wall cavities with insulation now so that I don’t have a big headache later.
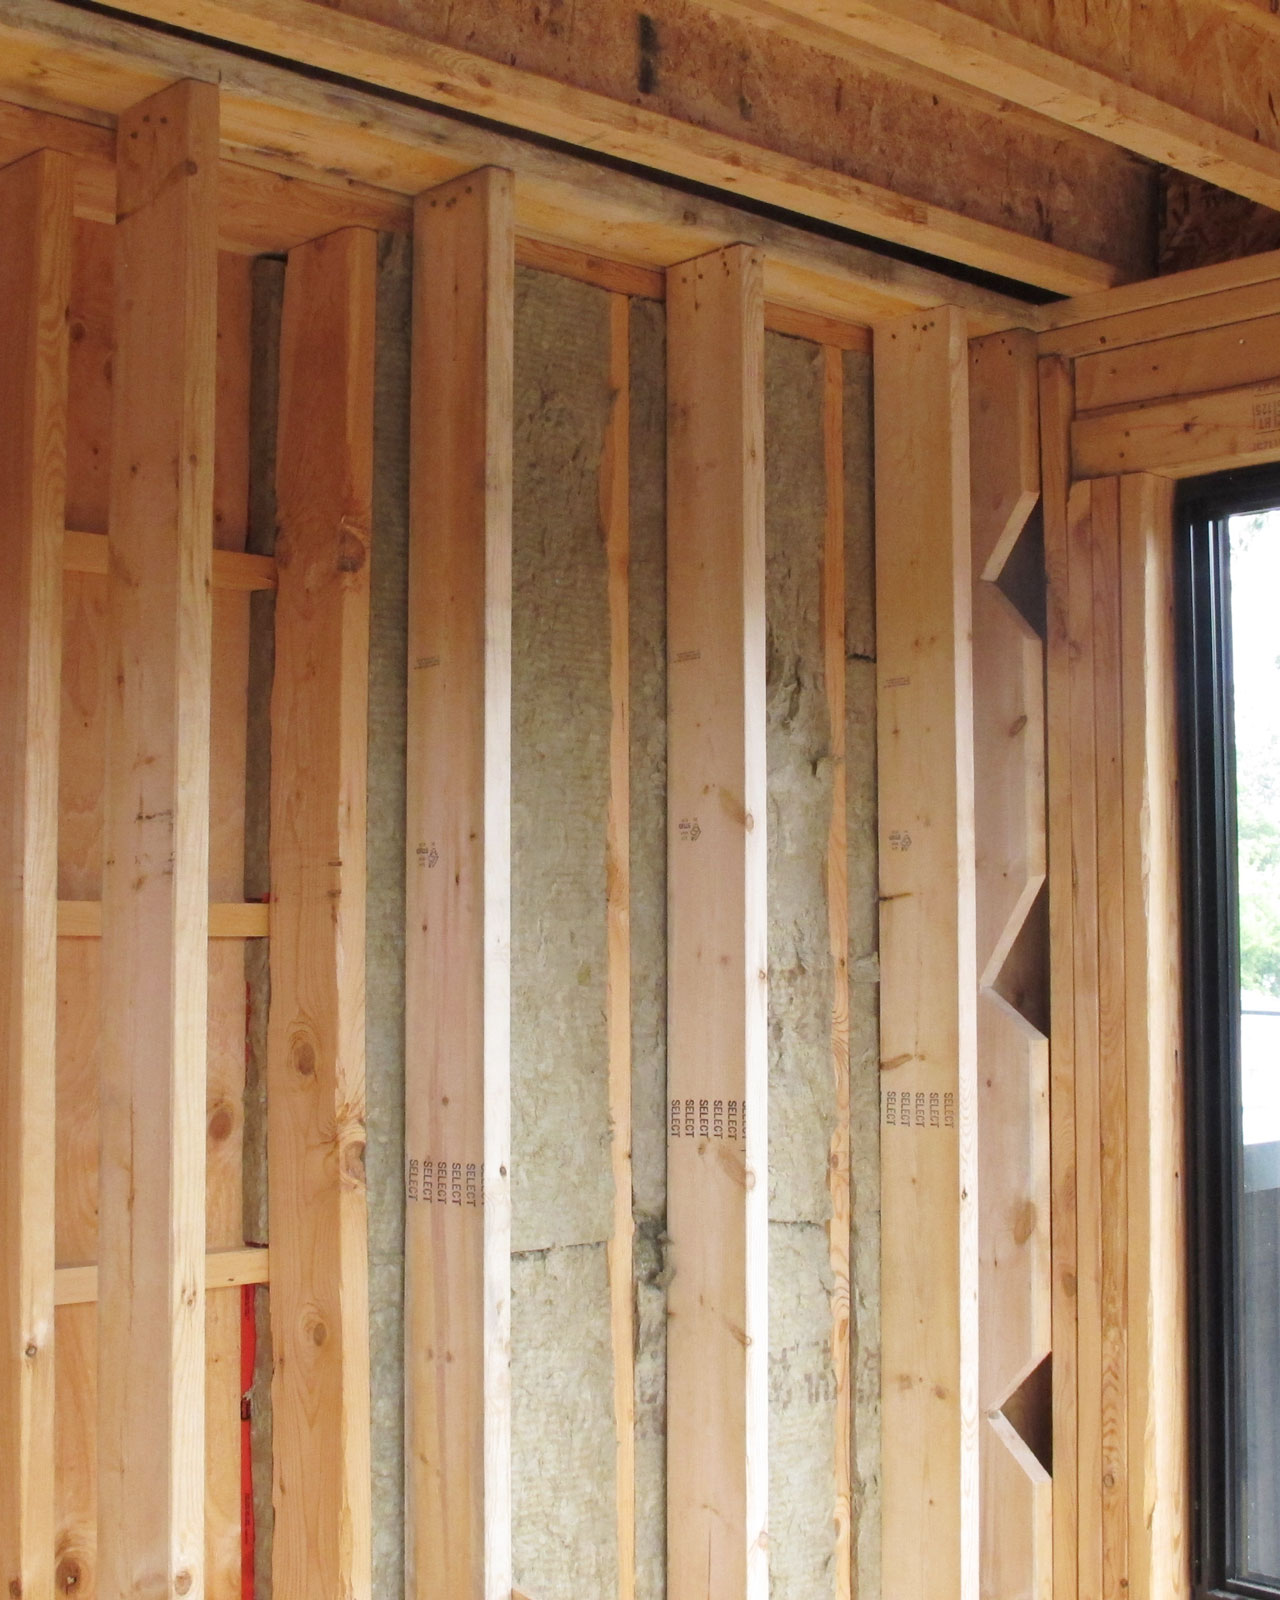
In my post “Exterior wall construction with Swedish roots“, I shows that my wall has a 2×2 outside strapping and a 2×6 framing. So to fill the space I will be inserting Roxul ComfortBoard into the 2×2 space. Then followed by Roxul ComfortBatt in the 2×6 stud space. The 1.5” thick Roxul ComfortBoard gives you R6 and I am using R24 Roxul ComfortBatt here. Giving me a total R value of R30. The exterior EIFS has another layer of Roxul ComfortBoard on it. So my north wall here should have a insulation value of over R36. I was targeting R40 for the walls and this is close enough.
Here’s what a typical wall construction in the house looks like.
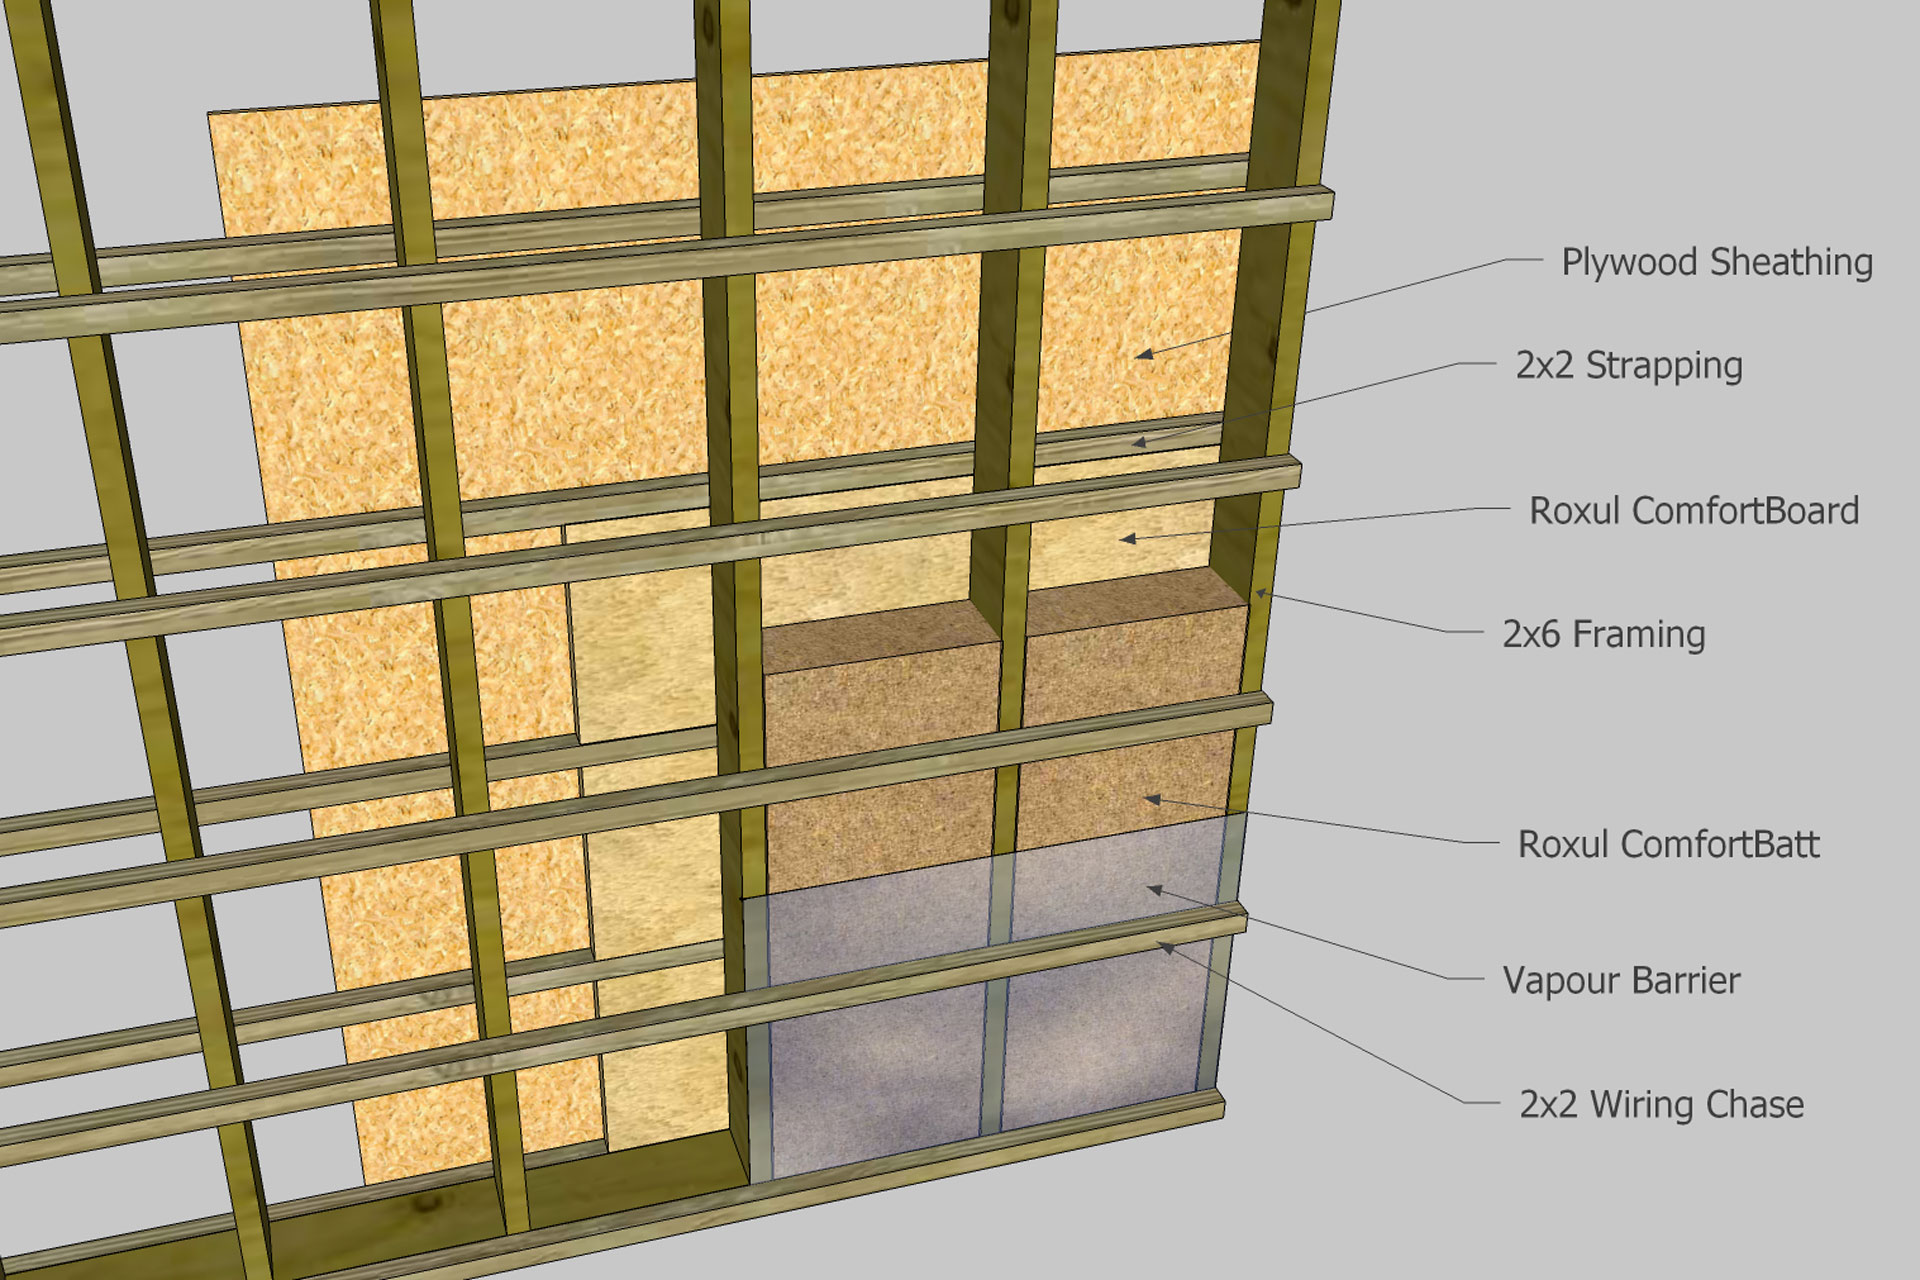
So we started the project by taping up all the openings in the plywood. When the exterior EIFS is installed, the gaps between exterior sheathing should all have been taped up from outside and sealed. I’m just taping it again from inside just to be sure. Then we cut and fit the Roxul ComfortBoard into the 2×2 space.
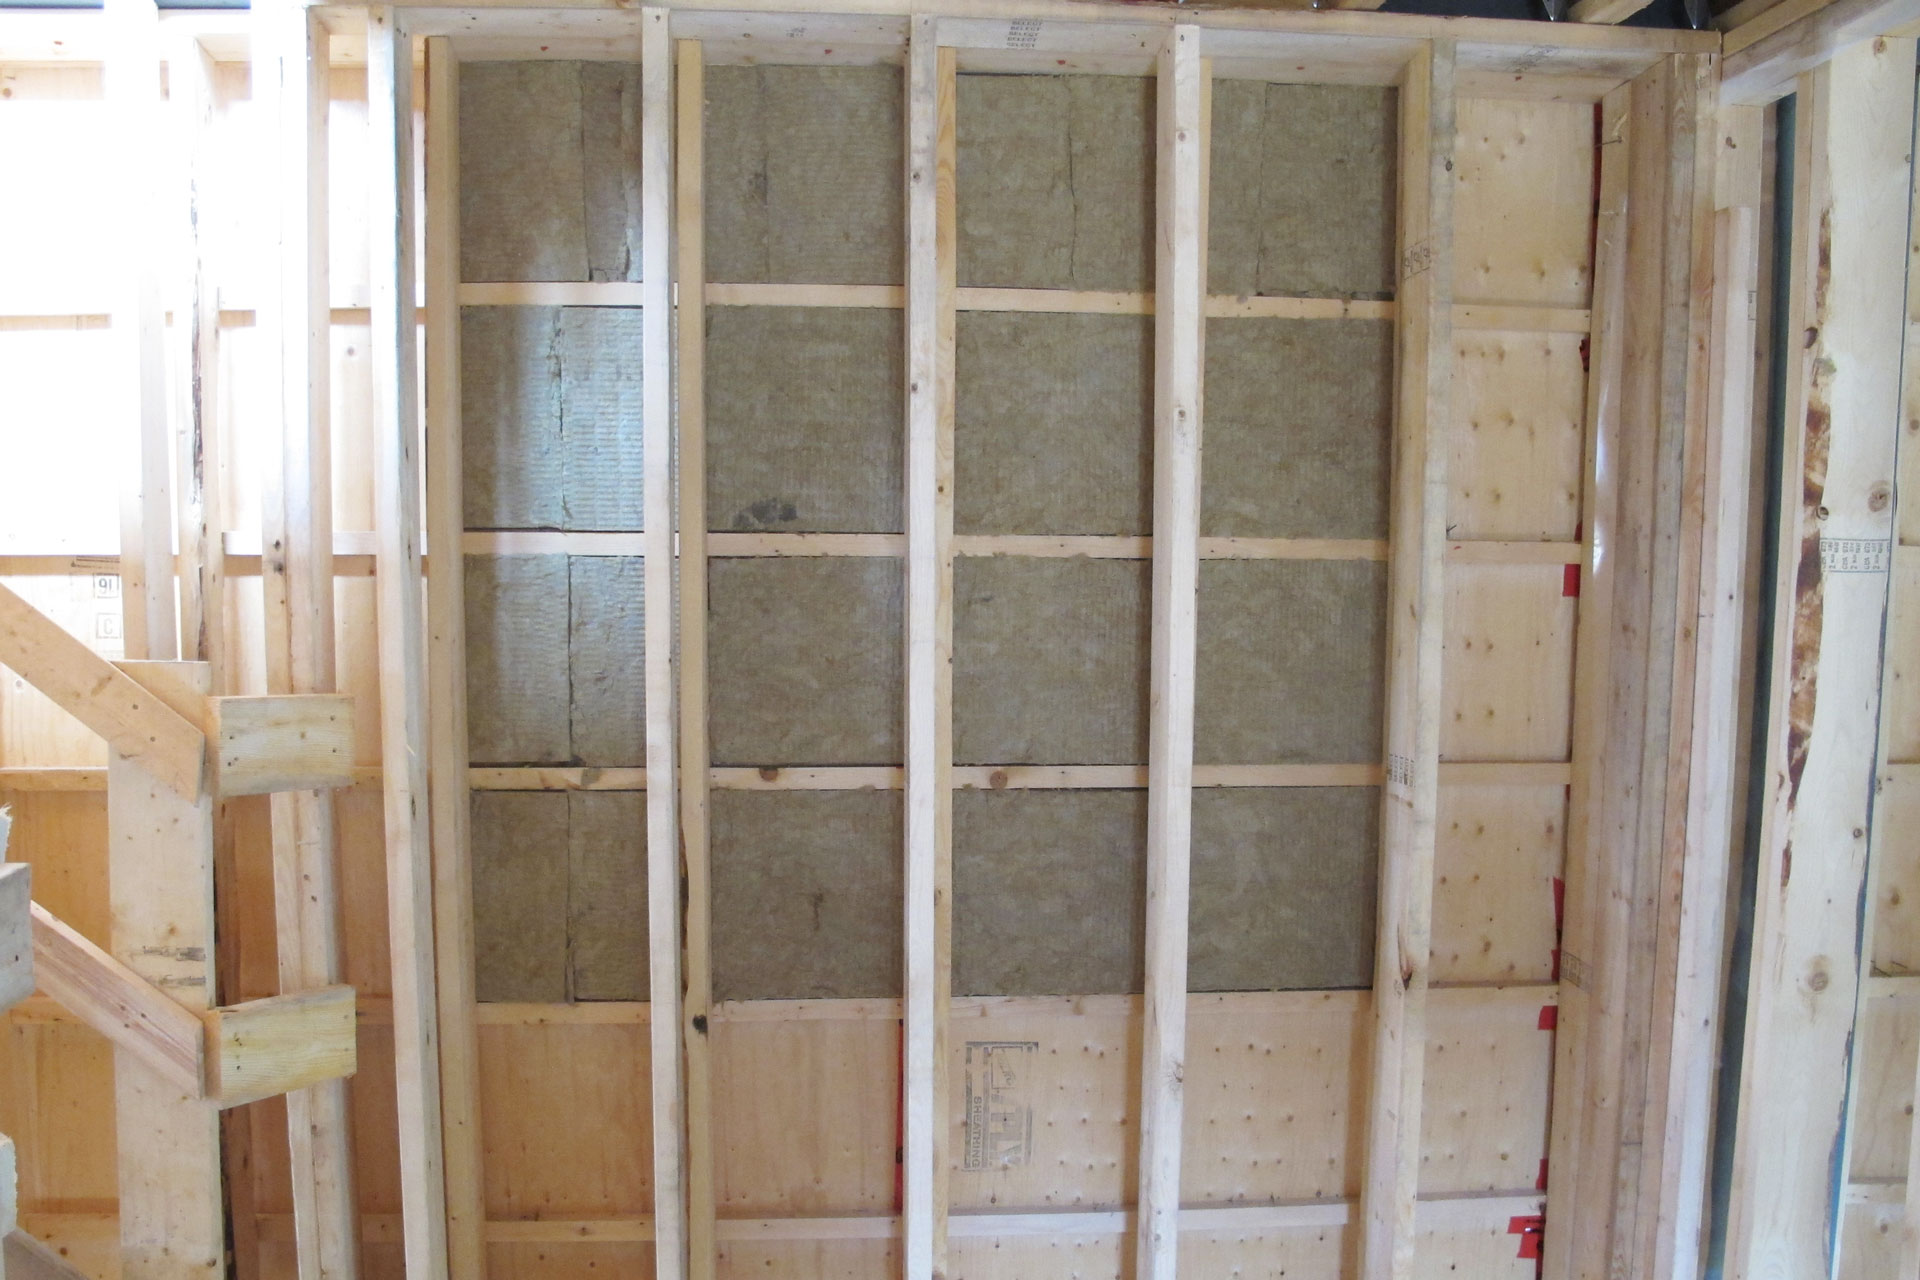
Once we completed with the Roxul ComfortBoard. We then fill the 2×6 stud space with Roxul ComfortBatt. Since all the wall studs are spaced at 16″ on center. All we need to do is just push the ComfortBatt into the stud space and trim the top piece for length if necessary. We are not doing the entire wall because we are only putting insulation in where large ducts will run.
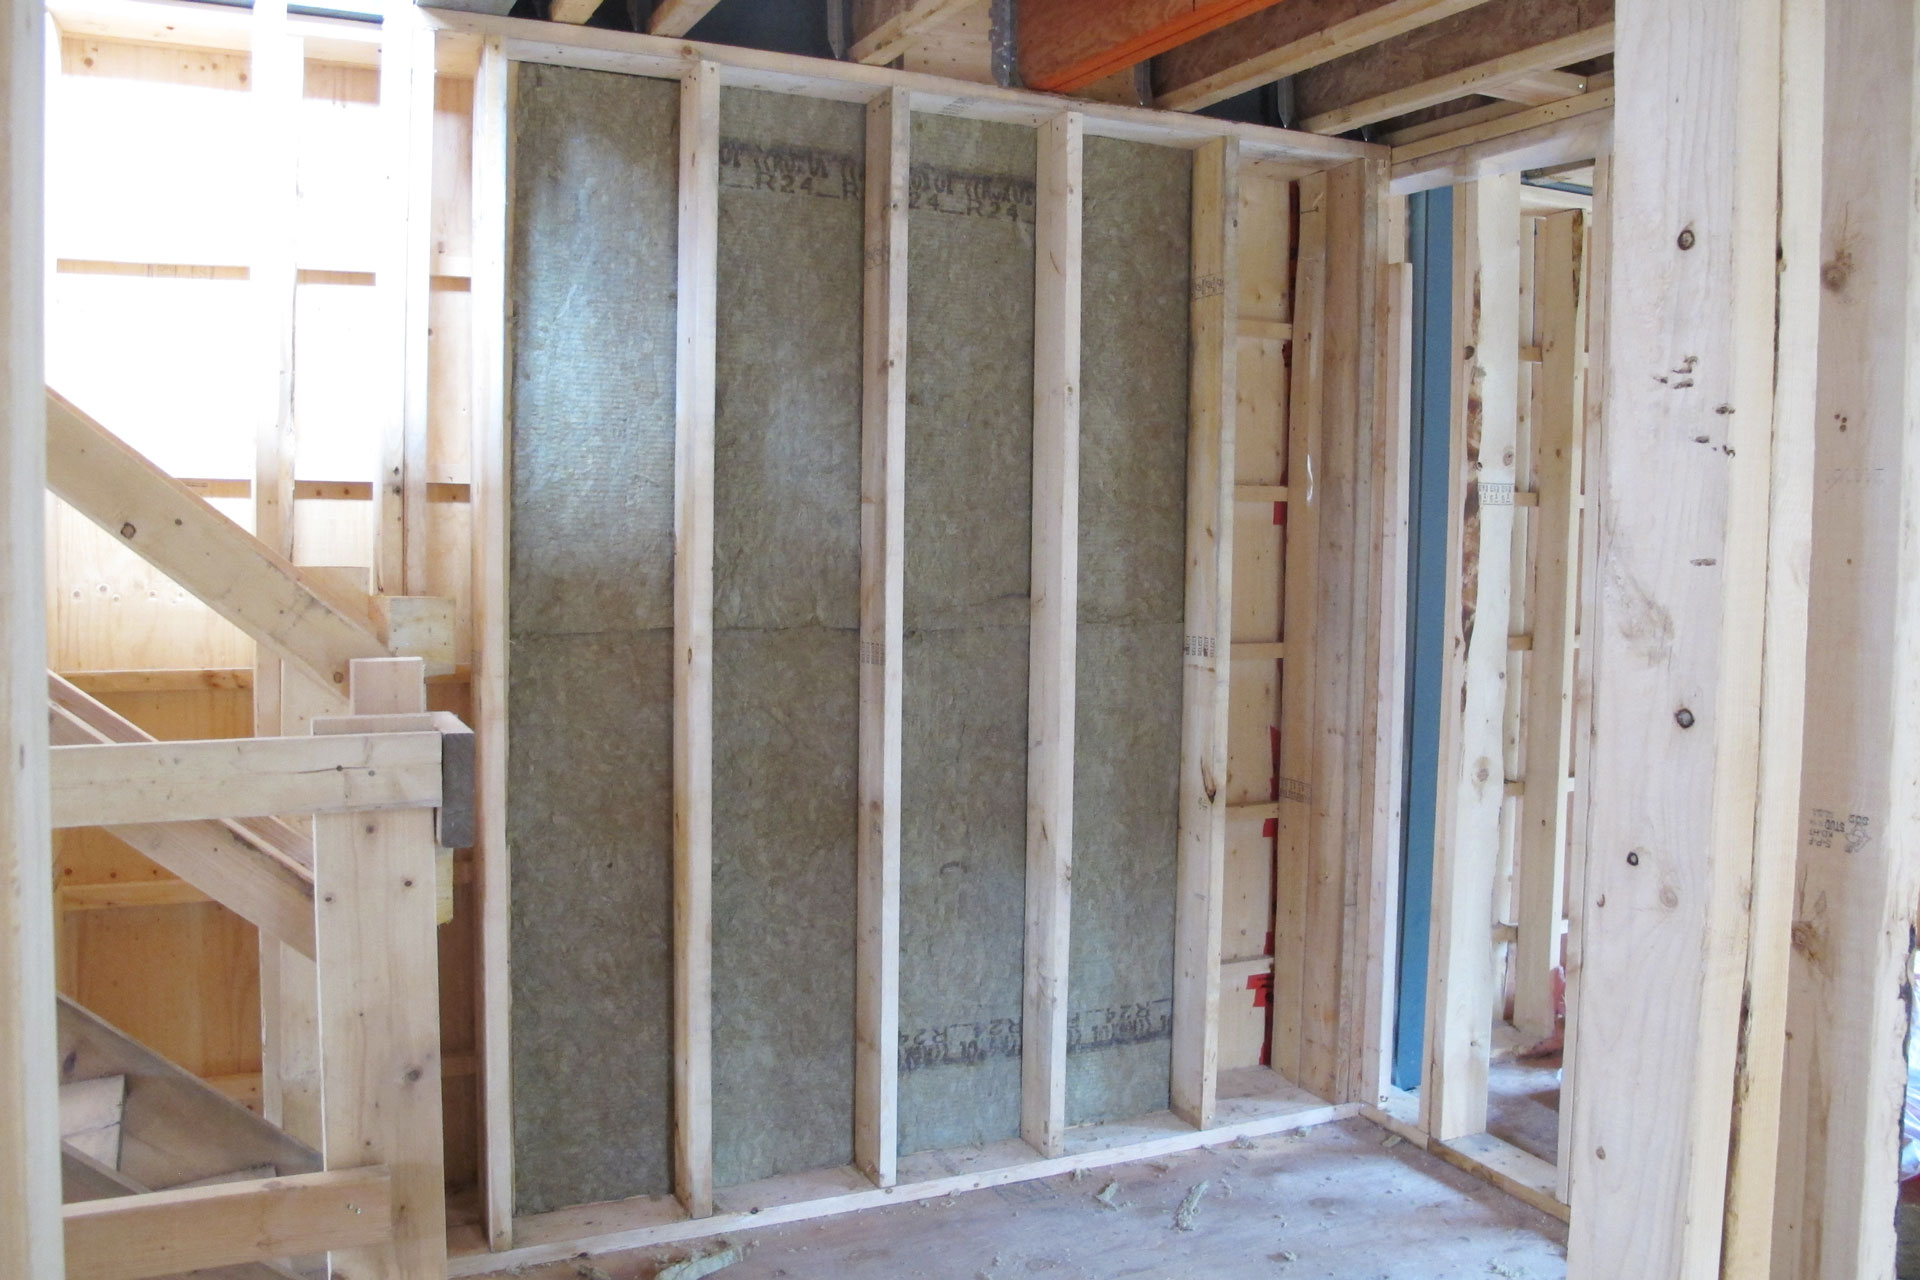
This is what the finished 3rd floor looks like
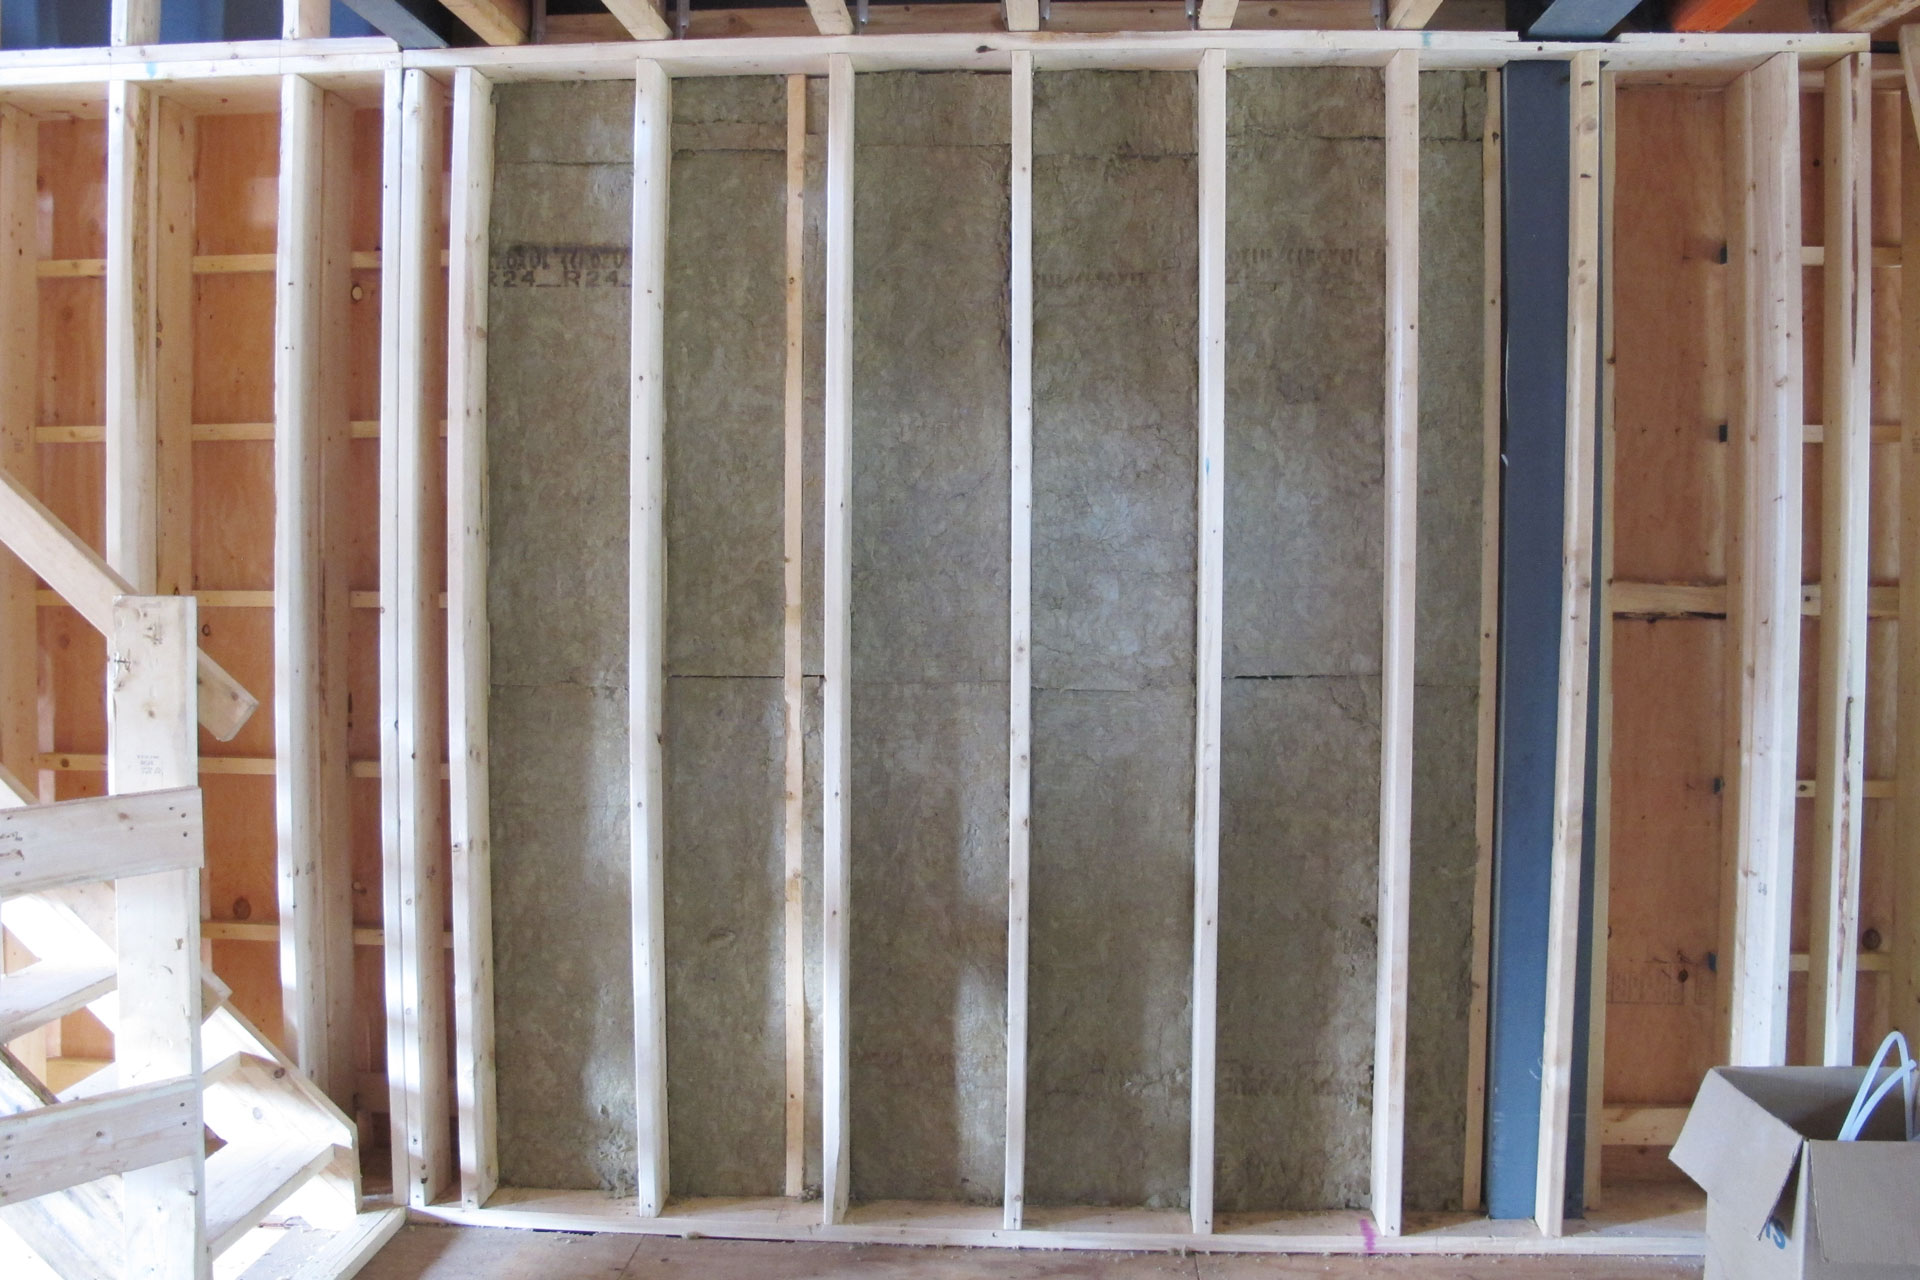
Here you can see how the ComfortBoard goes inside the 2×2 space.
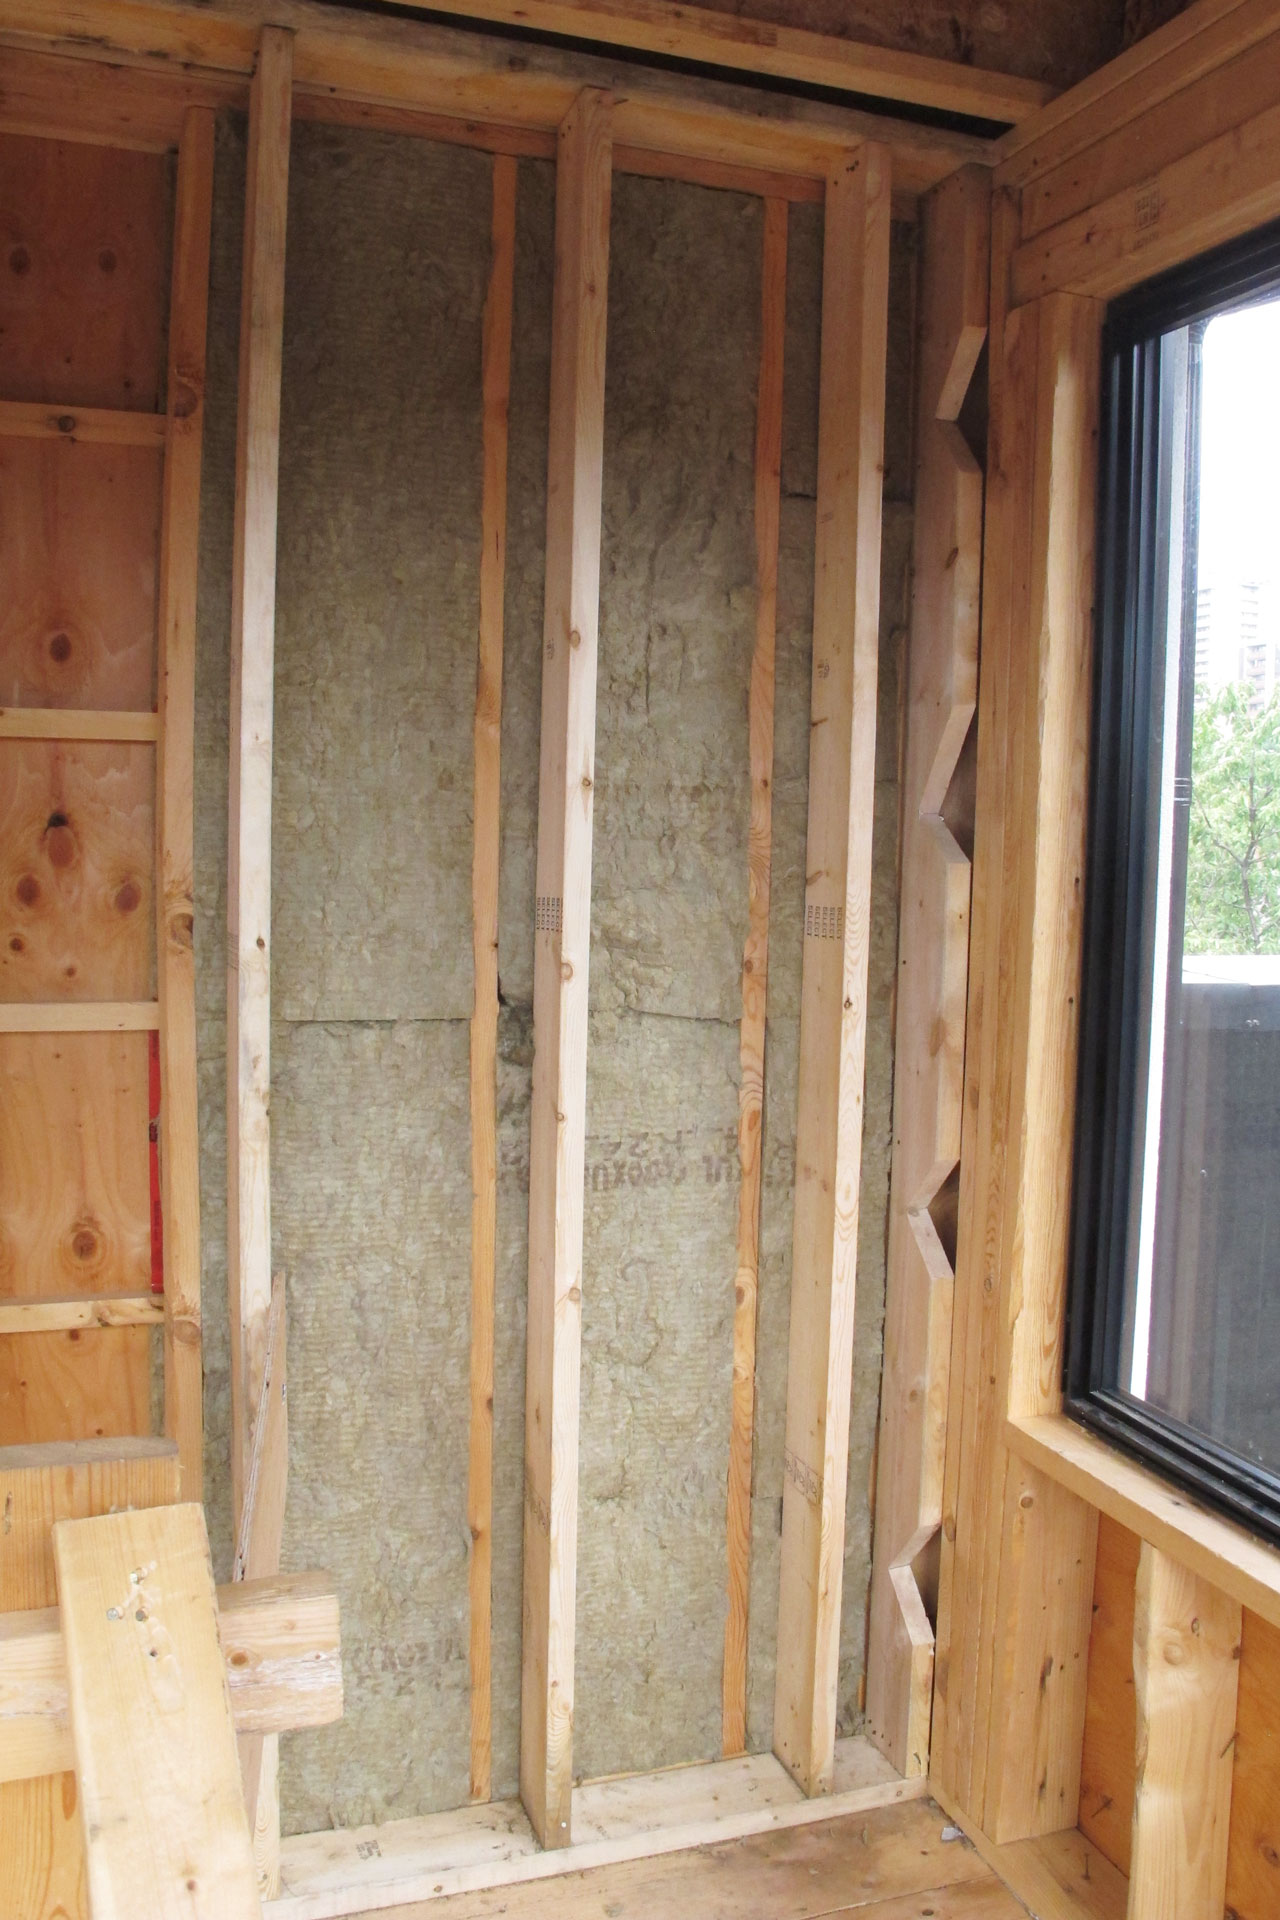
And finally here’s the first floor.
Now I have all the walls that may have duct runs in front insulated. Once the ducts are in, I will fill in the rest of the space with Roxul we will be ready for vapour barrier and drywall.
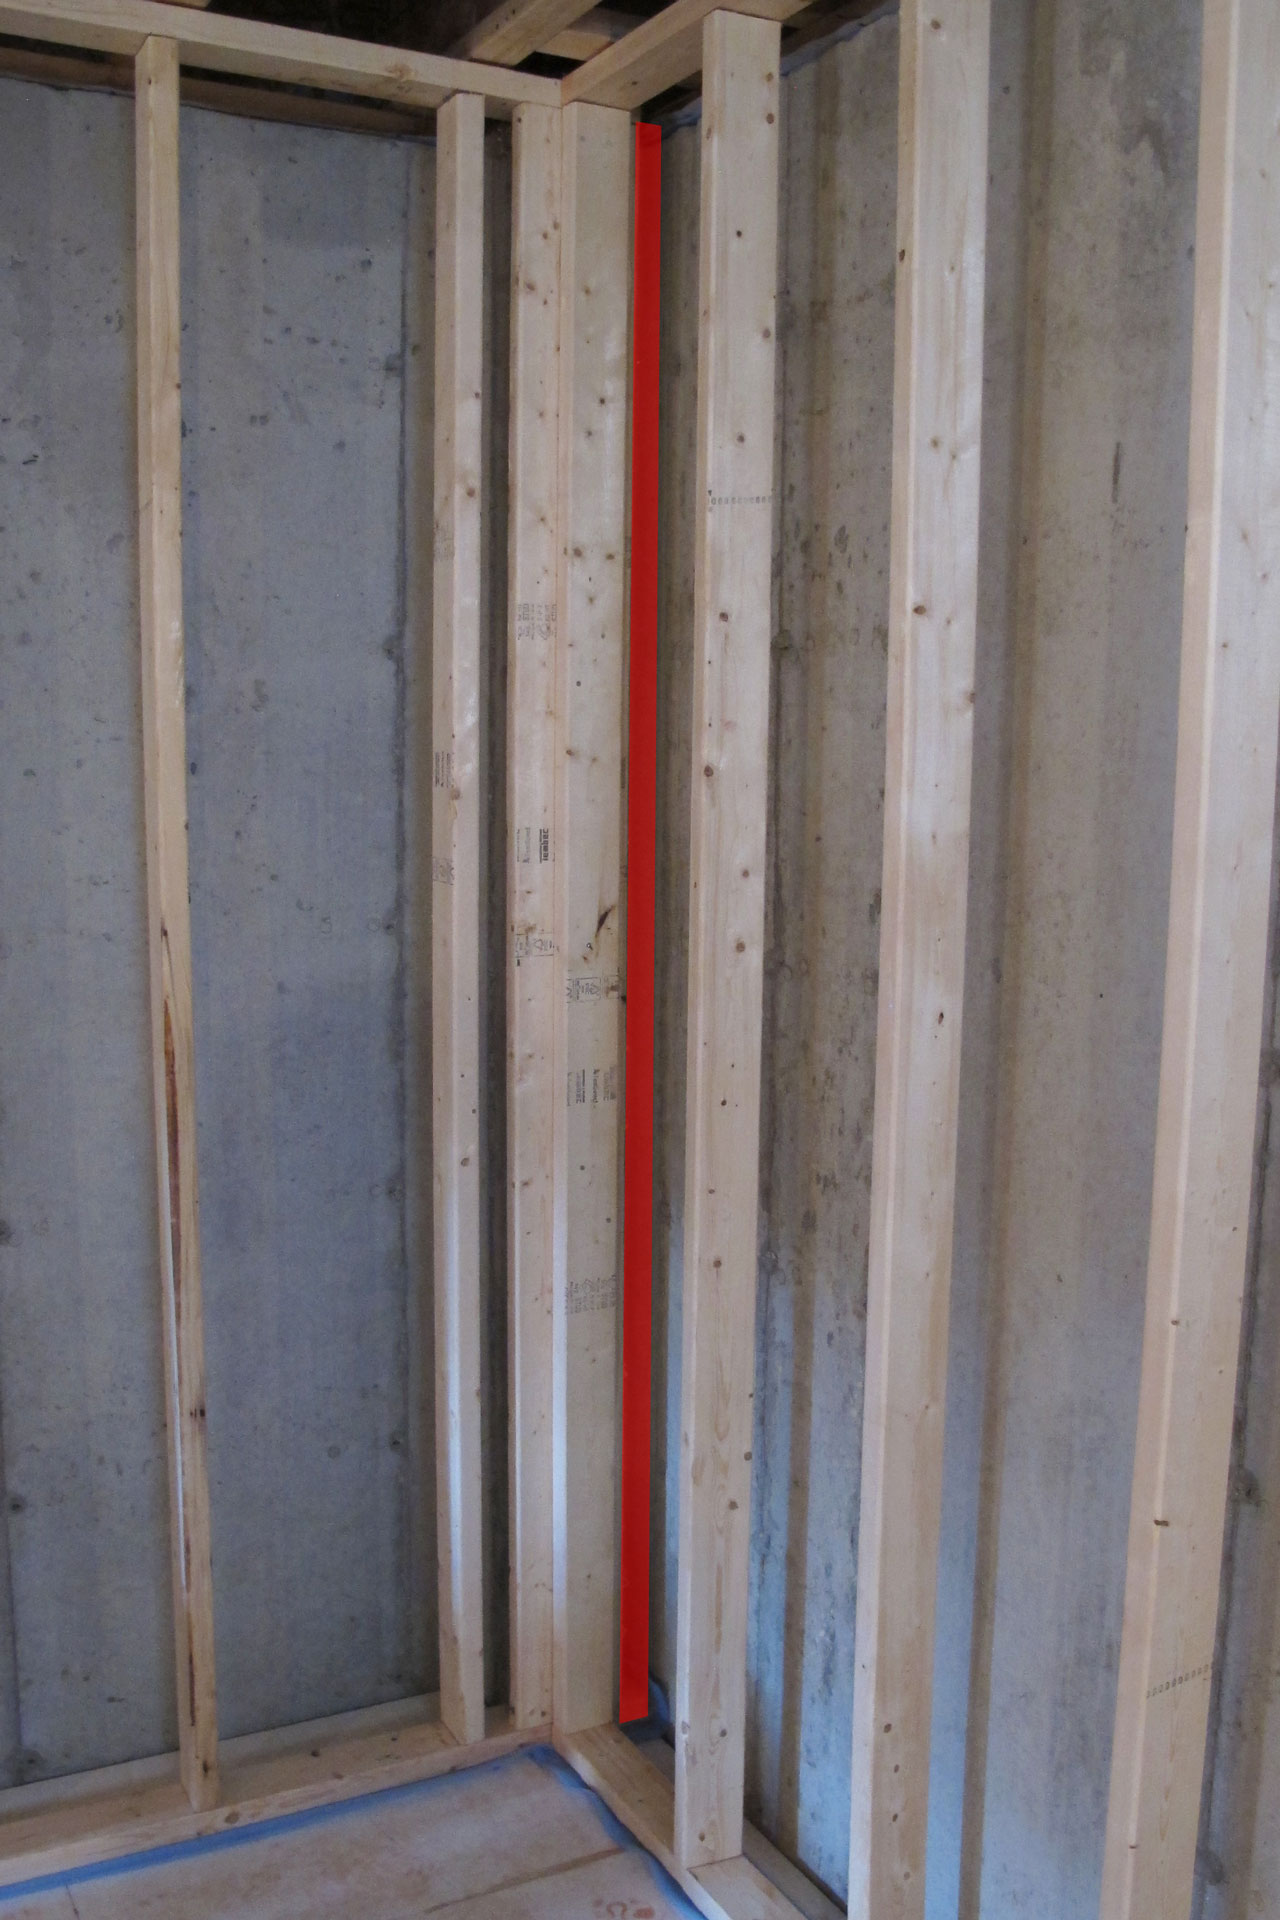
While we are working on the insulation, we decided to fix a few framing issue too. Here we removed a stud (marked by red line) that was placed right again the concrete wall in the corner. This way spray foam can go right behind the studs and give me a continuous insulation all the way around the corner.
Here we removed some unnecessary framing so that the original section of wall that goes right against the pier is removed. It is unnecessary because in that section, the wall actually goes in front of the pier. So there’s no need to place more studs behind the wall.

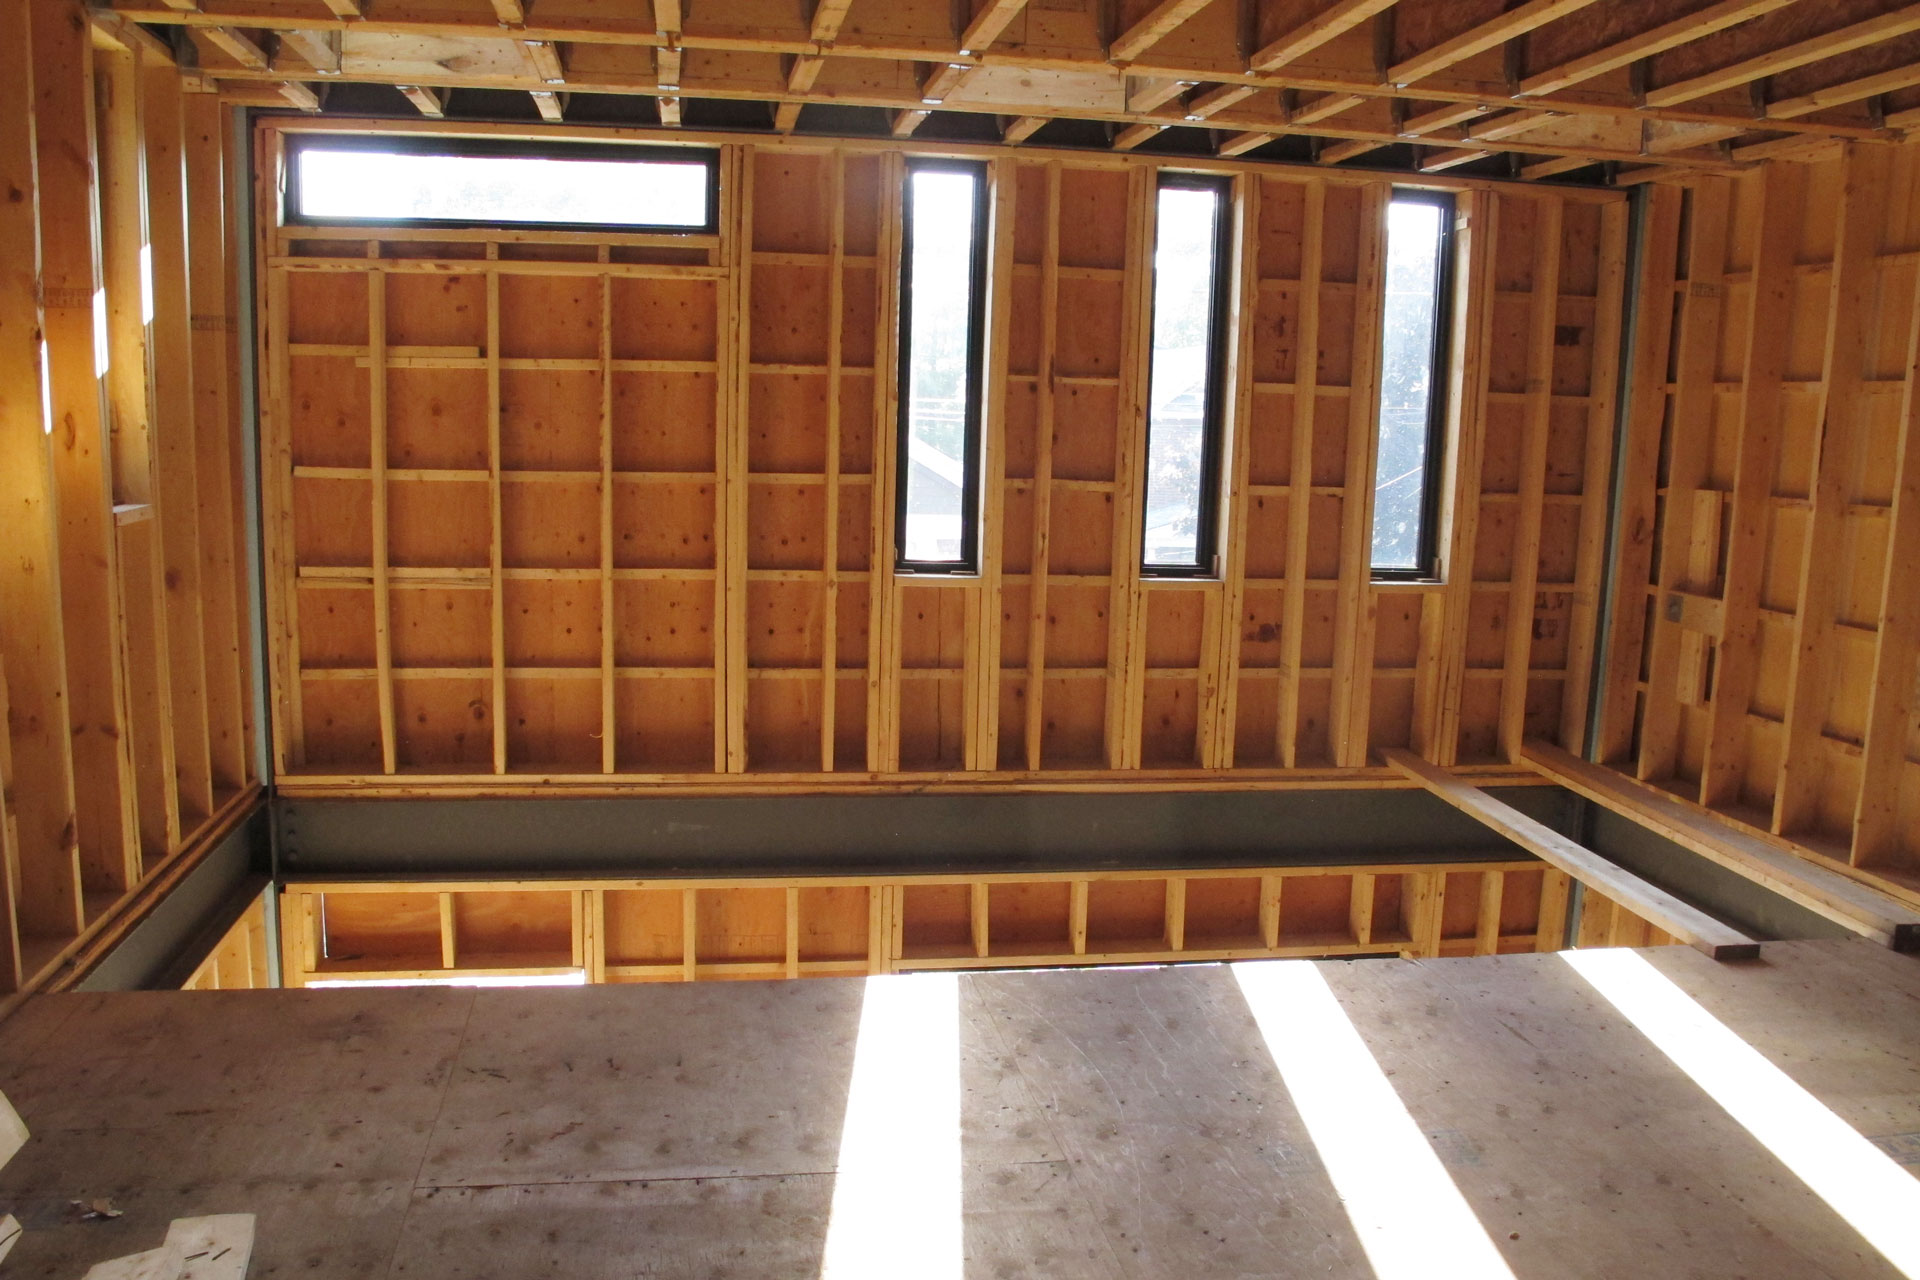
Finally I had a chance to see if my 2nd floor window design works properly or not. This photo is taken around 6pm. The sun is on the west side and shining really brightly. The inside is nice and bright, you see the light through the windows on the floor, but there’s no glare through the window even if you look right through them. So the narrow window and the open space behind it really made it possible to get in a lot of natural light without causing glare issue.
Leave a Reply
You must be logged in to post a comment.