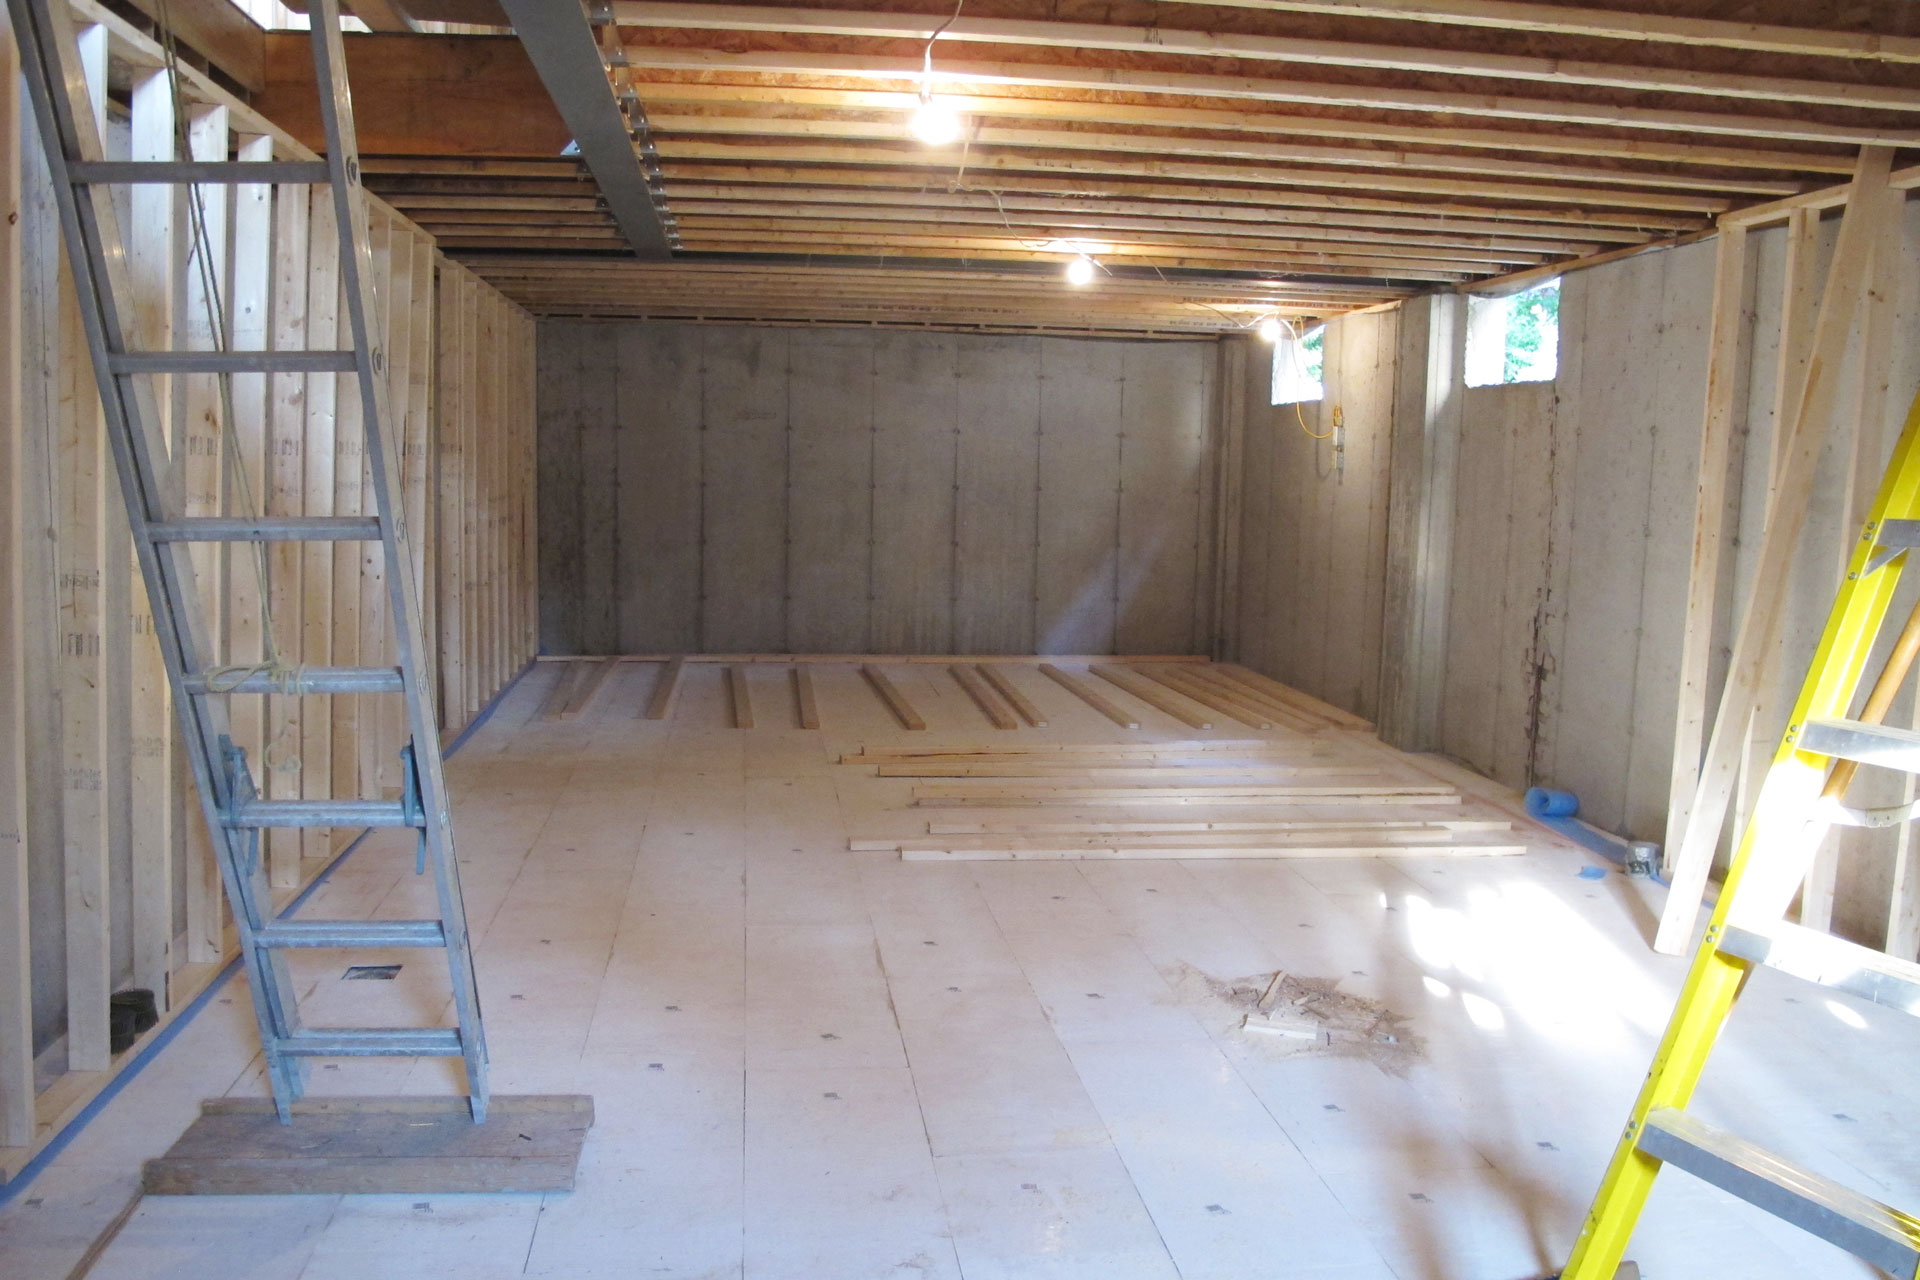
Today the basement perimeter wall is being frame. wall is being framed right in front of the all piers so that I do not have any bumps in the basement area. The only room where pumps will be visible is the mechanical room and the laundry room. There due to the limited space, the perimeter will have to hug to wall so that we don’t lose too much valuable space.
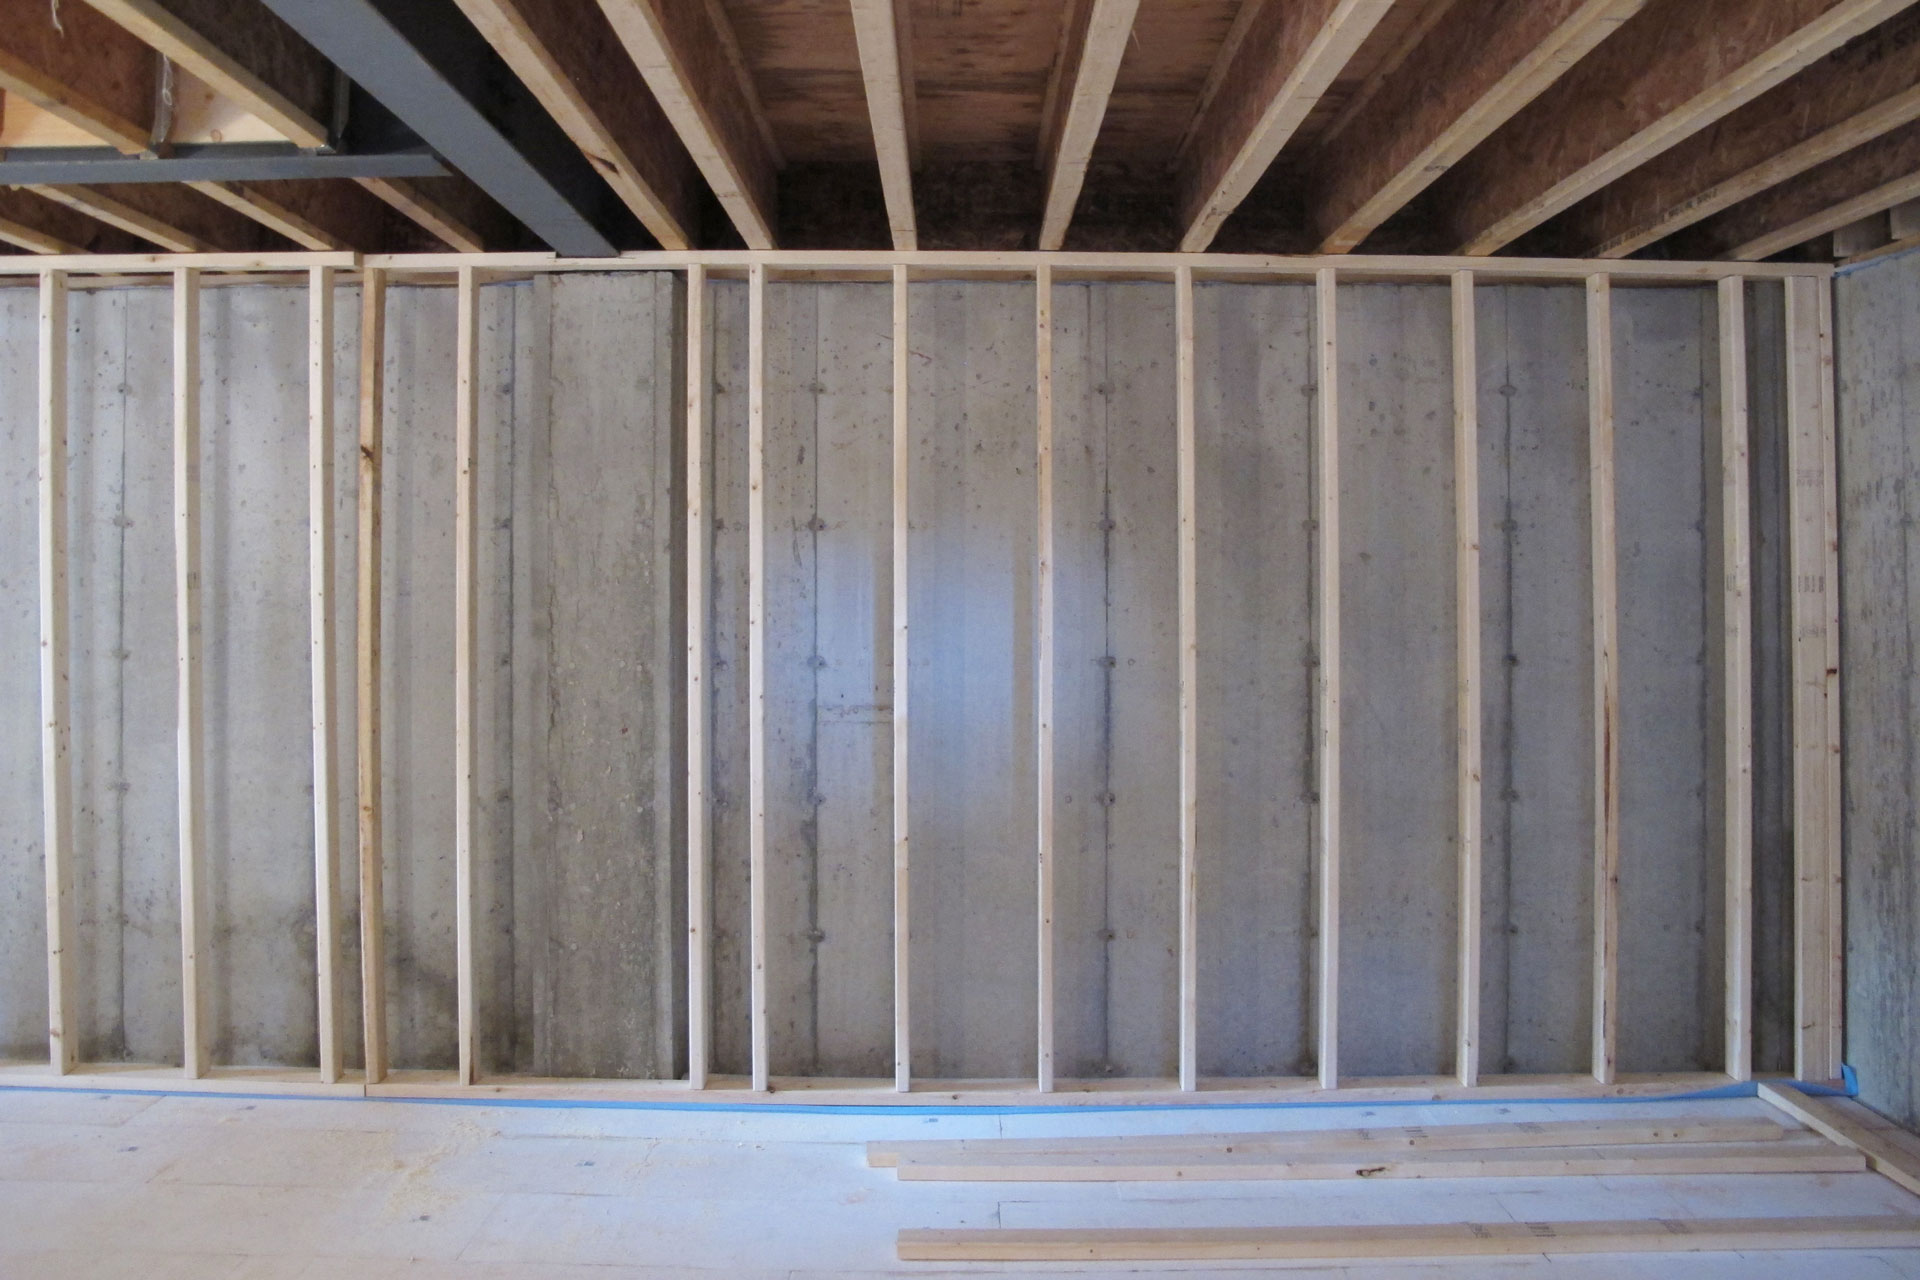
Here you can see how the wall goes right in front of the piers. I have asked the framer to space the studs so that the stud will no cover the pier. This way, there’s no gap in the spray foam when I insulate the basement. If you place a stud in front of the pier, then the area behind the stud will not even get 1″ of insulation. I am aiming for R20 basement wall insulation and so the placement of studs are very important. In fact you can see to the very right that there’s a stud place right at the wall. This is not good, I will have to address it later.
This is the south wall. To the left is where the basement bathroom is. To the right is the laundry room. Here you can see in the laundry room, the basement perimeter wall is hugging the foundation wall. There is a gap between the wood stud and the concrete wall so that I can get a little spray foam in between. But the majority of the spray foam insulation will go right in between the studs. Wood of course is not a great insulation material. The 2×4 stud will have an insulation value of R4 as compared to R20 from the spray foams. This is a compromise because the laundry room and more specifically the mechanical room needs as much space as you can get. And since these rooms are the less used rooms, I sacrificed insulation value a little bit by allowing the stud to be inside the spray foams.
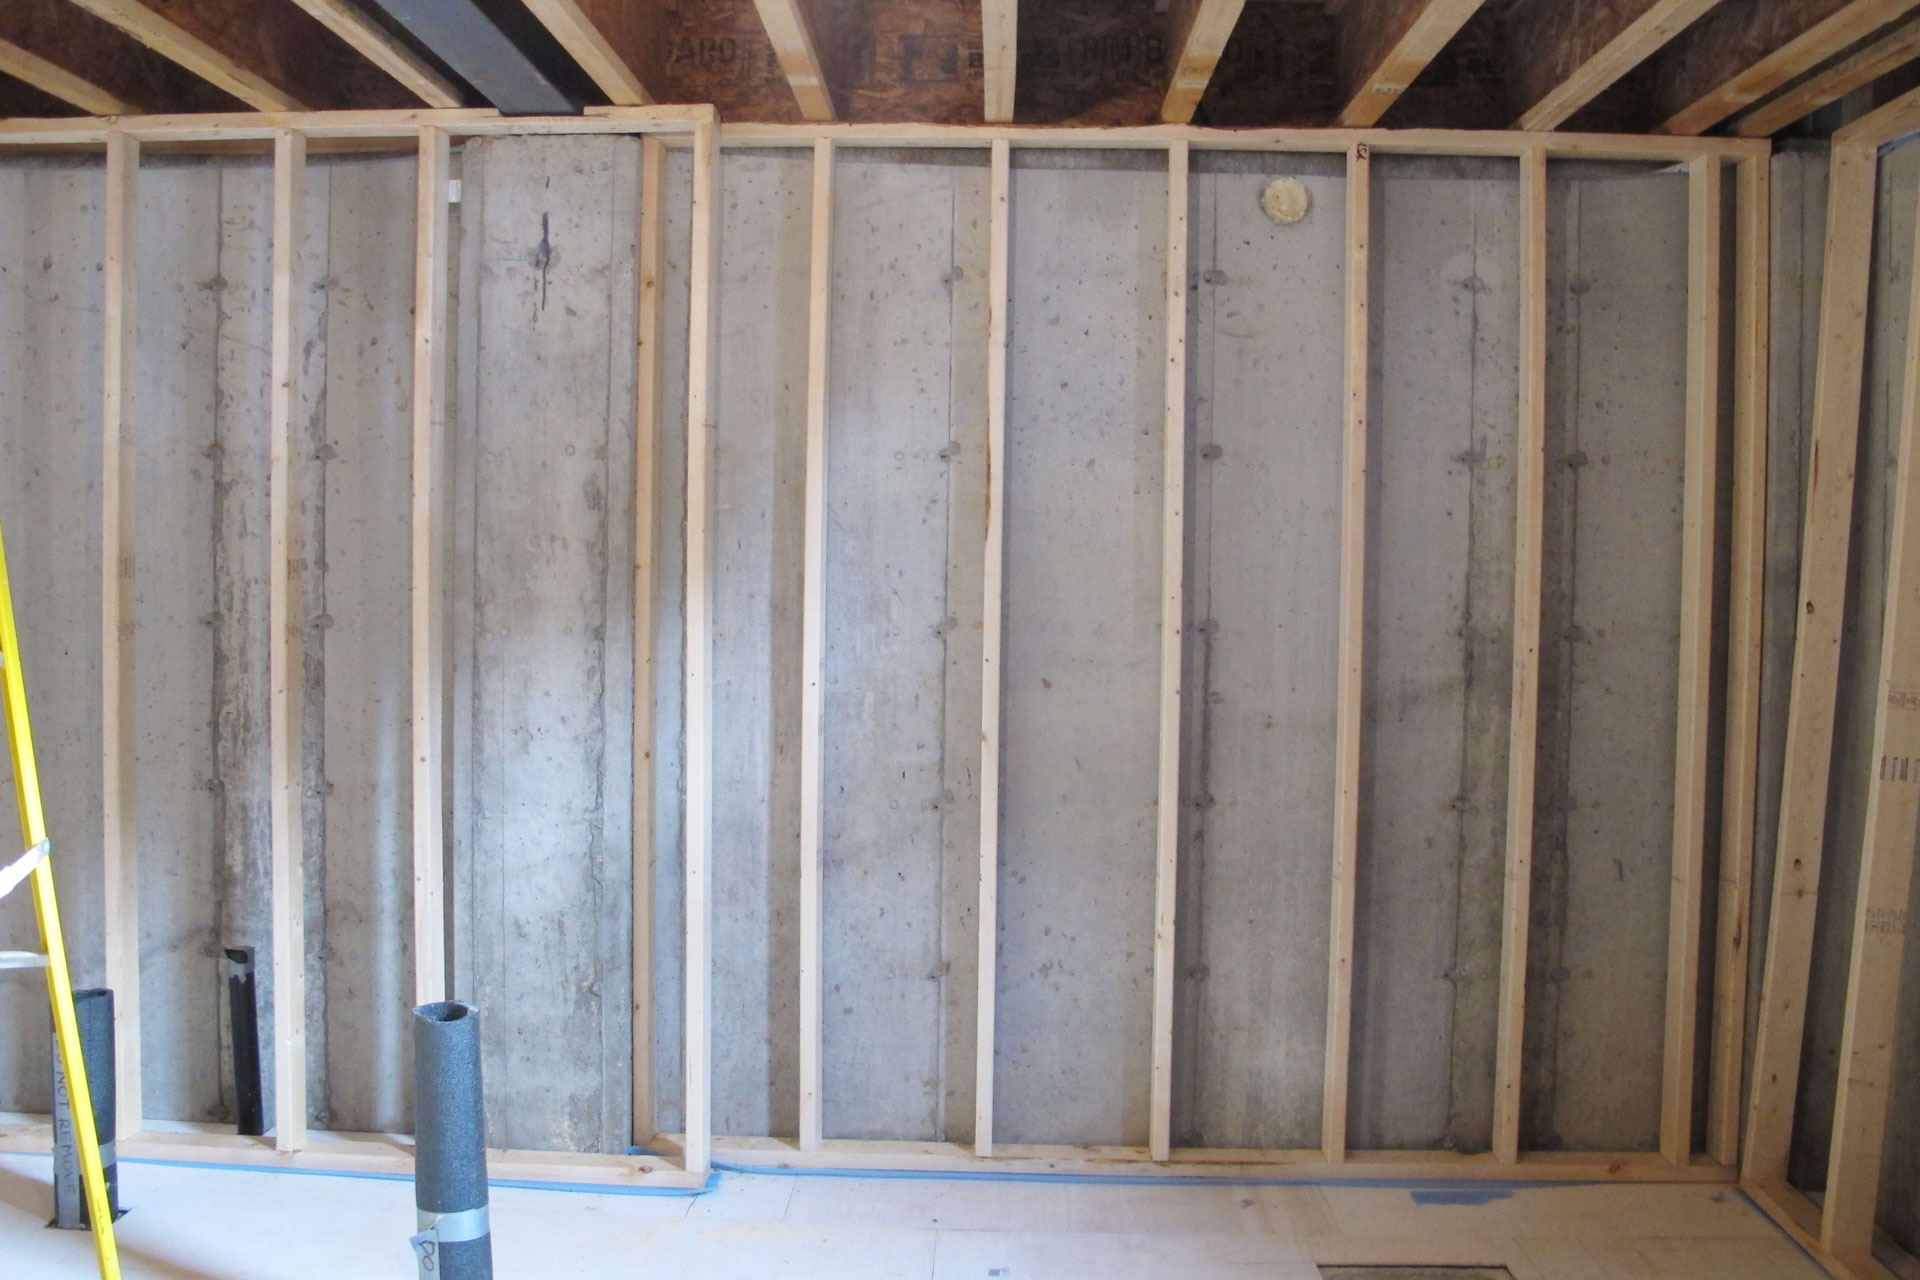
This is the bathroom and my computer server room area. Again here, the wall goes right in front of the piers and I will have complete spray foam insulation coverage here.

The framing work continues.
Leave a Reply
You must be logged in to post a comment.