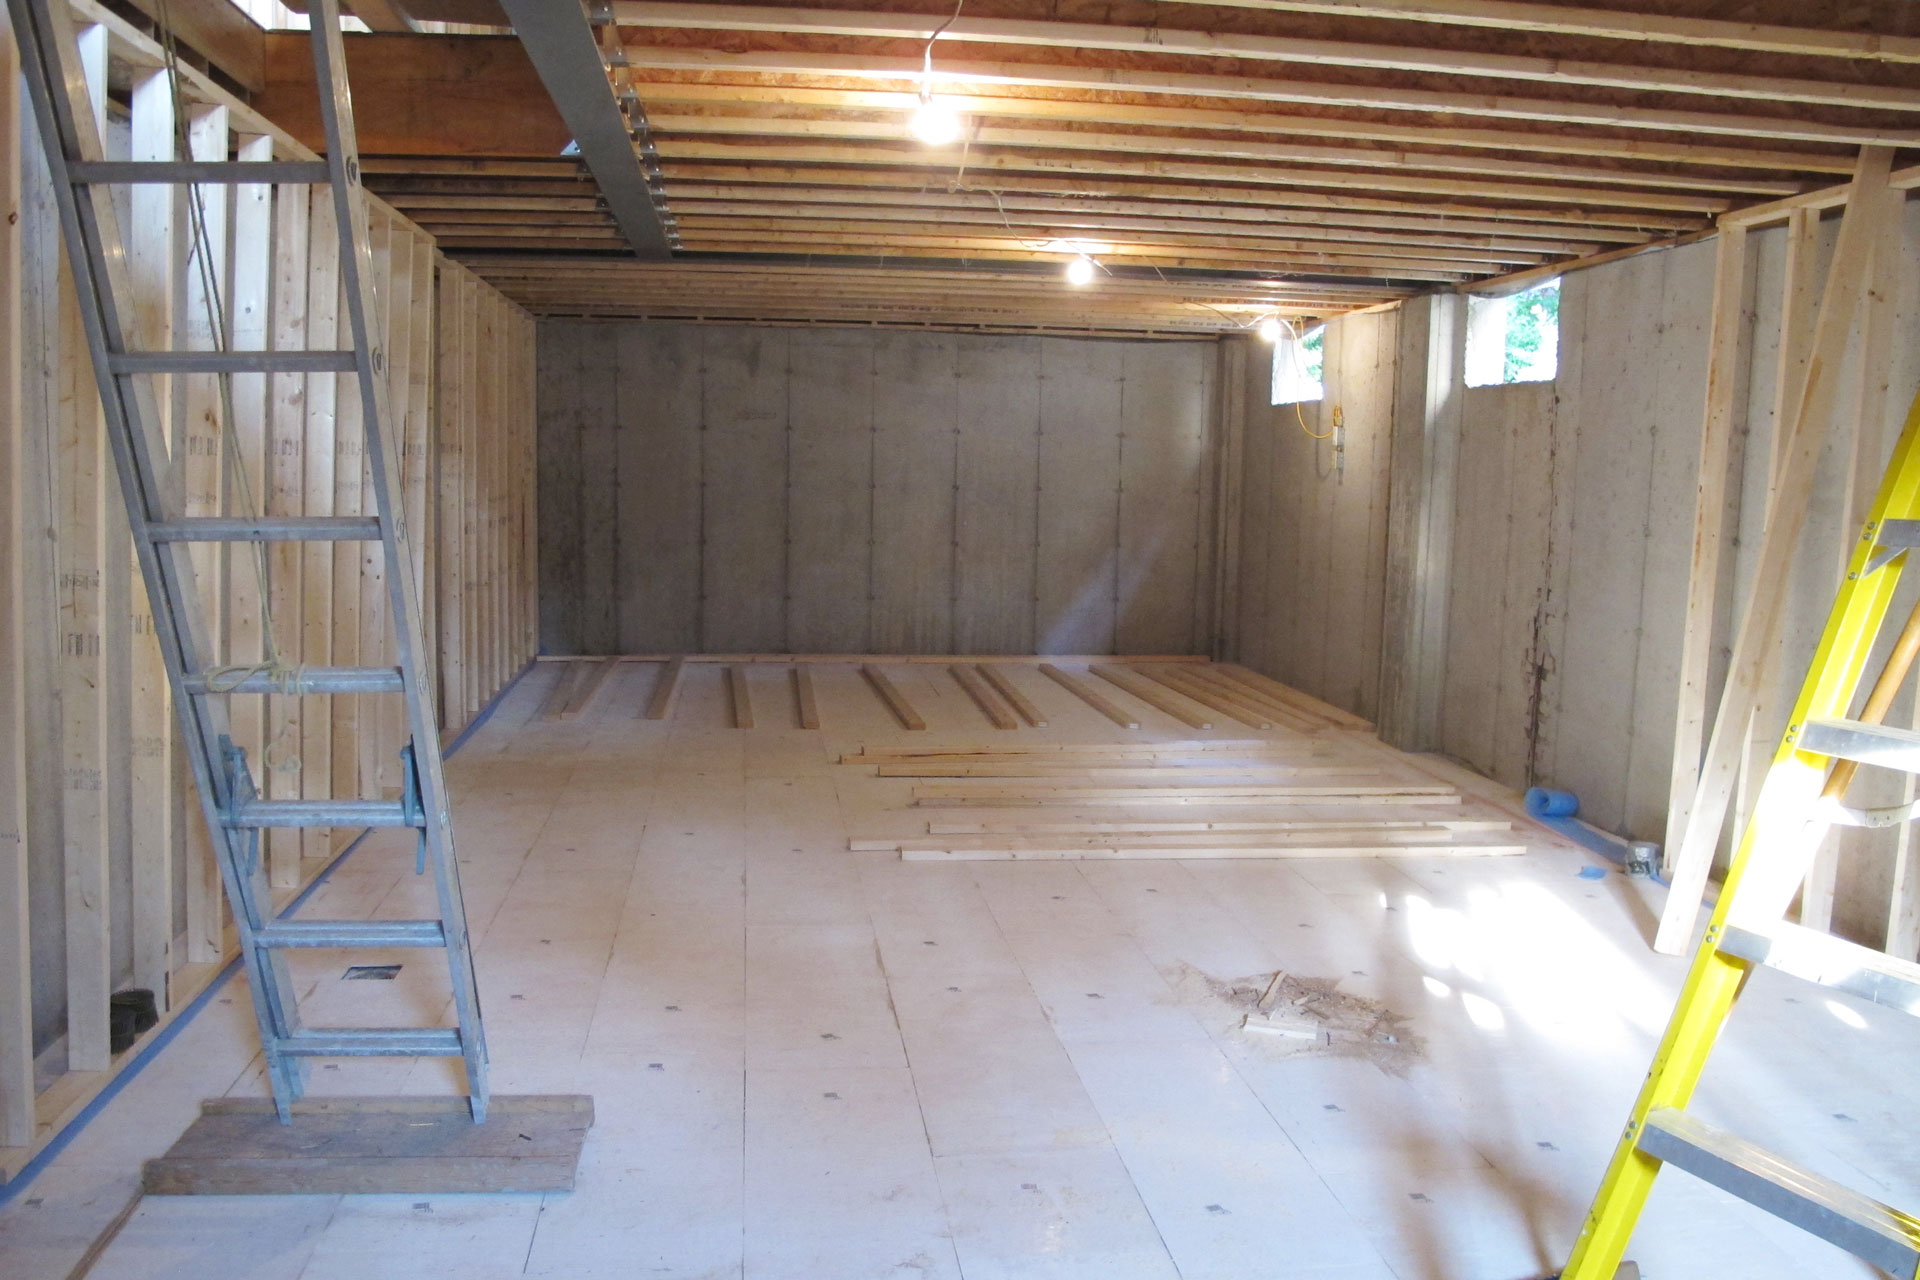
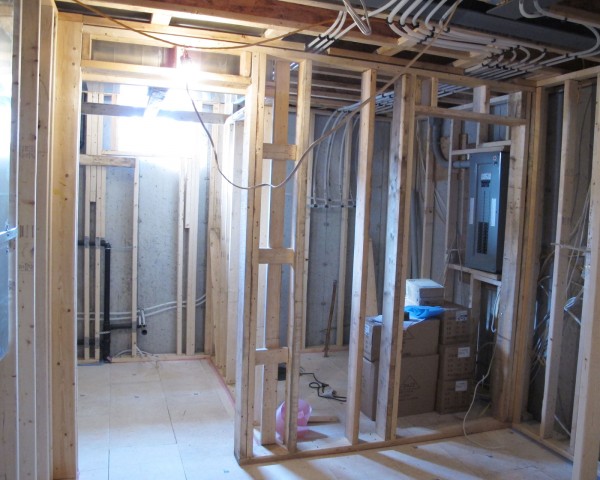
October 17th, 2014 Carlos’s crew is here to do some more framing. First they erected the missing wall in the basement. I have confirmation from the HVAC contractor that everything will fit inside the mechanical room as my planning. So the wall can come up so the rest of the work can continue.
Continue reading ‘Basement framing’ »
August 29th, 2014 Today we have two crews here working both from Pleasant Homes Construction. One crew is working to finish my duct wall on the north side and install the temporary stairs and guards. The original framing crew continues in the basement to finish my basement framing.
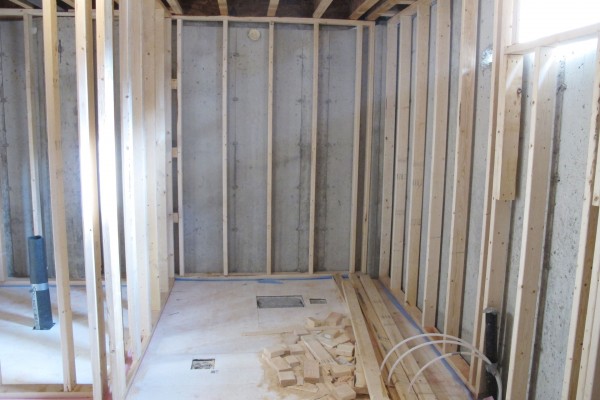
I want all basement framing finished with exception of the walls of the laundry room and the mechanical room. Because it is not certain if everything fits according to the floor plan. So here’s the laundry room.
Continue reading ‘Framing part 2 – day 5’ »
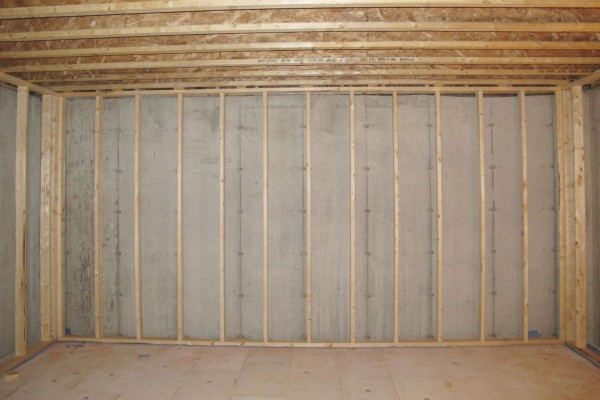
August 28th, 2014 Wednesday, the framing crew had mechanical trouble with their car and so very little work is done by the junior crew. Thursday the work continues. Carlos dropped by and indicated that he will bringing in another set of crews on Friday so that they can finish my work by the end of the week.
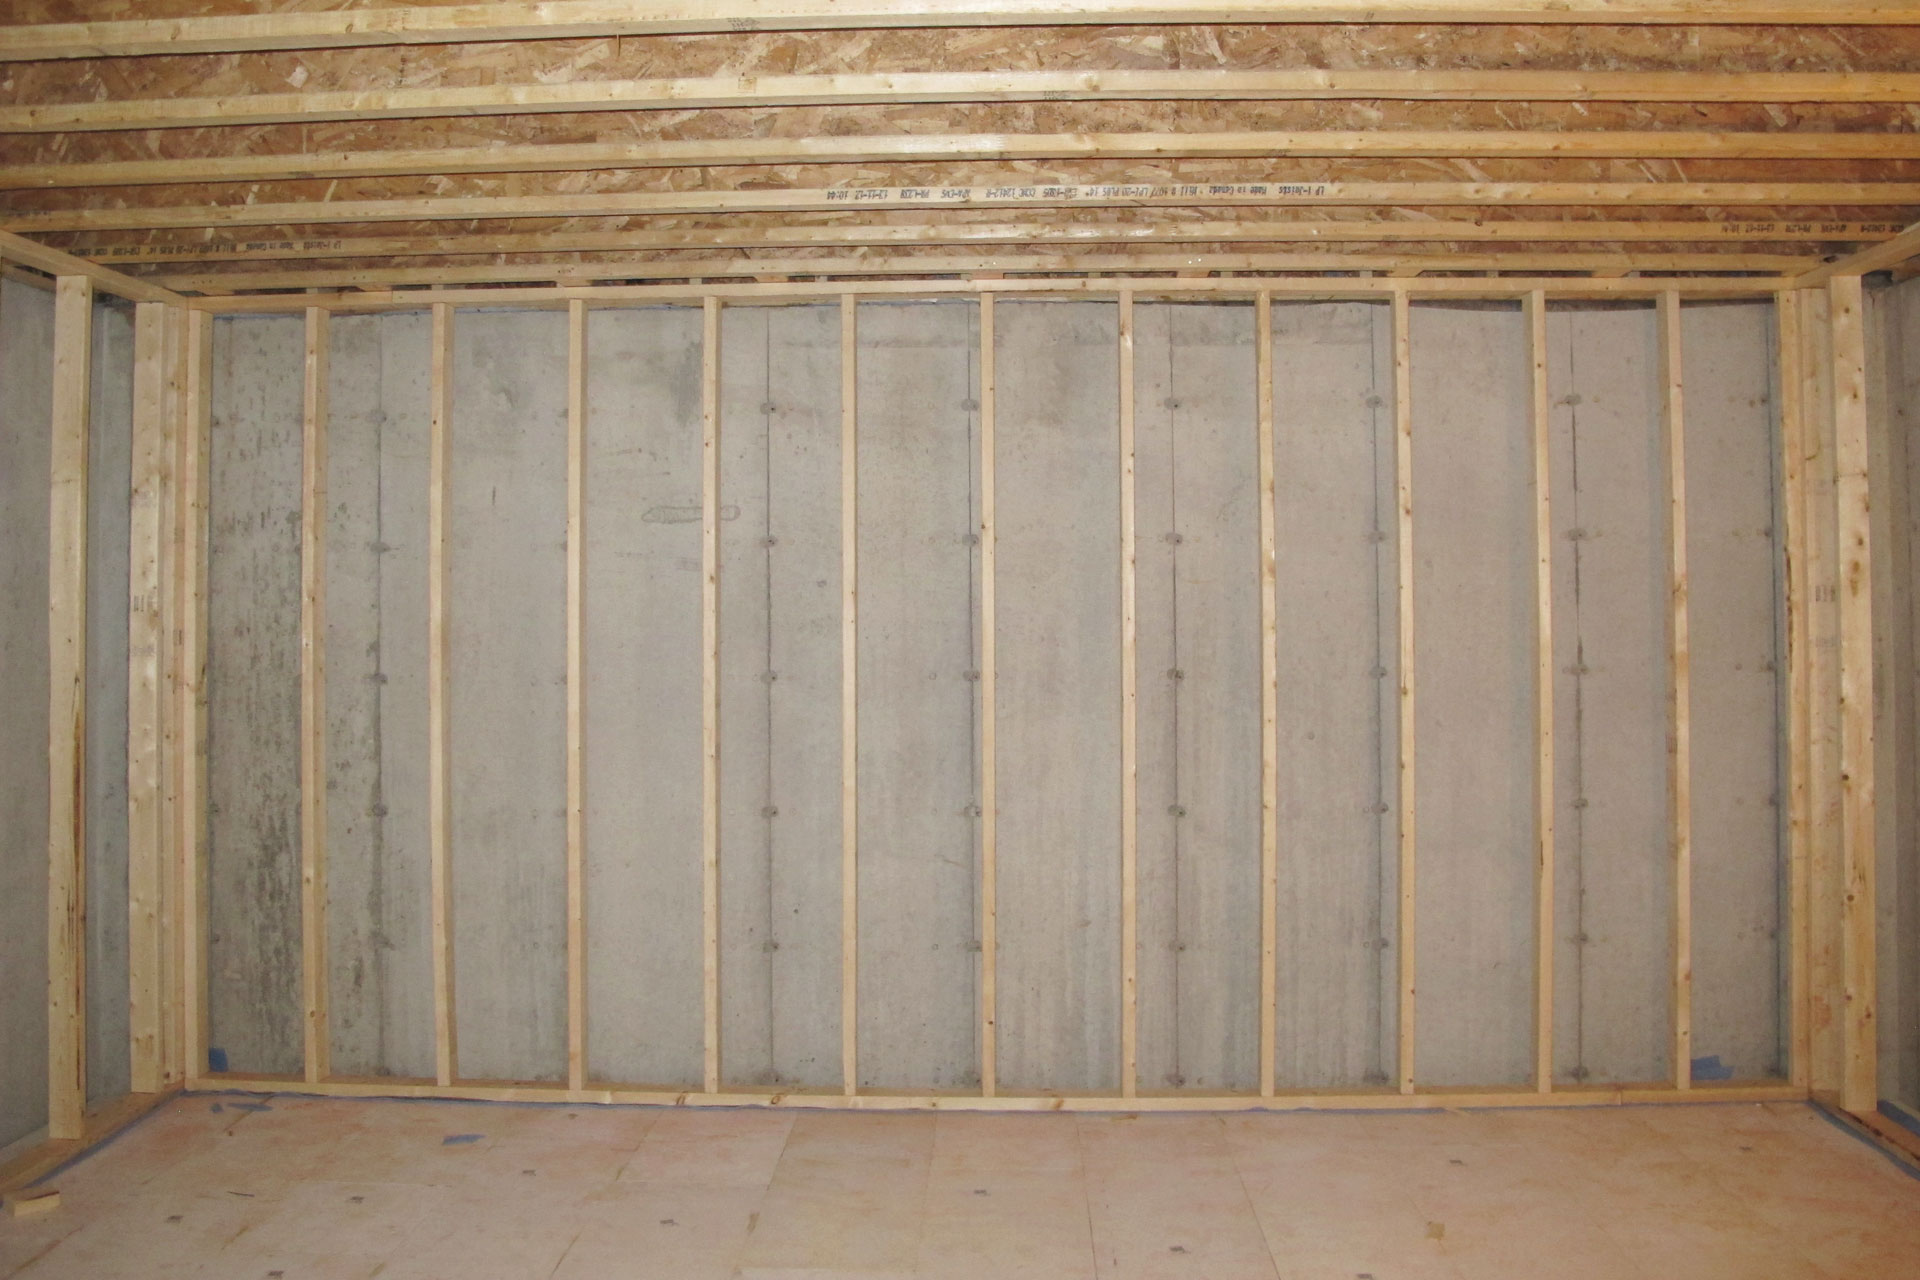
Here’s the east wall of the basement completed.
Continue reading ‘Framing part 2 – day 3 & 4’ »
August 26th, 2014 Today the basement perimeter wall is being frame. wall is being framed right in front of the all piers so that I do not have any bumps in the basement area. The only room where pumps will be visible is the mechanical room and the laundry room. There due to the limited space, the perimeter will have to hug to wall so that we don’t lose too much valuable space.

Continue reading ‘Framing part 2 – day 2’ »
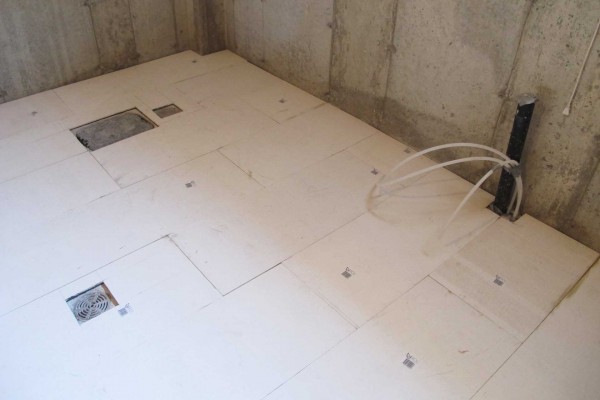
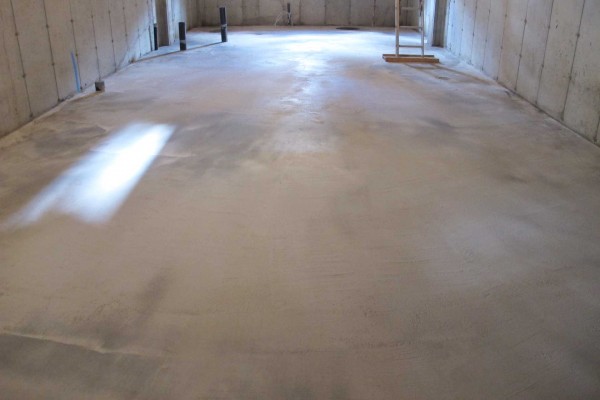
August 19th, 2014 The basement sub-floor work continues today. The remaining work was relatively simple and straight forward. Not a lot of pieces let to cut and so we were putting down panels very quickly. We completed the rest of the basement before noon today.
Here’s a looking at the entire basement sub-floor. Here’s where the laundry room will be. You can see in the top left corner the backwater valve access port and the house clean out. In the bottom left is the floor drain in the laundry room. And to the right is the sink drain and the primer lines for the floor drains.
Continue reading ‘Basement subfloor day 2’ »
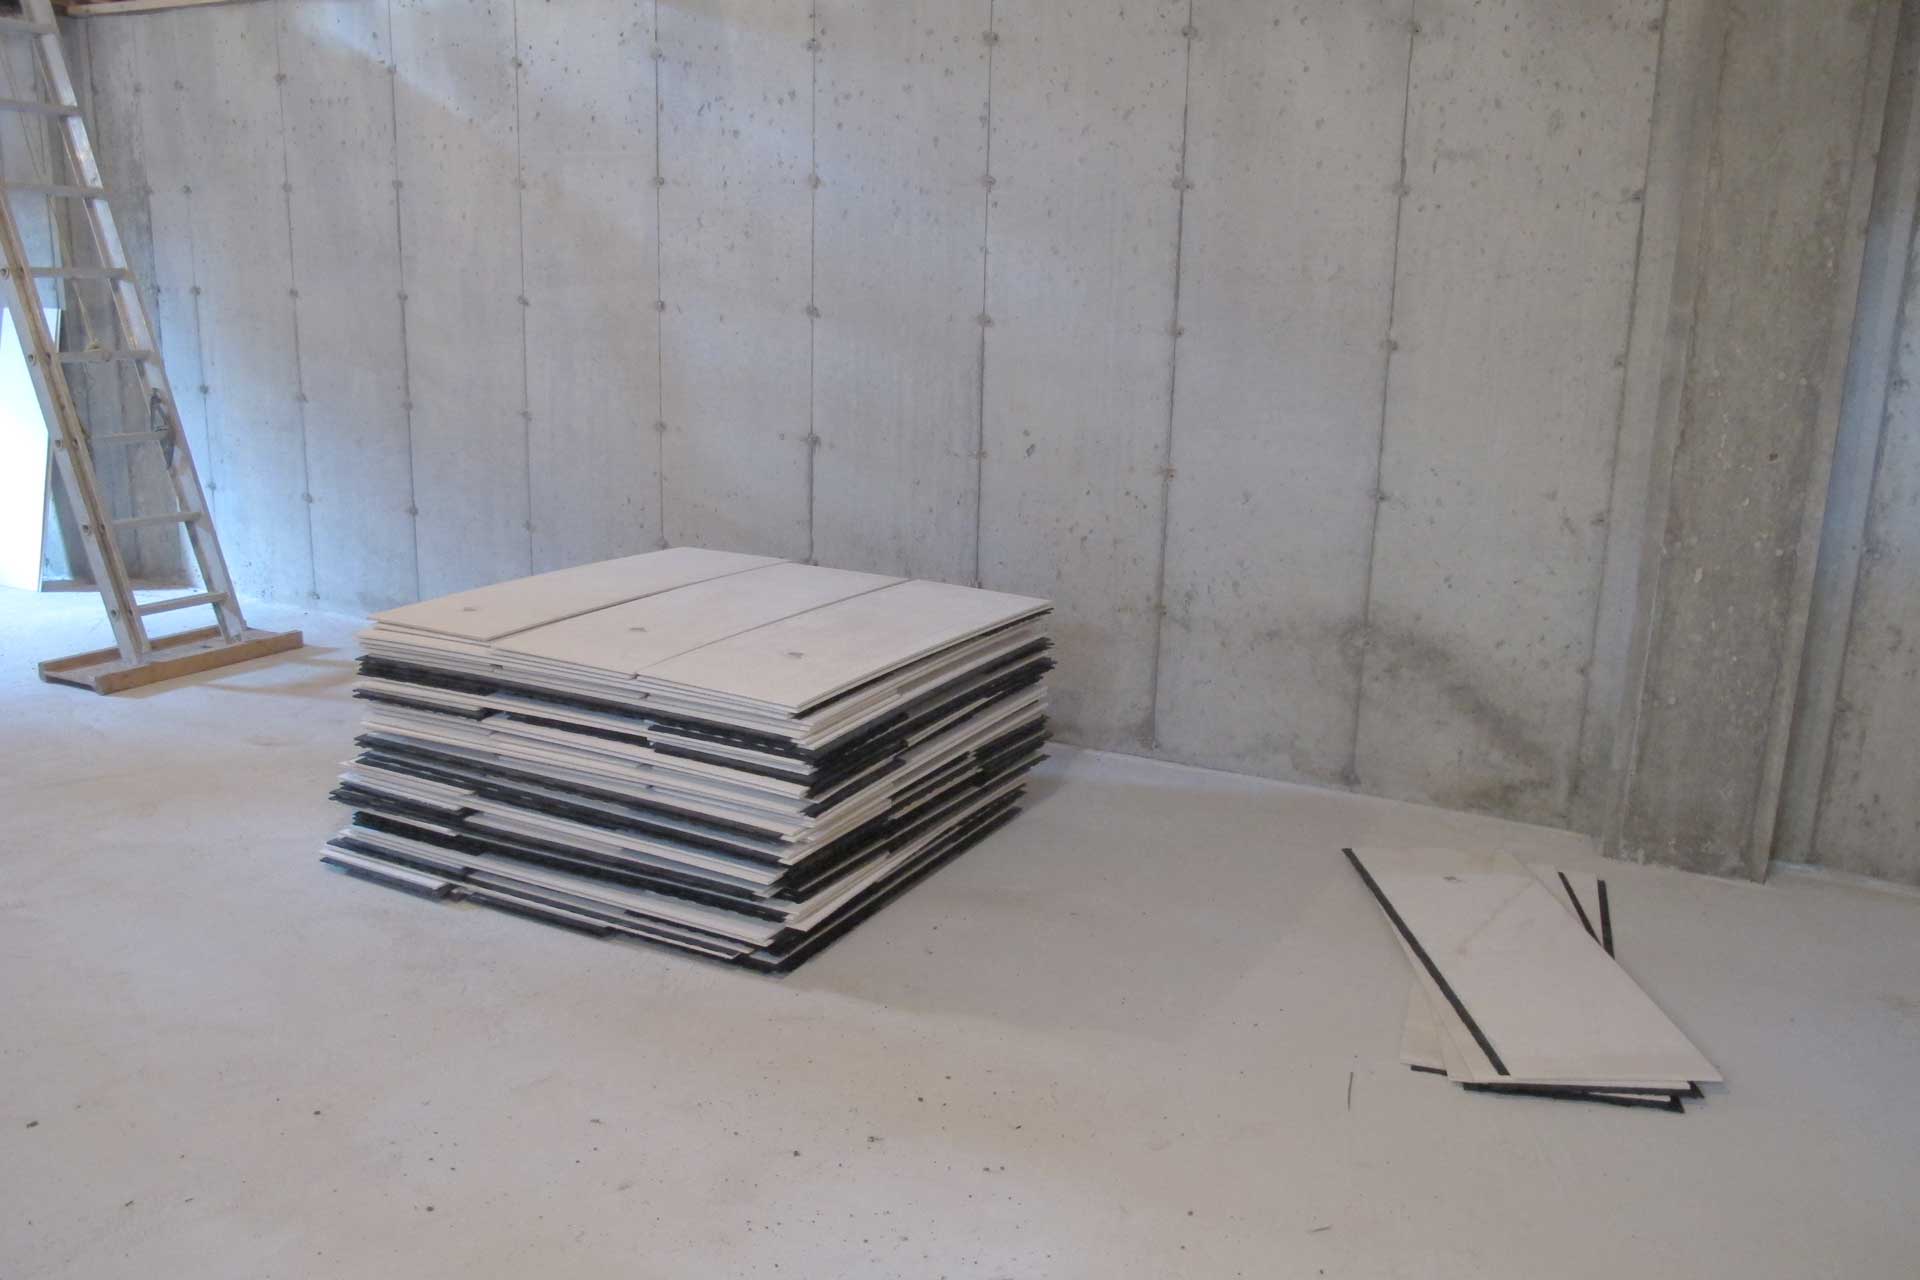
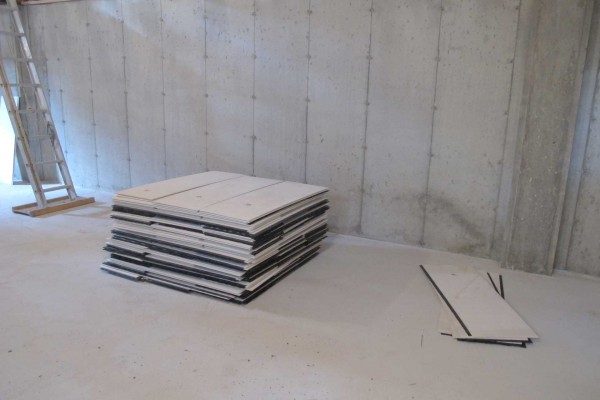
August 17th, 2014 On Thursdy, I ordered 160 panels of basement sub-floor panels from Home Hardware. For this house, I decided to use Tyroc instead of the more usual DRIcore. So why not use a product that has been recommended by HGTV’s Mike Holmes or Bryan Baeumler? Well that’s because DRIcore has its own share of problems.
- DRIcore doesn’t actually stay dry. Its plastic base does not fully cover the entire base and so moisture can get to the OSB part of the board.
- DRIcore’s plastic base does not support mold growth, but if the OSB part get wet, it sure will support mold growth.
- DRIcore panels doesn’t actually stay together. Its tongue-and-groove installation means that the panels will move around. And since it is still wood in the OSB, it will expand and shrink causing more movement in the panels.
Now let’s compare that with Tyroc.
- Tyroc has a plastic base just like DRIcore. But with a top board made mainly of magnesium oxide. This is an inorganic material. This top board is impervious to fire, water and will not feed mold or mildew.
- Tyroc panels are glued together forming a continuous surface. It does not come apart like DRIcore. And since it has no wood component, it will not expand or shrink either.
- Tyroc is even environmentally friendly and green. The base is made of blend of recycled rubber from used tires and recycled plastic. The top is made of magnesium oxide which is mined, grounded into powder and made into a board.
And that’s why despite all the HGTV renovation shows are using DRIcore. I’m going to use Tyroc as my basement sub-floor.
On Friday the Tyroc panels are delievered. And on Sunday we’ve spent a bit time moving all those panels to the basement. These Tyroc panels are only 16″ wide. Making it easy to pass right through my basement window opening. So it was pretty simple. Would have a harder time with DRIcore since DRIcore is 24″ x 24″ and I won’t be able to pass them through the front window.
August 13th, 2014 The basement looked dry so I went down to take a look. I wanted to make sure I can get to all the floor drains, back water valve access port, and clean out. Here’s what the basement looks like one day after the concrete is poured.
Continue reading ‘Basement floor’ »
August 12th, 2014 A different day, a different truck is parked in front of the house. The crew from Belmont Concrete is here to pour the basement slab. There’s a small amount of preparation work to be done since yesterday they didn’t have enough wire meshes. So they laid down more wire meshes covering the entire basement area. Then its time to pour the basement slab.

Continue reading ‘Basement slab’ »
August 11th, 2014 The crew from Belmont Concrete is here to do preparation work for the basement slab. The work includes leveling the existing ground by spreading out the soil dug up by drainage trenches, lightly compact the ground. Then fill the basement floor with 4″-5″ of 3/4″ clear gravel. Then put down 3″ of rigid foam under-slab insulation followed by 6 mil polyethylene vapour barrier, and 6″ x 6″ #6 wire mesh.
Here’s the truck that’s here to shoot the gravel into the basement.
Continue reading ‘Preparation for basement slab’ »
|
|